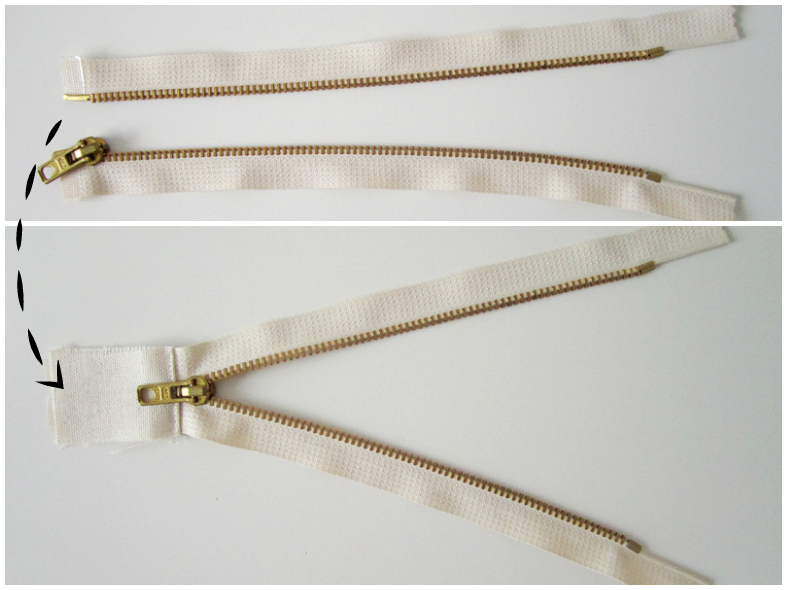
Heavy duty, closed end, long zippers are often needed for sewing bags. As for the Foxtrot bag pattern for example.
But most of the time, you’ll only find separating long (30 cm / 12 inches or more) heavy duty zippers in stores.
Therefore, here is a tutorial that shows how to turn a separating zipper into a closed end zipper.
{Tutorial} Turn a separating zipper into a closed end zipper
The technique used below may seem a bit hasty, but it works, it is quick and easy.
Pre-requisite
The separating zipper you’ll use has to be longer than the closed end zipper you need.
Example : If I need a 40 cm (15 inches) closed end zipper then I’ll use a 45 cm (16 inches or more) separating zipper.
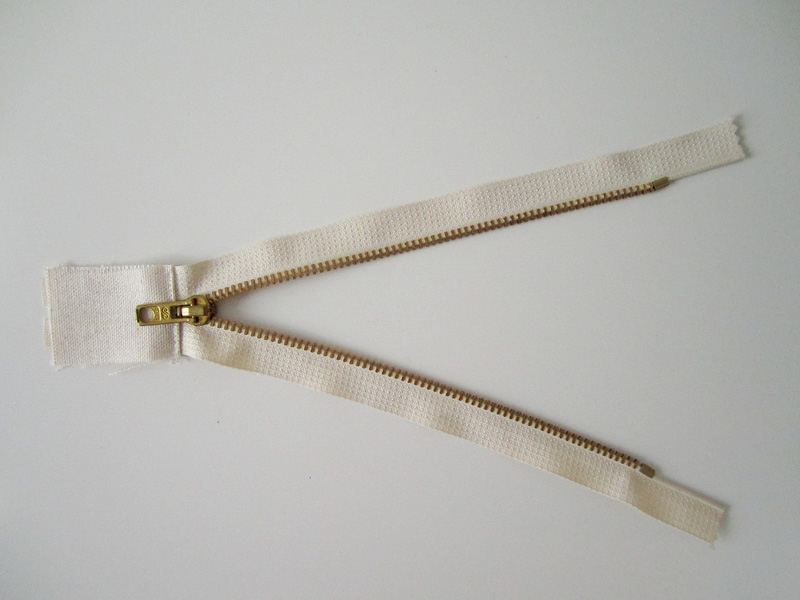
Step 1 – Prepare the zipper tab
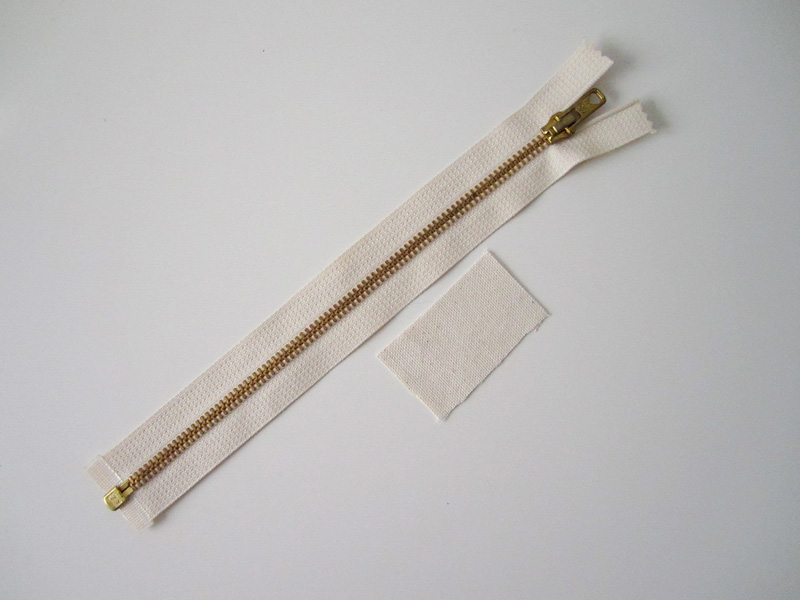
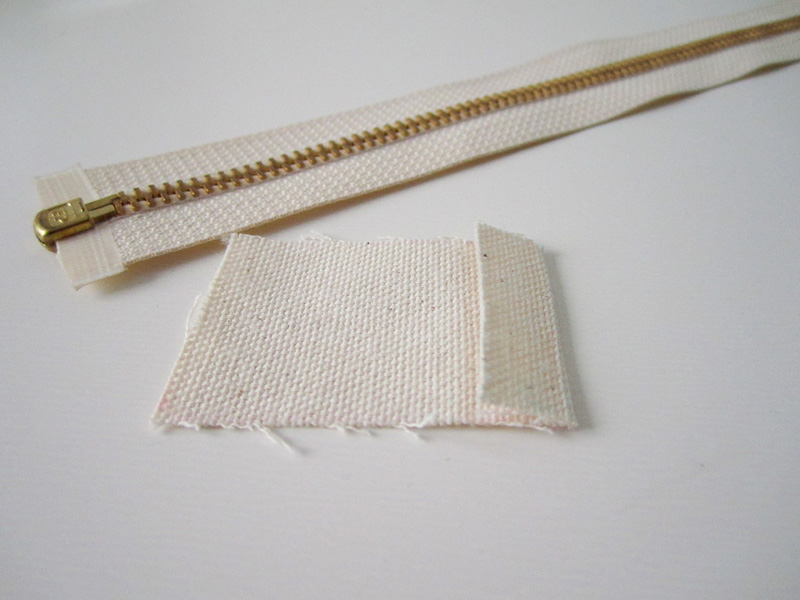
1- Cut a rectangle of fabric as wide as your zipper and 5 cm (2 inches) long.
Tip : use a fabric the same color as the zipper tape or your project.
Step 2 – Measure and mark
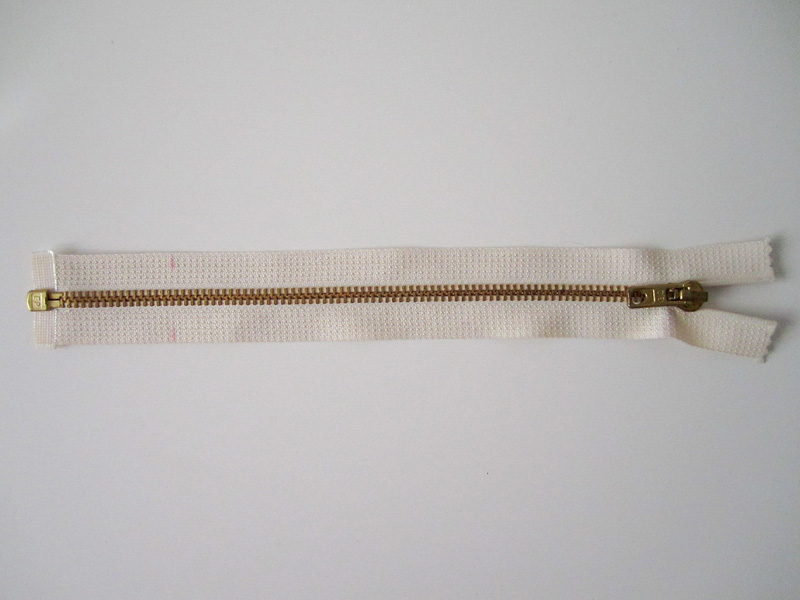
From the cursor side, measure the length of the desired closed end zipper and mark on each side of the zipper tape.
Step 3 – Stitch
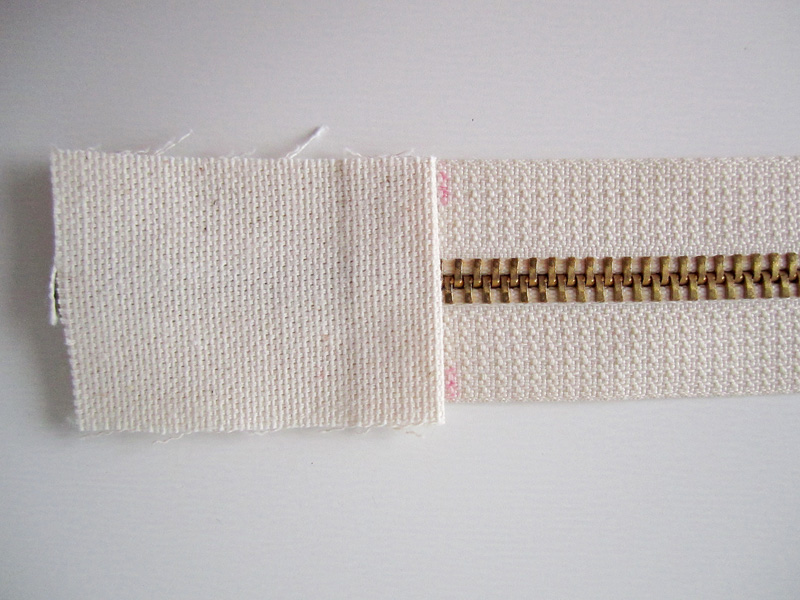
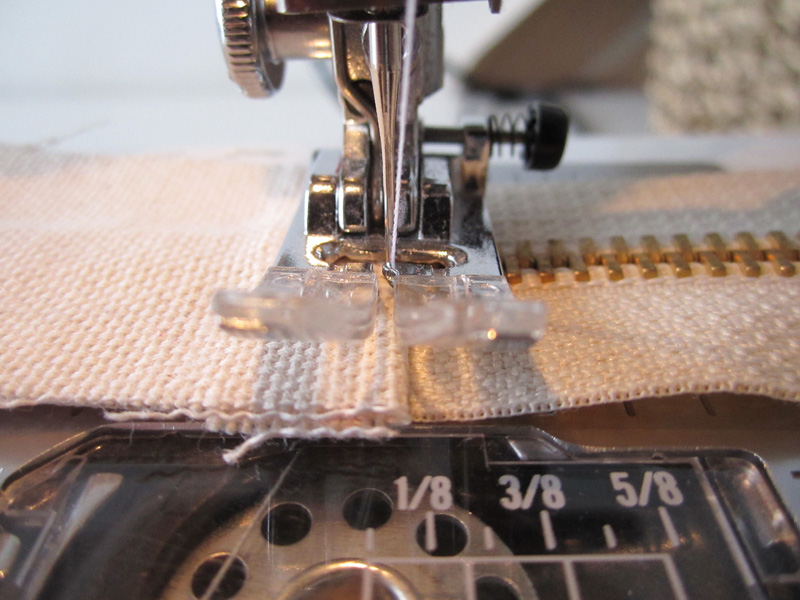
1- Place the tab on the right side of the zipper, aligning the folded edge to the markings.
Be careful !
If your needle hits the metal or injected teeth, it may break. So :
- Ensure that the needle path passes between the metal teeth.
- Do not use the pedal to stitch over the teeth : hand-turn the wheel instead.
- If the needle encounters resistance, try to move the zipper a few millimeters to the left or right.
Don’t forget to back-stitch at beginning and end of the stitch-line.
Step 4 – Cut
Flip zipper to wrong side.
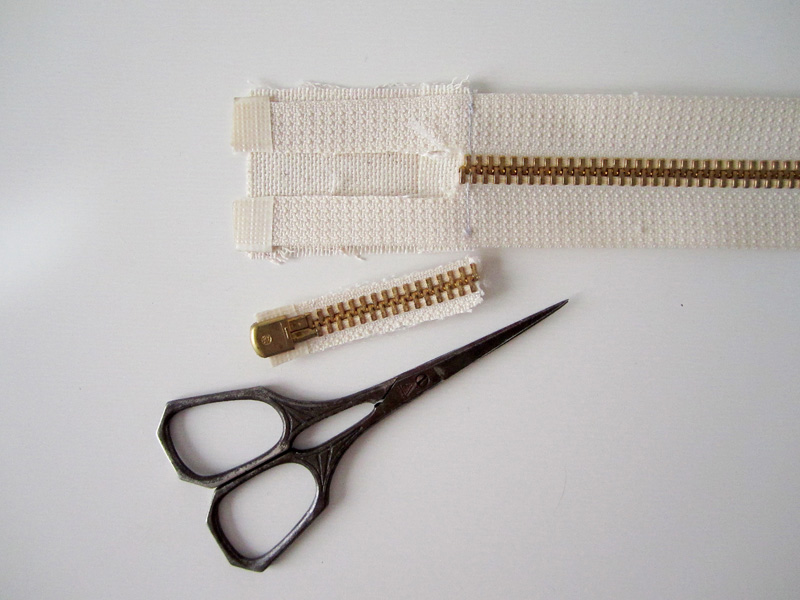
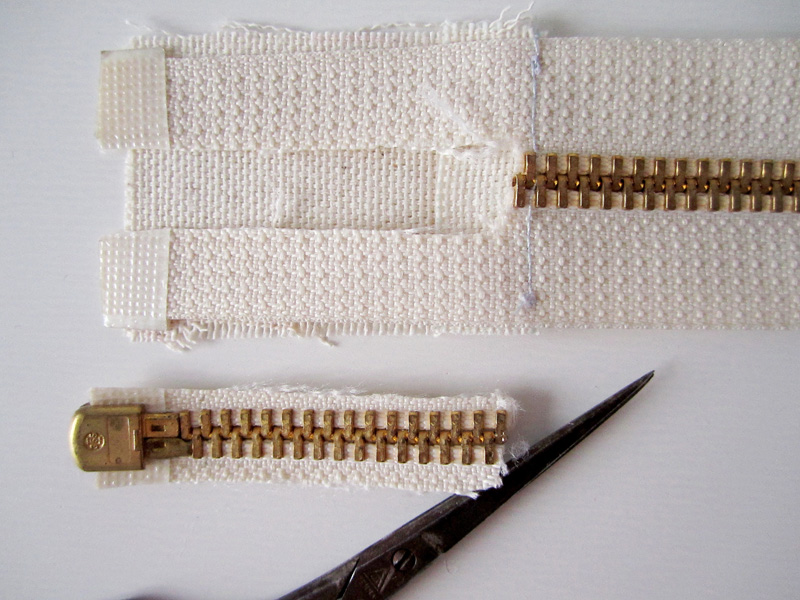
Because the excess teeth might get in your way when assembling your project, remove excess teeth by cutting around them.
Cutting the tape between the teeth is easy with small embroidery scissors.


Thank you. That was very clear, simplistic information. Great!
Thank you for this tutorial. It save me from trying to order closed bottom zippers in a rush!!! It was concise and easy to follow.
Very helpful! Thank you!
Can this technique be used on the plastic style zippers (usually used on coats), or just the coil zippers? Thanks!
Hi Jennifer,
Yes you can also use this technique with separating plastic zippers 🙂
I need a totally closed end zipper that will go in a sofa cushion. I con’t find one 30″ long so I need to make my own. So would I do the same thing to the other end of the zipper. Closed on both ends?
Hi Linda,
Yes, you would do the same at the other end of the zipper, but could sew the tab right after the metal stop, on the zipper tape.
Thank you! This is exactly what I need!
Do I have to cut it?
Thank you. That was so simple. The most difficult part was finding fabric the right colour.
Hi Corinne, I’m glad you find the tutorial helpful !