
A zippered pocket is ideal to keep your keys safely put away in your bag. So here is a tutorial on how to add a zippered pocket to your Candy bag lining.
This pocket has to be sewn before the “Assemble the lining” step of the instructions.
To create this pocket you’ll need a 15 cm (6″) zipper.
The pattern
This is the pdf file for the pocket pattern, open it with Adobe Reader and print it without modifying the output size (‘Page Scaling : None’, or ’100%’, or ‘Full size’).
[button link=”http://sacotin.com/wp-content/uploads/2013/05/Patron-poche-zippee-Zippered-pocket-pattern.pdf” size=”large” color=”#7bc2b5 ” style=”download”]Zippered pocket pattern[/button]
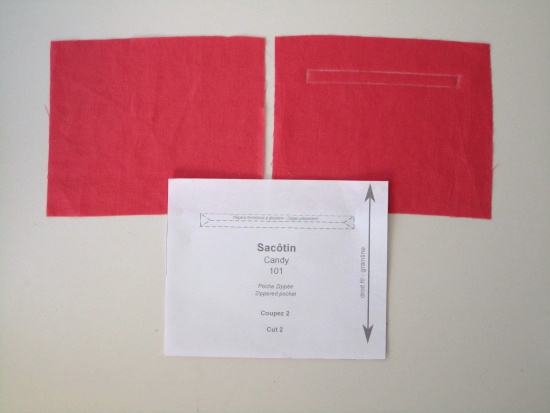
Cut
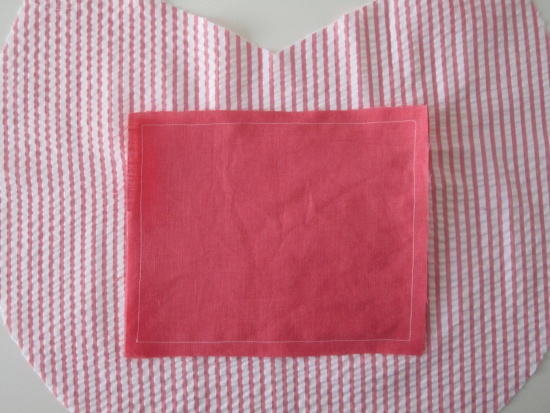
Cut 2 pieces of fabric from the pocket pattern.
Transfer the zipper placement marking to the wrong side of one piece.
Sew
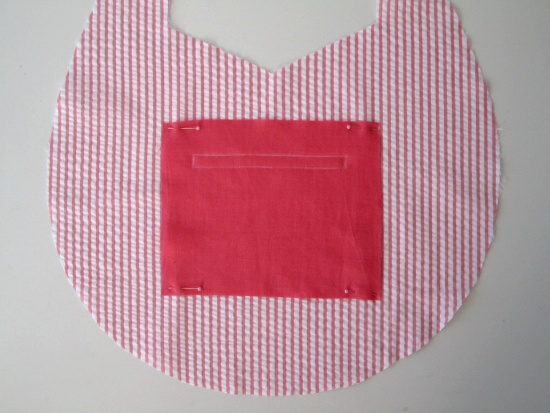
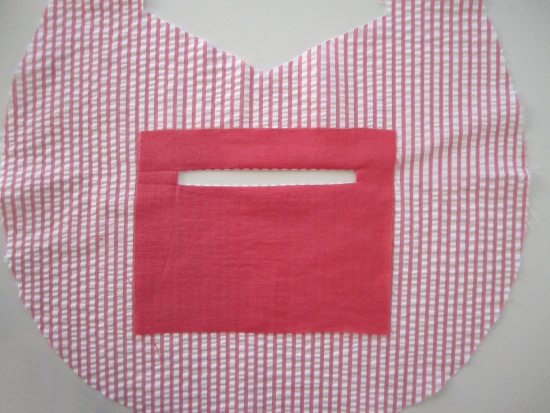
1. Pin the pocket with the marking to a Candy lining piece, right sides together. Place it 5 cm (2″) from the top and center it widthwise.
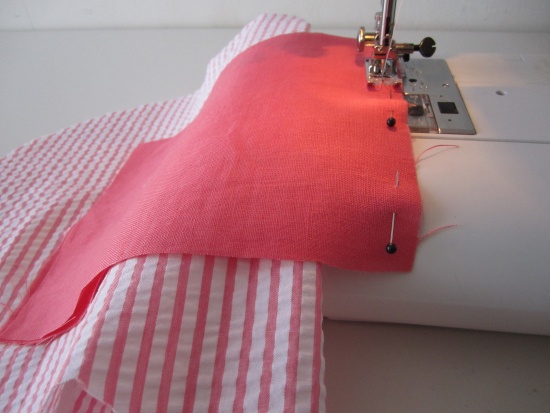
2. Stitch right over the rectangular marking.

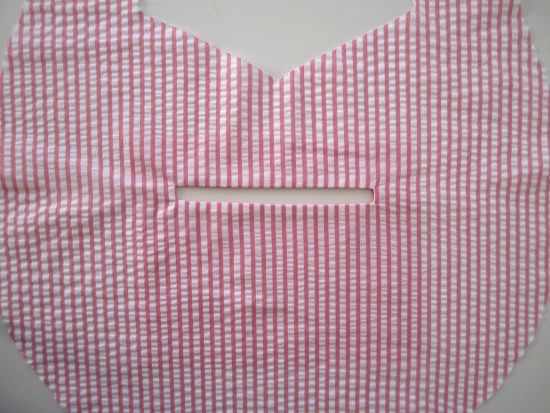
3. Cut inside the rectangle and through both layers along the center line and both “V” (see pattern), up to the stitching line but without cutting through it.
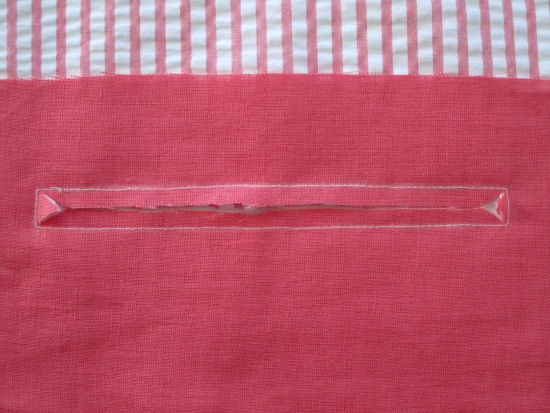
4. Push the pocket through the opening to the wrong side of the lining. Press the window edges.
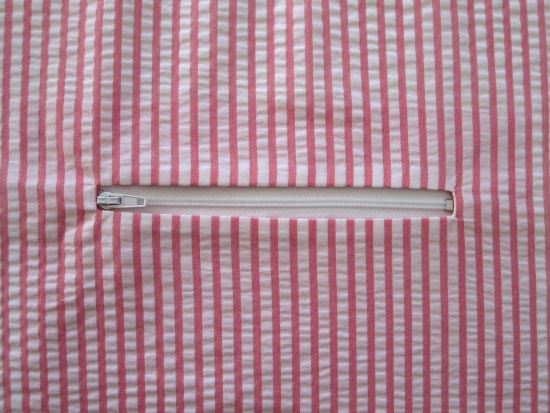
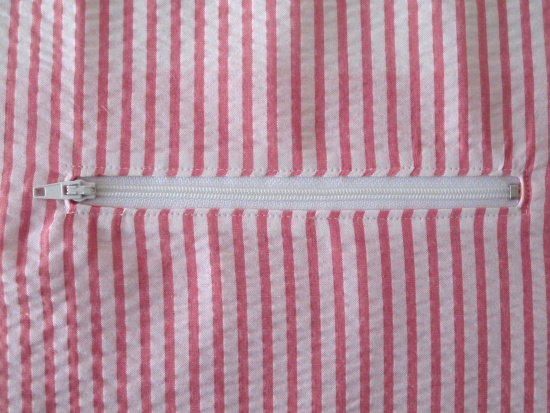
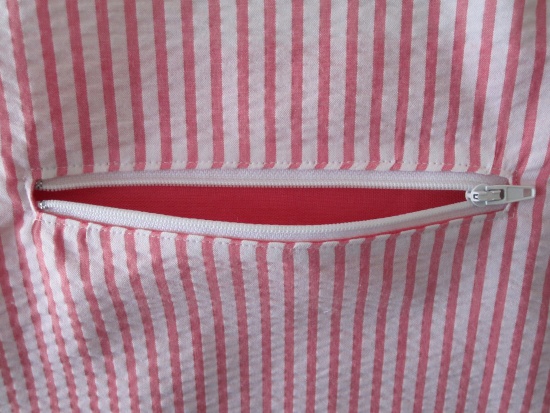
5. Center the opening over the zipper. Pin or baste and topstitch, with a zipper foot, 0,2 cm from the edge.
6. On the wrong side, pin the 2nd pocket to the 1st one, right sides together. Stitch around the pocket with a 1 cm (3/8″) seam allowance.
[button style=”” color=”red”]Becareful ![/button] Fold the bag lining as you go to avoid catching it in the stitching line.
At the “Assemble the bag to the lining” step of the instructions, this pocket will have to be against the back of the bag.
Voilà, you just added a zippered pocket to your Candy bag !
I wrote a second tutorial with an alternative method, a little more complicated but with a cleaner finish inside the pocket : {tutorial} Zippered pocket – 2.0