
If, like me, you are a danger to yourself with a hammer, eyelets with prongs are made for you! They are easily installed with embroidery scissors and a pen.
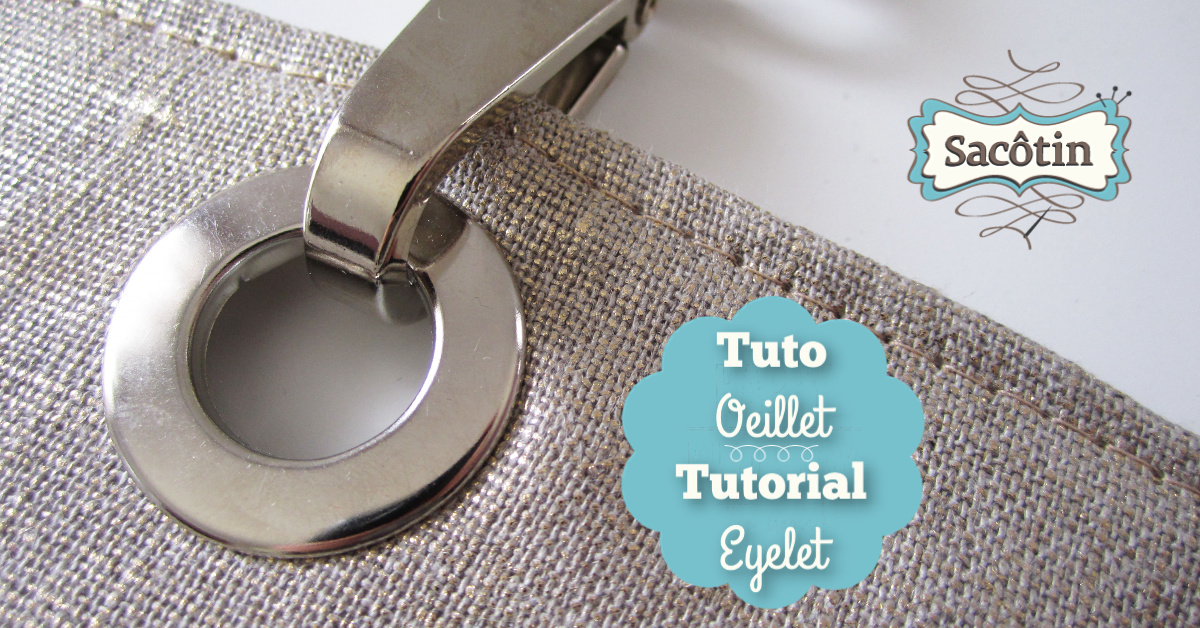
It’s this type of eyelets that I used on the Samba summer totes.
How to install eyelets with prongs tutorial
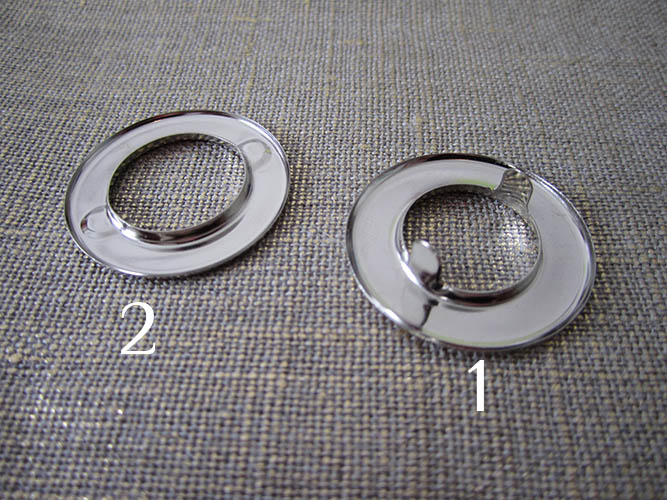
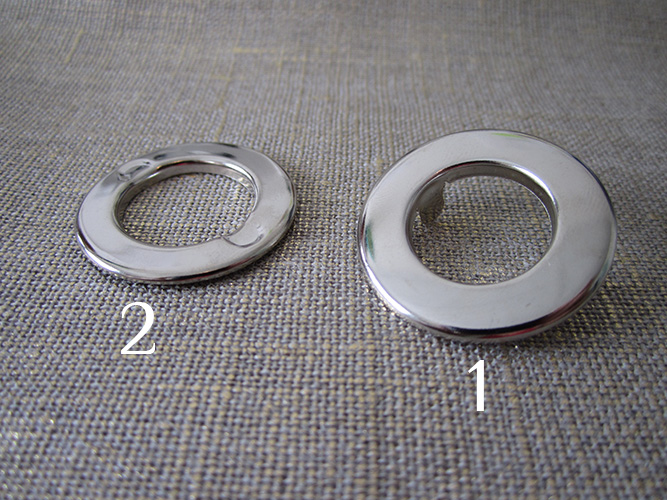
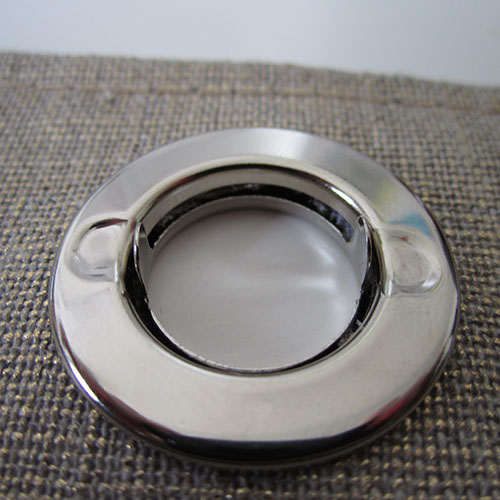
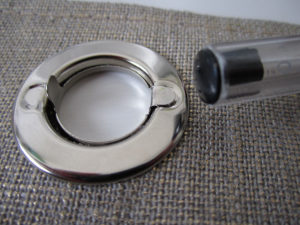
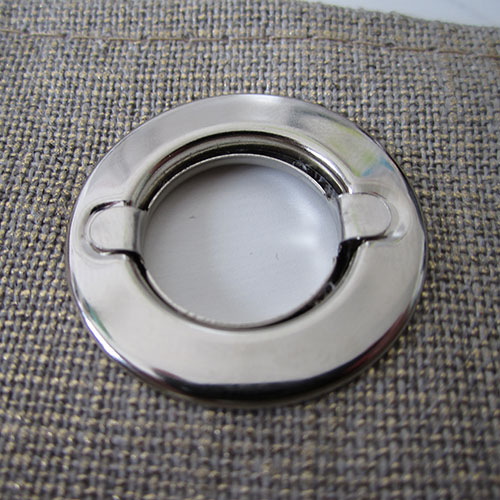
The eyelet with prongs has 2 halves :
- The front plate (with prongs)
- The back plate
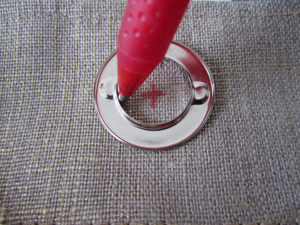
1. Position
Center one half of the eyelet on a placement marking.
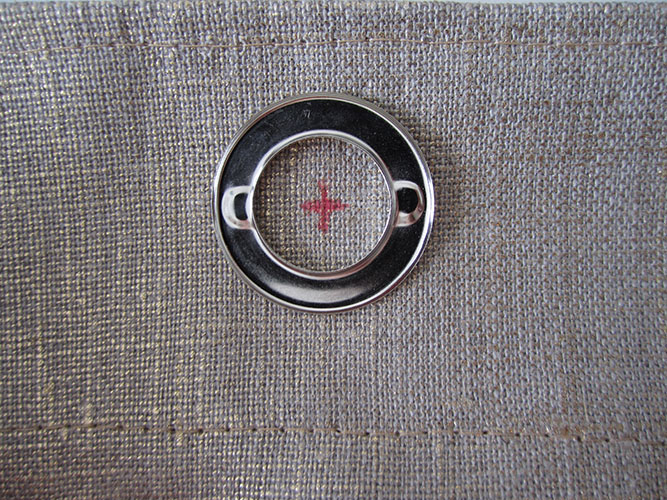
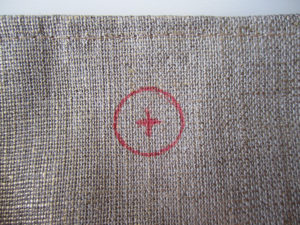
2. Trace
Trace the inside perimeter of the eyelet.
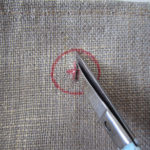
3. Cut
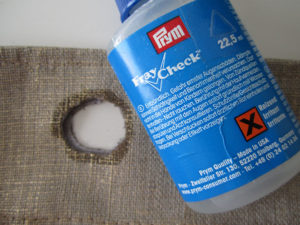
With embroidery scissors cut out the area, cutting 2 mm outside of the line, through all layers.
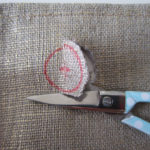
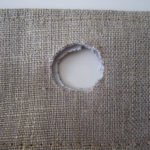
If the fabric frays, apply a few drops of fabric glue (or Fray check) to the edge of the hole and let it dry.
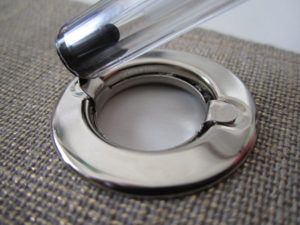
4. Install
Place the front plate, with prongs, on the outside of the bag sliding the prongs through the hole.
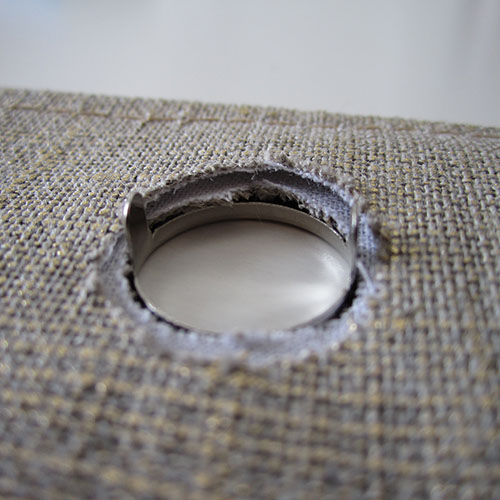
Place the back plate inside the bag (on the lining side).
Fit the two halves together and spread the prongs apart to keep them fitted.
To press the prongs down, I simply use the butt of a pen.
And that’s it, the eyelet is installed!
Samba summer totes