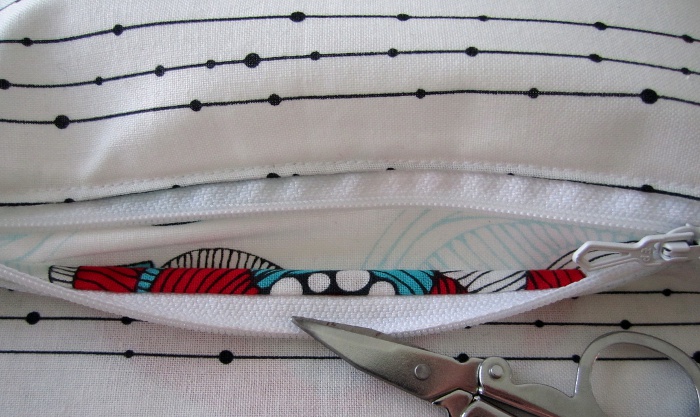
I showed you a few days ago how to Add a zippered pocket in your bag. Today’s zippered pocket tutorial shows an alternative way to do it.
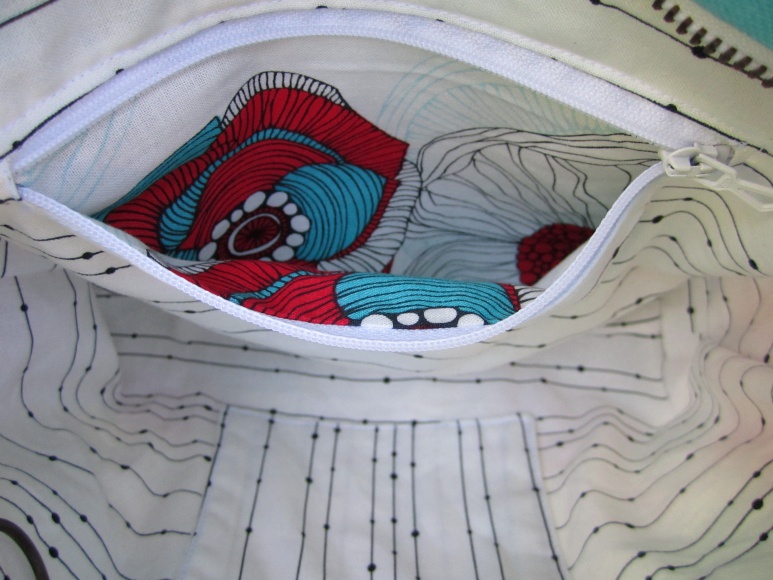
The difference between the two methods is the finish inside the pocket : in method #1 the edges of the zipper tape remain visible inside the pocket while with the tutorial below the zipper will be sandwiched between the two fabrics, giving a cleaner finish. The exterior finish is the same whatever the method, the first method is easier.
Zippered pocket tutorial 2.0
The pocket must be sewn before assembling the lining.
Cutting and marking
1. Cut your pocket
Cut a rectangle :
Width = at least equal to the length of the zipper tape
Height = (desired pocket depth x 2) + 2 cm (0,8″)
2. Measure the length of your zipper from stop to stop included.
3. Mark on the wrong side of the bag lining, a rectangle : length equal to the previous measurement and with a width of 1.2 cm (1/2″).
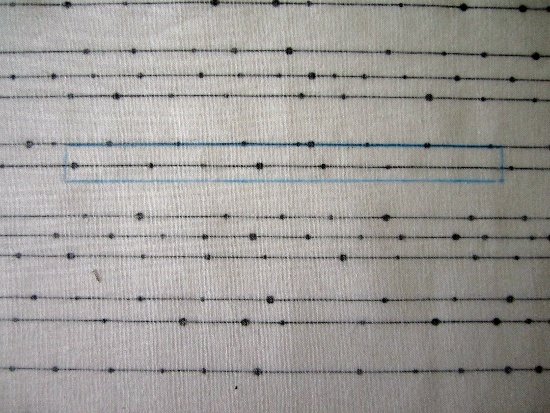
4. Stitch right over the rectangular marking.
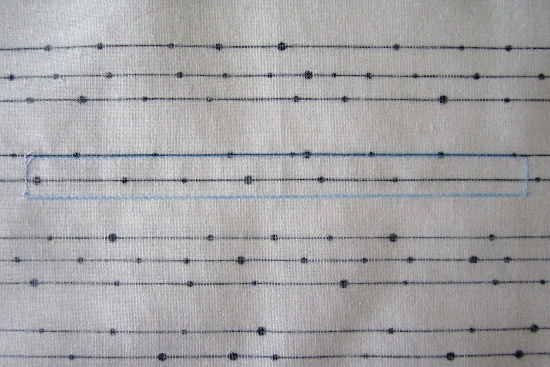
5. Cut, inside the rectangle, along the center and then diagonally towards the corners, up to the stitchline but without cutting through it.
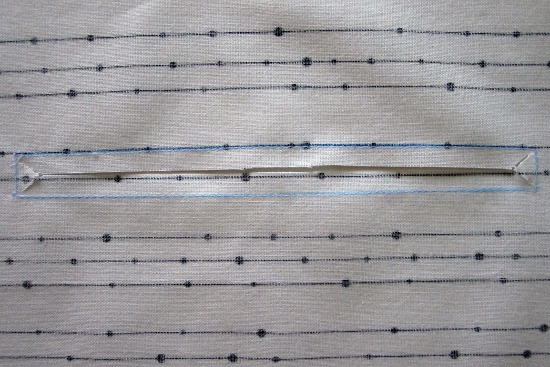
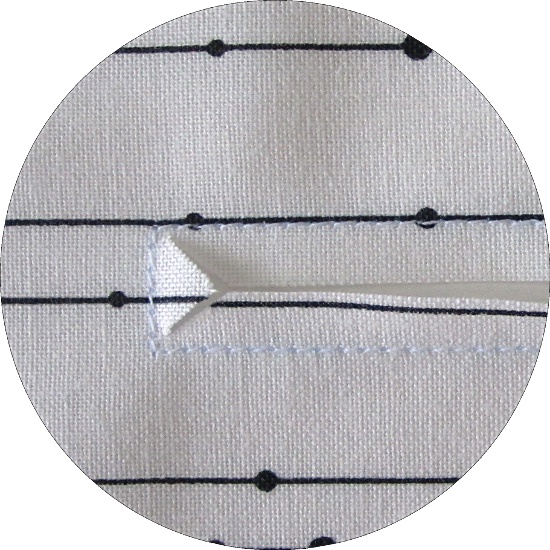
6. Fold to the wrong side, along the stitching lines to create a window. Press.
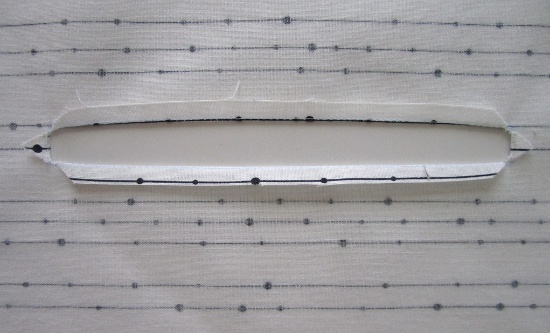
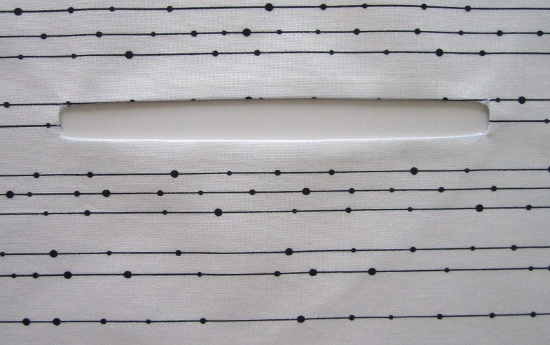
Sewing
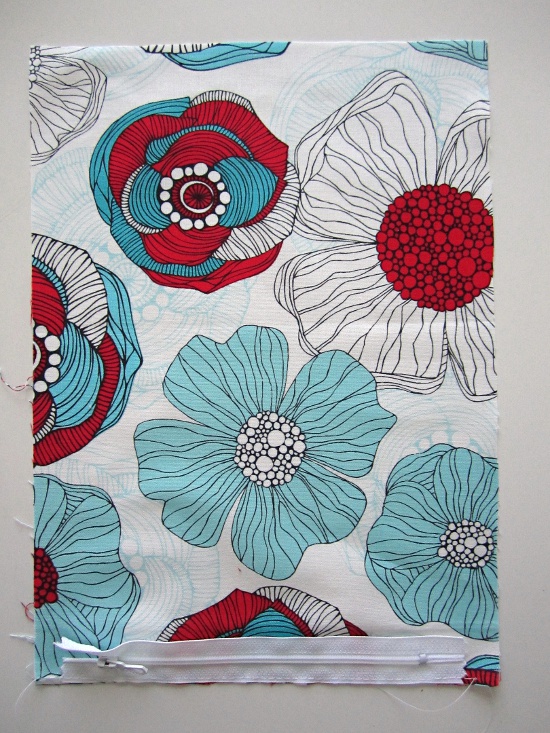
1. Baste the zipper to the bottom of the pocket, wrong side of the zipper against right side of the fabric and aligning the lower edge of the zipper tape with the lower edge of the pocket.
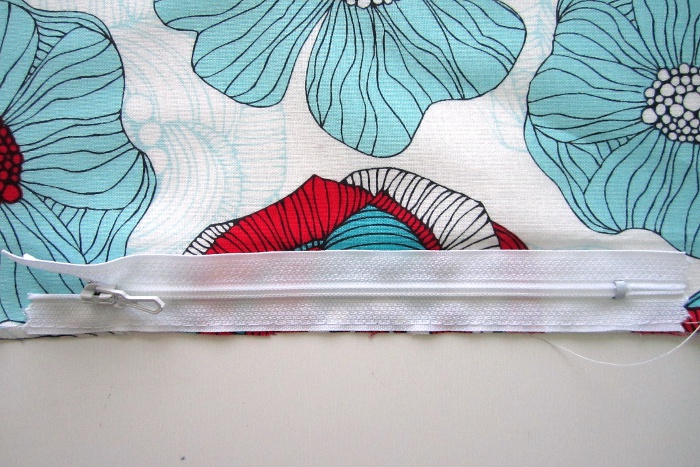
2. Center the zipper under the window, right side of the pocket against wrong side of the lining.
Pin and edge stitch along the lower edge of the window only.
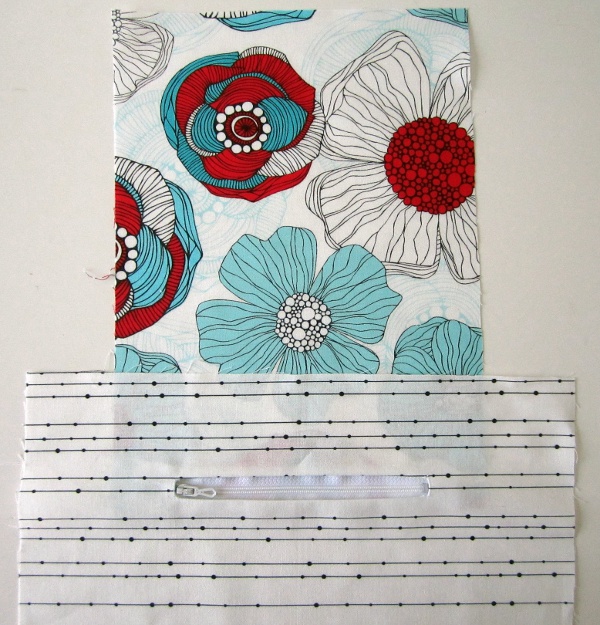
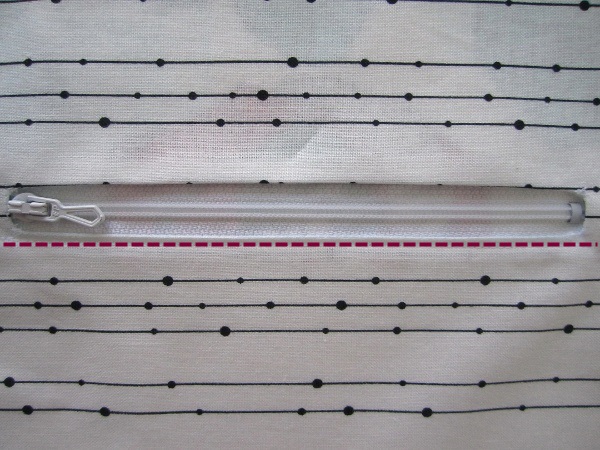
3. Flip the lining to the wrong side and et pull the pocket down, press.
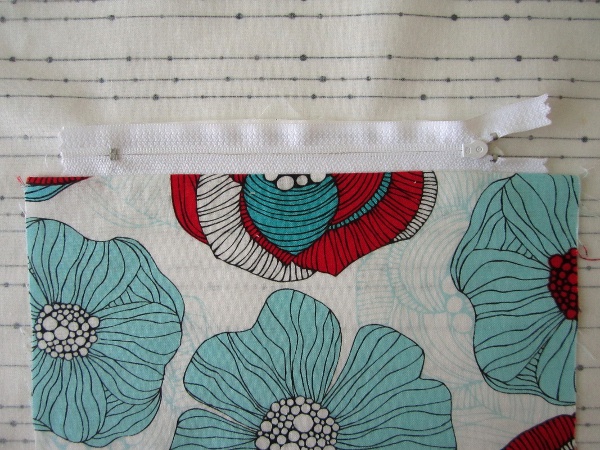
4. Fold the pocket and align its remaining edge with the upper edge of the zipper tape.
Baste the edge of the pocket to the zipper tape, without catching the lining in the stitching line.
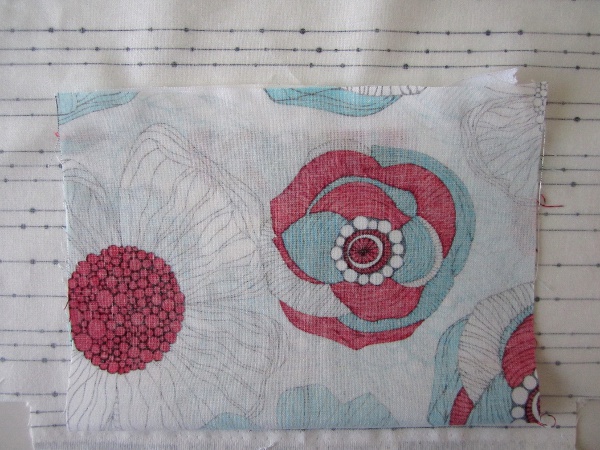
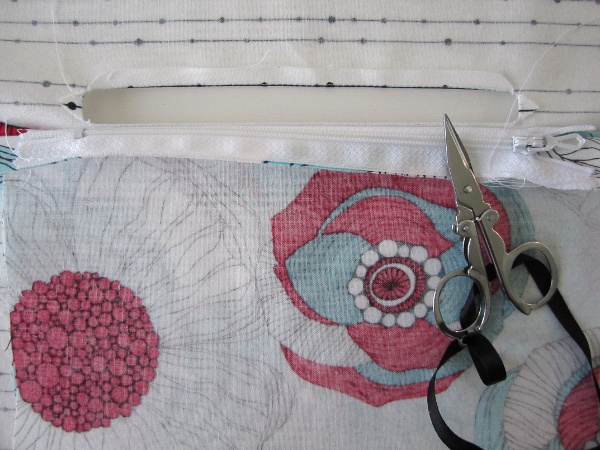
5. Flip the lining to the right side and edge stitch along the sides and upper edge of the window.
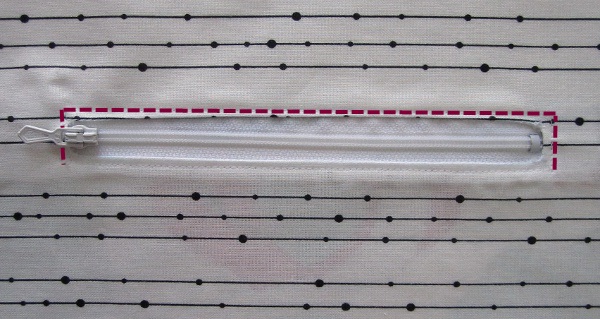
6. Flip the lining to the wrong side and stitch the sides of the pocket closed, without catching the lining in the stitchline.
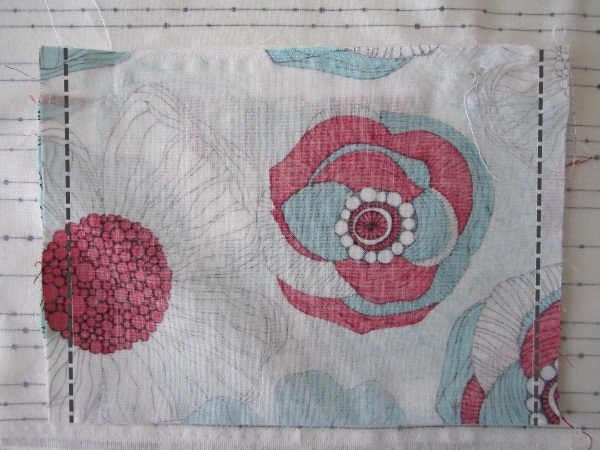
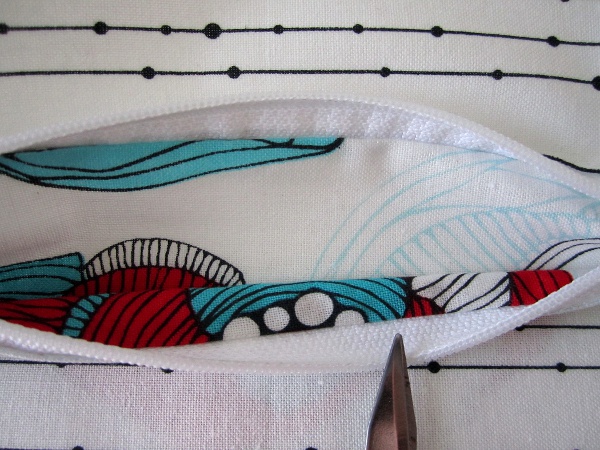
Voilà, you’ve just sewn a zippered pocket with a clean finish inside and out !



Thank you Thanky YOu!
What a wonderful tutorial and my bag looks so professional now with your tutorial on a zippered pocket. Cant thank you enough.
Christina
You’re very welcome ! I’m glad the tutorial helped you !
I was planning to try to add a zip pocket last night Thks for the tutorial .Helen x