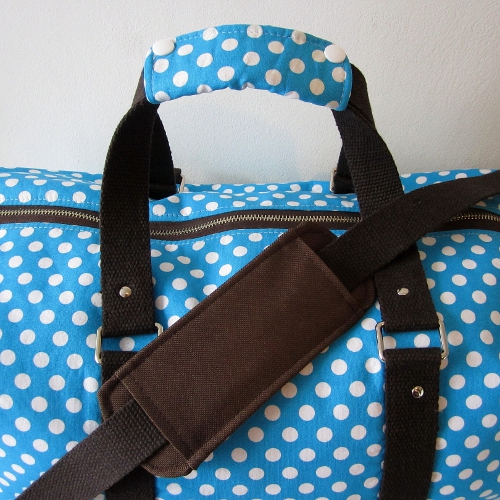
This is a handle pad tutorial for bags, a practical accessory to improve bag handles comfort, especially for travel bags such as the Boston pattern for example.
Handle pad Tutorial
Supplies
- Fabric scraps: cotton canvas or cotton which you’ll interface
- Fleece or polar fleece scraps
- To close the handle, either: 2 snaps OR a 7-9 cm scratch
Pattern
Download and print the handle pad pattern : Handle pad pattern (pdf).
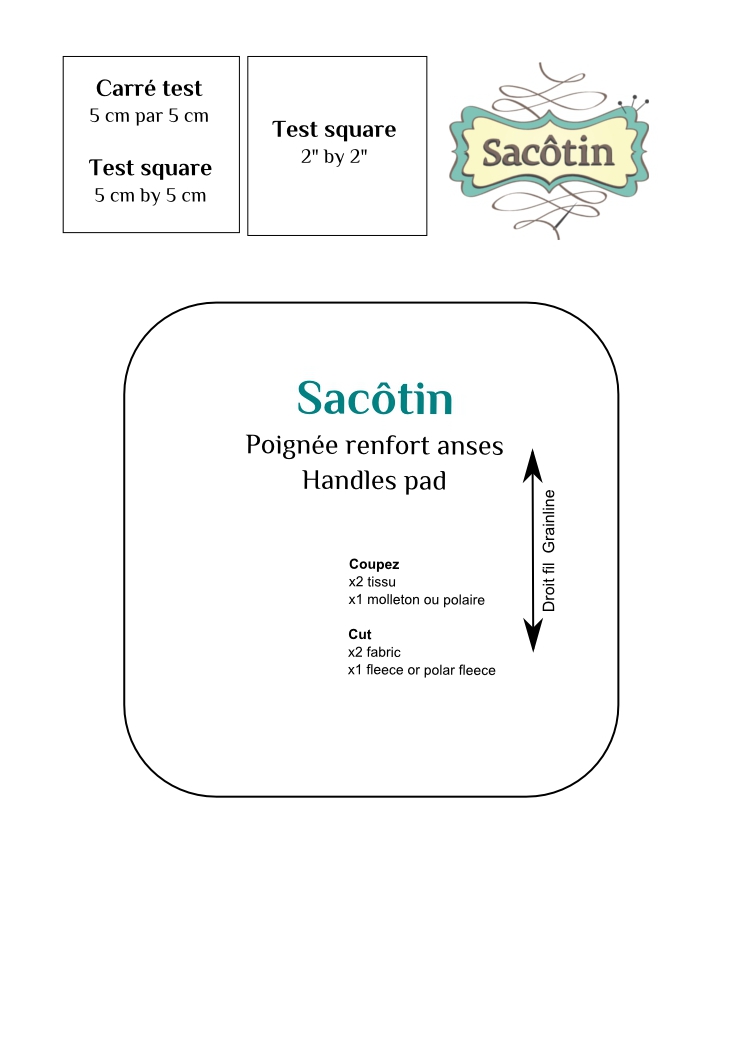
Print the pattern on A4 paper format without modifying the output size: page scaling : “none”, or «100%». I recommend Adobe Reader (free) to read and print this pattern accurately. The pattern is suitable for 3 to 4 cm wide bag handles.
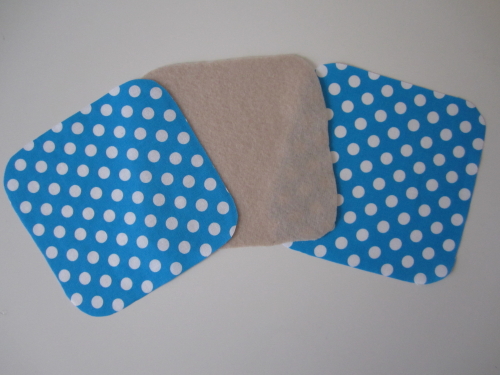
Cut
1 cm (3/8)” seam allowances are included
Cut the pattern
- Twice in fabric
- Once in fleece.
if you’re fabric is on the lightweight side, interface it !
Sew the handle pad
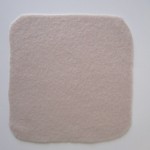
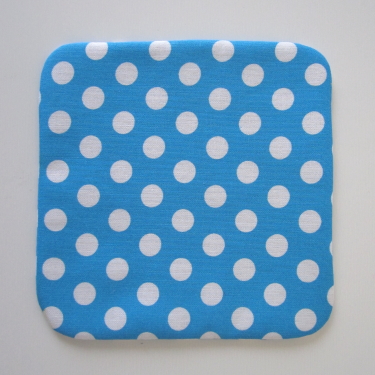
Pile up in this order:
- Fleece.
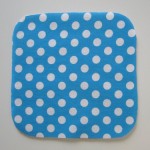
- A fabric piece right side up.
- The other fabric piece wrong side up.

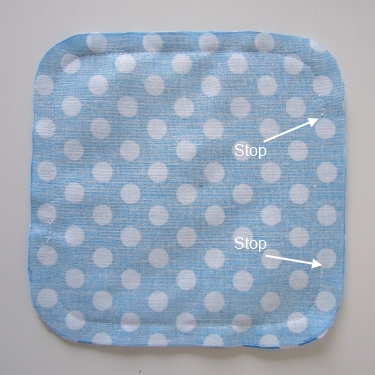
Stitch all around, with a seam allowance of 1 cm, leaving an opening of 8 cm on one side.
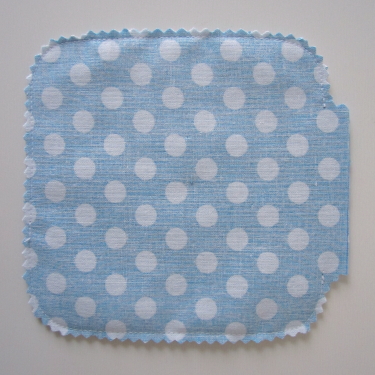
Notch round corners and trim seam allowances except at the opening. Tip: to reduce the thickness at the opening, cut the fleece seam allowance, leaving the seam allowances of the fabric intact. Personally I like to use pinking shears all around.
Turn right side out and press, folding in seam allowances.
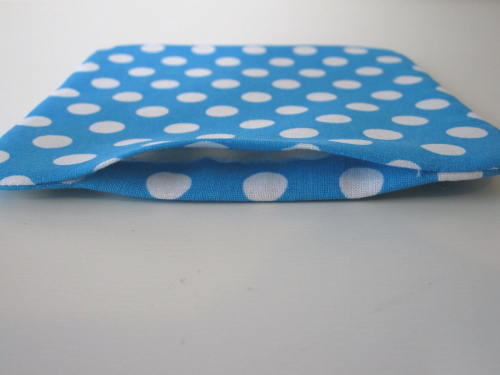
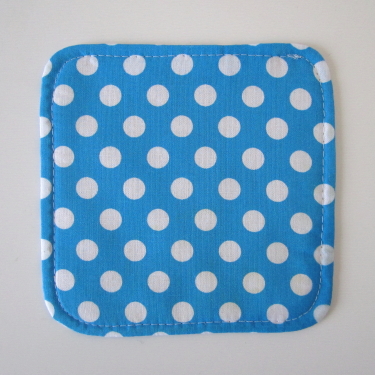
Topstitch all around with a 0.5 cm seam allowance, thereby closing the opening.
Handle pad closure
You can choose either scratch or snaps to close the handle.
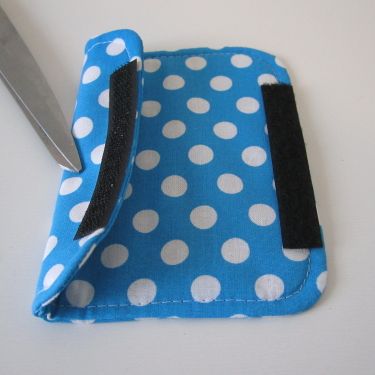
1. scratch closure
- Separate the two halves of your scratch.
- Sew one half of the scratch along one edge.
- Sew the other half on the other side and on the opposite edge.
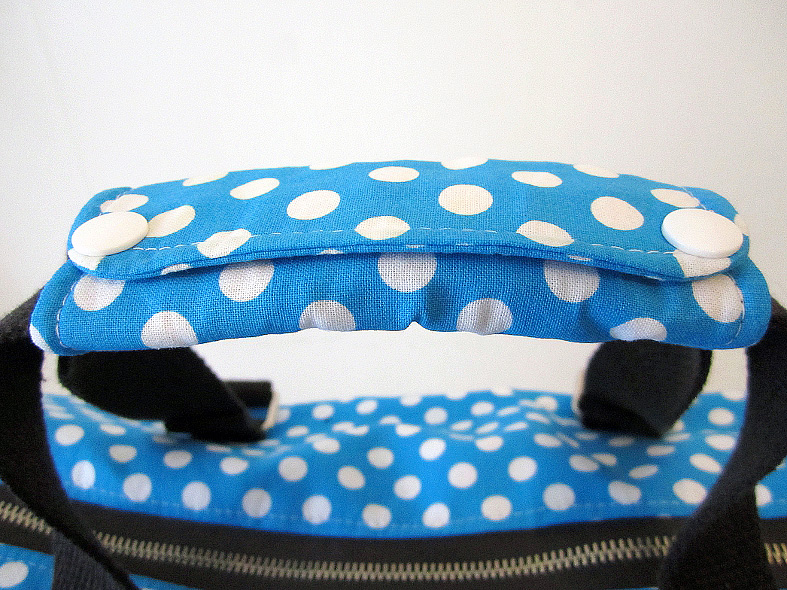
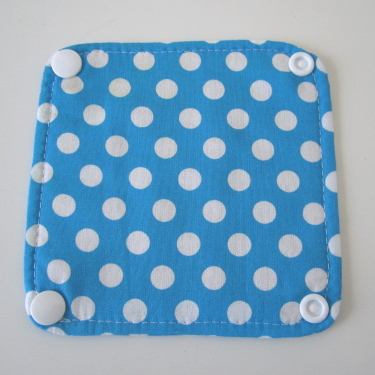
2. Snaps closure
In the corners of the same edge install the 2 female halves of your snaps (or two male halves, what is important is that they are of the same type to avoid mistakes later). Install the male halves of the snaps in opposite corners. BE CAREFUL : the last two halves must be installed upside down compared to the first ones, see photo!
Voilà comfy handle pad done !

In commercial bags there is only one handle pad but why not have two, one for each handle, this way you won’t have to constantly remove and put back the pad as soon as you want to open the bag.
Coming soon on the Blogôtin : strap pad tutorial.