
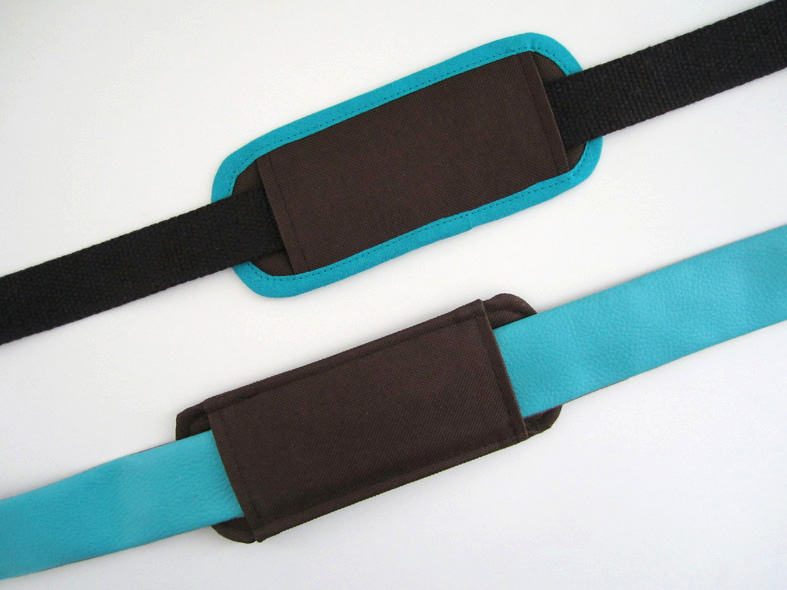
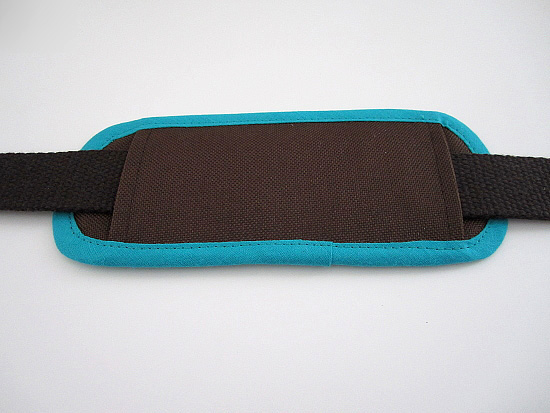
After the handle pad tutorial, here is the shoulder strap pad tutorial. Adding a strap pad helps to make a heavy bag more comfortable to carry. This often concerns travel bags such as the Boston pattern. I offer two versions of the strap pad: bias finished (version 1) and finished WITHOUT bias tape (version 2).

Shoulder strap pad tutorial
Supplies
- Fabric scraps: cotton canvas, burlap …
- Fleece or polar fleece scraps
- 50 cm of bias tape, if you choose the bias finish !
You can interface the two fabric bases, if you think the fabric isn’t strong enough.
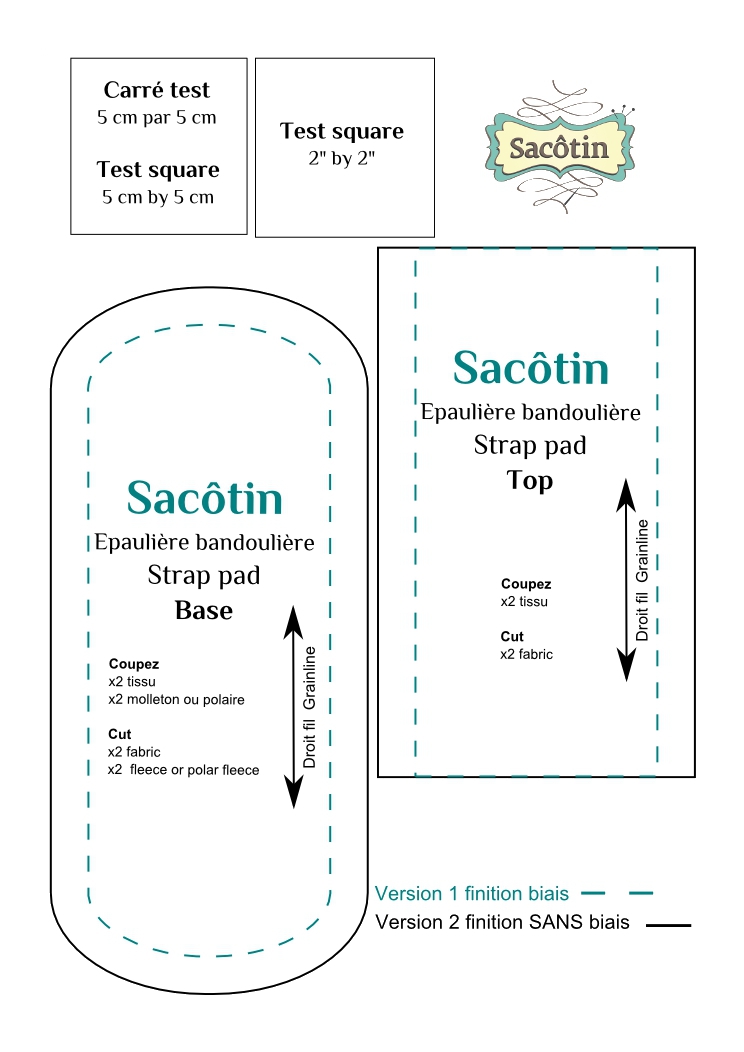
Free pattern
Download and print the pattern : Sacôtin – shoulder strap pad pattern (pdf)
Print the pattern on A4 paper format without modifying the output size: page scaling : “none”, or «100%». I recommend Adobe Reader (free) to read and print this pattern accurately. The pattern is suitable for 3 to 5 cm wide removable shoulder straps.
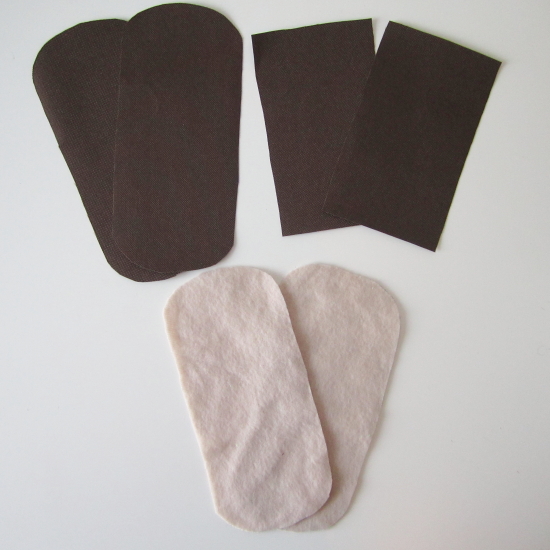
Cut
1 cm (3/8)” seam allowances are included
Pick the desired version and cut :
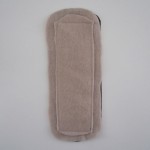
a. The “base” pattern:
- Twice in fabric
- Twice in fleece or polar fleece.
b. The “Top” pattern twice in fabric.
Sew the shoulder strap pad
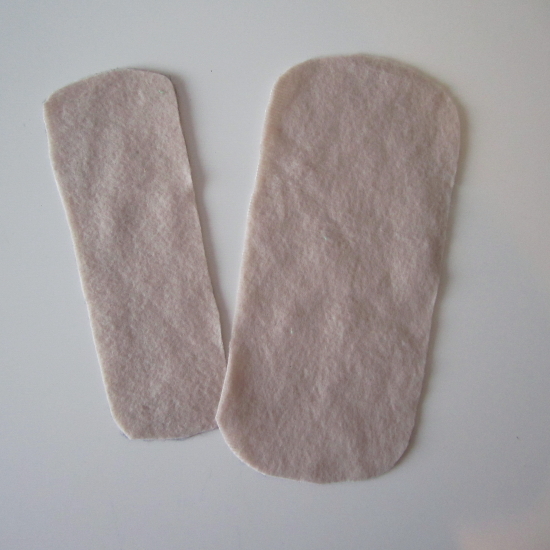
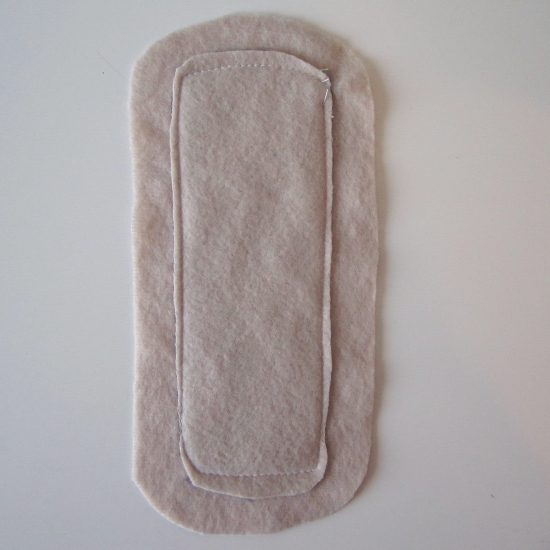
Fleece
Steps apply to both versions.
Trim one of the two fleece bases, removing all around :
- 1 cm for version #1 (bias tape)
- 1,5 cm for version #2 (without bias tape)
This will reduce the thickness at the seams while keeping the maximum comfort for the shoulder strap pad.
Sew the fleece small base in the center of the big one. Do not worry about your stitching for this step, all of it will be hidden once the strap pad is done.
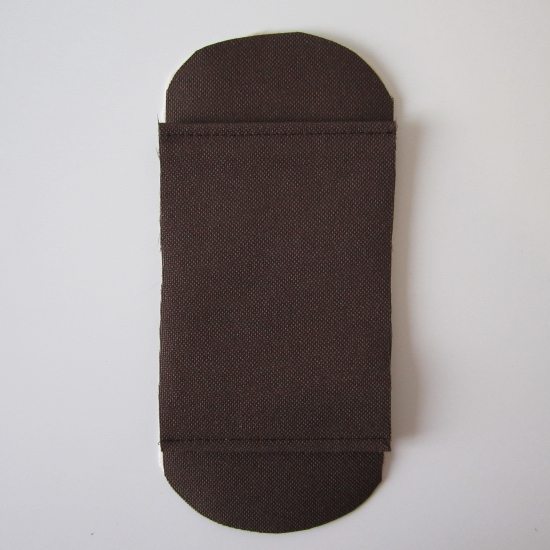
Top part of the pad
Steps apply to both versions.
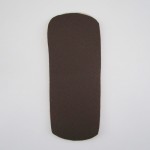
Pin the two “Tops” of the strap pad, right side together, and stitch the two short sides.
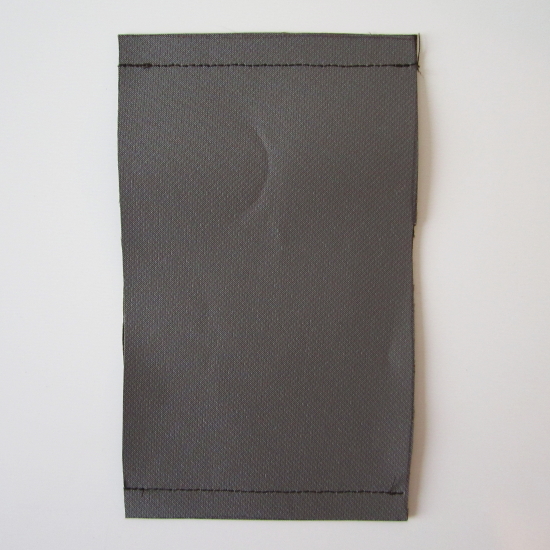
Trim seam allowances, turn right side out and press. Topstitch the 2 short sides with a 0.5 cm seam allowance.
Version #1 : Shoulder strap pad bias finished
Pile up in this order:
- A fabric base wrong side up
- Fleeces
- The other fabric base right side up.
- The “Top” part, centering it over the base
Baste all around with a 0.5 cm seam allowance. Use a 90-100 size needle.
To finish raw edges, stitch the bias tape all around the shoulder strap pad.

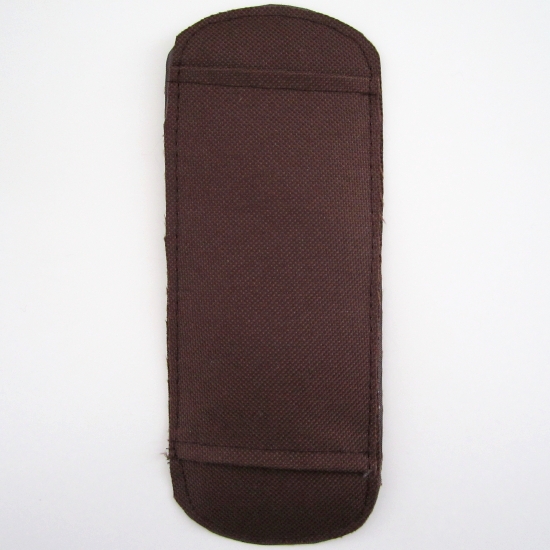
Shoulder strap pad finished with bias tape done !
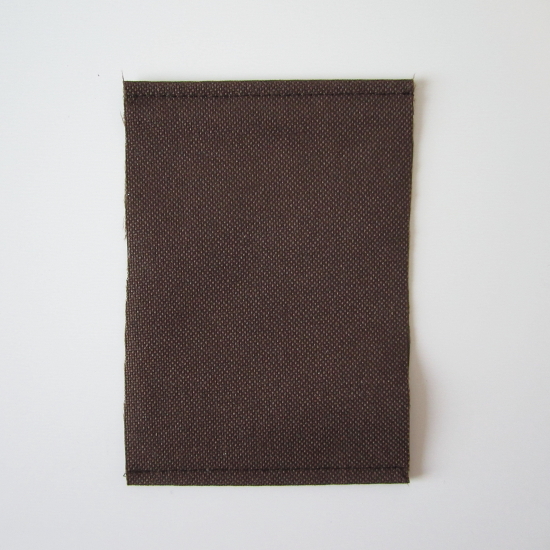
Version #2 : Shoulder strap pad finished WITHOUT bias tape
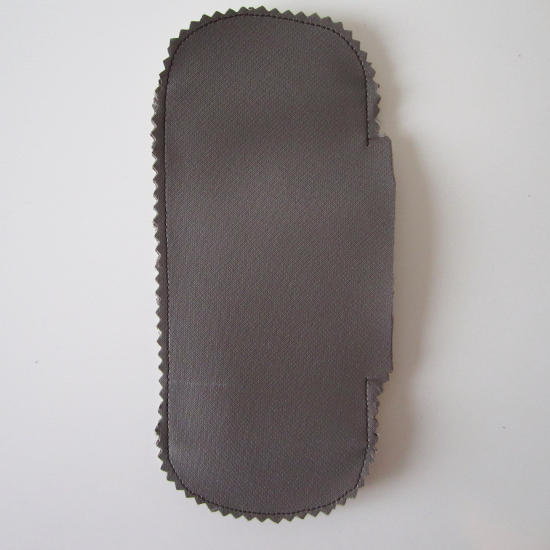
Pile up in this order:
- Fleeces
- One fabric base right side up
- The “Top”, centering it over the base
- The other fabric base wrong side up.


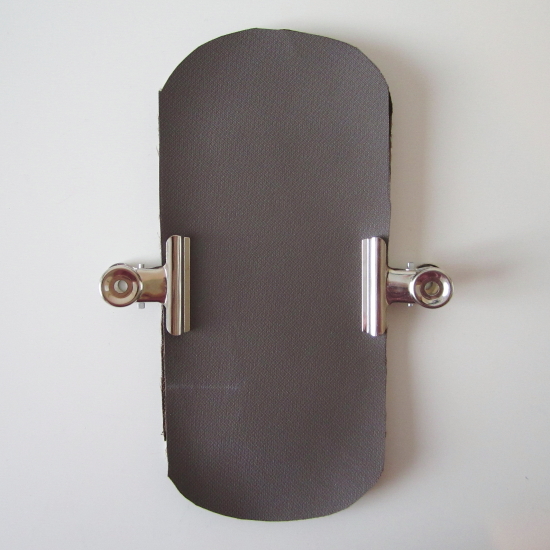
Stitch all around, with a 1 cm seam allowance, leaving an opening of 8 cm on one side.
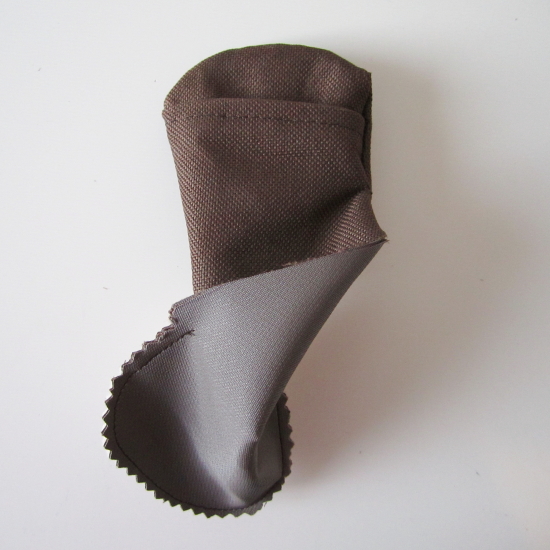
Notch round corners and trim seam allowances except at the opening. Tip: to reduce the thickness at the opening, cut the fleece seam allowance, leaving the seam allowances of the fabric intact.
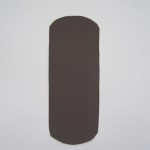
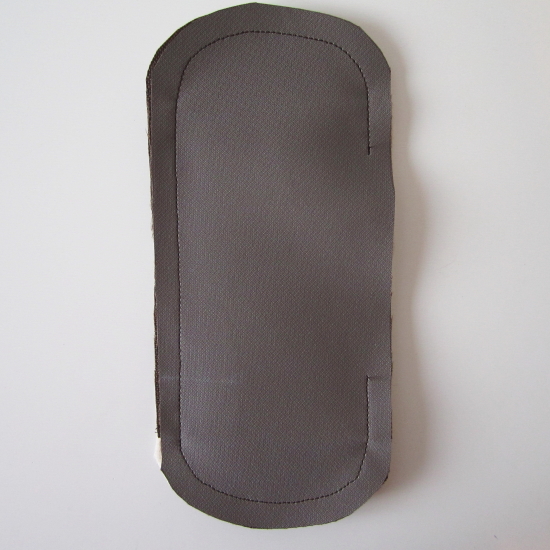
Turn right side out, and push out round edges. Do not try to turn everything in one go. First turn one end and then the other.
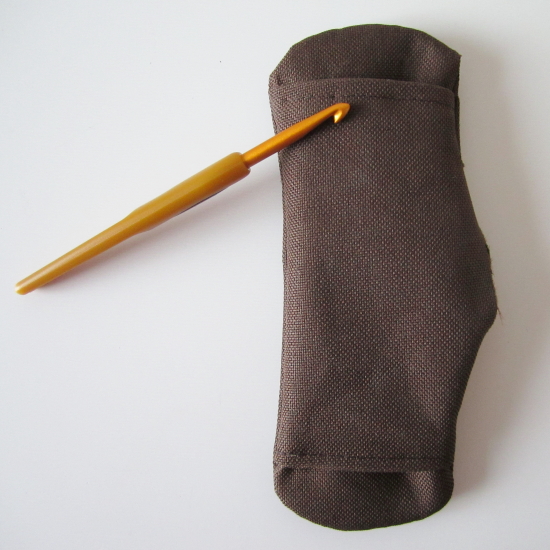
Press, folding in seam allowances. Topstitch all around with a 0.5 cm seam allowance, thereby closing the opening. Use a 90-100 size needle and lengthen the stitch to 3-3.5.
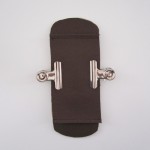
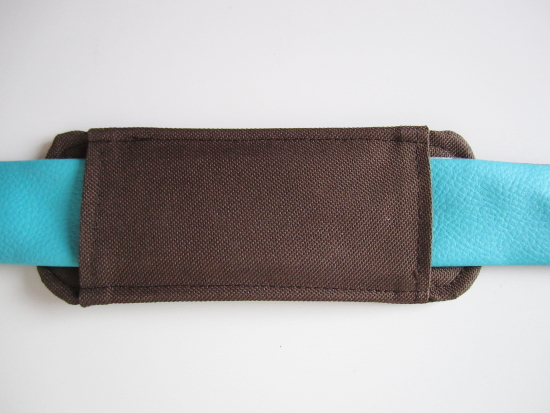
Voilà, slip the shoulder strap through the pad and here is a comfier shoulder strap.
Also on the Blogôtin : the Handle pad tutorial

Very helpful tutorial! I don’t have any bias tape, so version 2 was perfect for my project. Thank you 🙂
I’m glad it was helpful !
I also have a free pattern and tutorial for a removable one, if it can be useful (no bias tape needed) : https://sacotin.com/en/boutique/removable-strap-pad-pattern/