
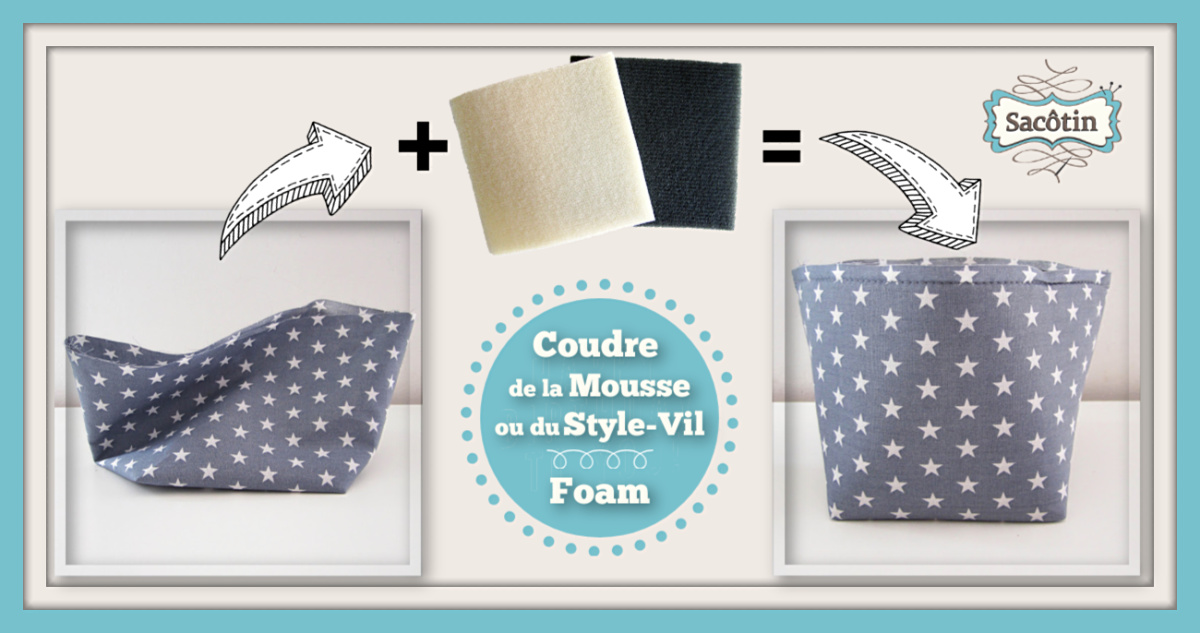
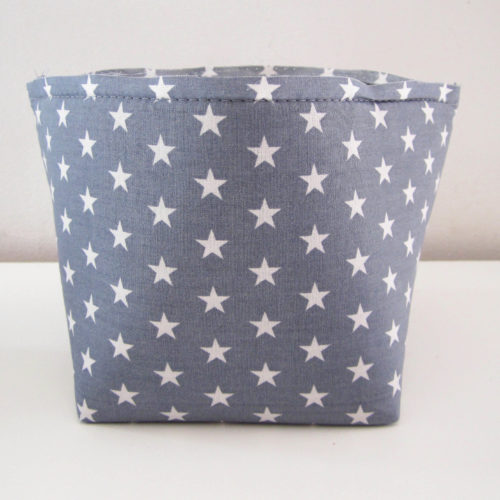
A flexible foam is a perfect material to give a great structure to your bags, without weighting them down. It is also ideal for making protective covers for your electronic devices (mobiles, computers, tablets, e-readers, …). It can replace the usual interfacing + fleece combination in some of your sewing projects.
In this post, I’ll show you a generic flexible foam and its equivalent from Vilene (the brand is called Vlieseline in France) : Style-Vil. I’ll also show you how to use it when sewing bags and other projects.
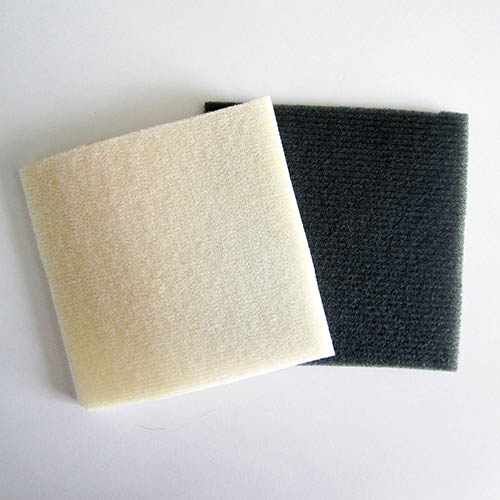
Generic flexible foam or Style-Vil
In France there are mainly 2 available references
- Style-Vil from Vilene / Vlieseline.
- Generic flexible foam called “mousse sur résille” in France (can be bought online, at upholsterers and shops specialized in foam). “Mousse sur résille” is the French generic name for a product often used for upholstery, car headliners, etc … I couldn’t find the exact English name for it but it looks like your best bet for finding some is to look for “foam backed headliner”.
There are other references abroad, similar to Style-Vil. I will not detail them here because getting them is difficult in France, but to quote some : Pellon FF77 Flex Foam Sew In Stabilizer, ByAnnie’s Soft and Stable, Bosal In-R-Form Unique Sew In Foam Stabilizer. Most of these are available in sew-in or fusible versions. Personally I am not a fan of fusible foams, the final result after handling the project does not satisfy me.
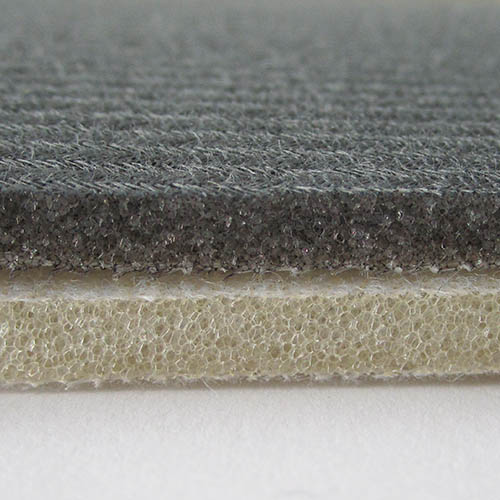
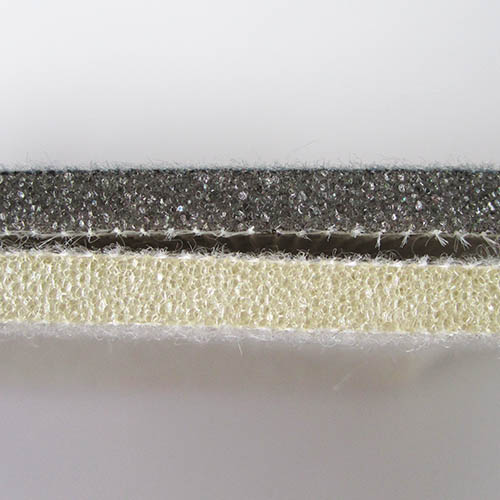
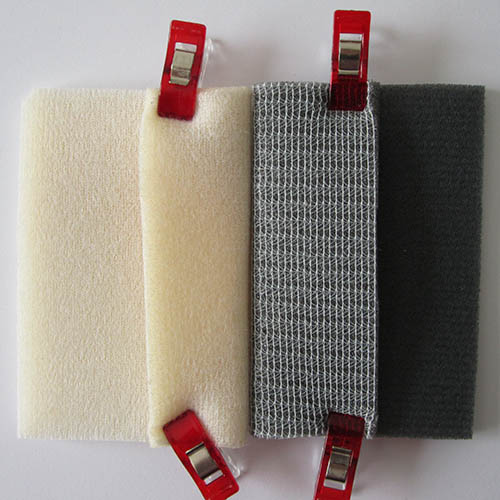
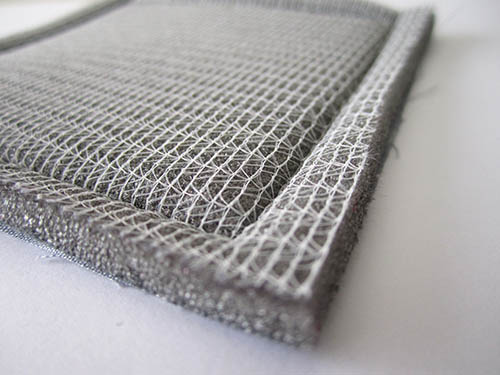
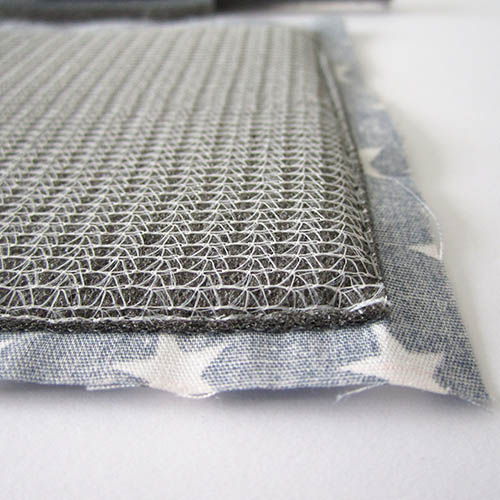
This flexible foams are about 4 to 5 mm thick (3/16″). Style-Vil is a little firmer than the generic foam.
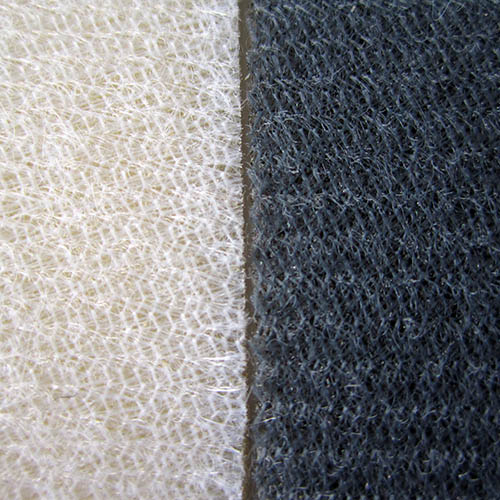
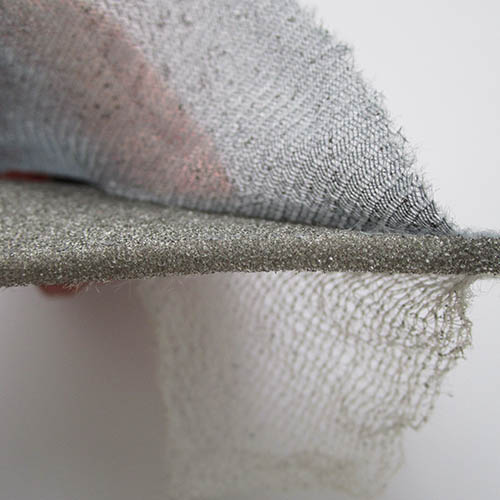
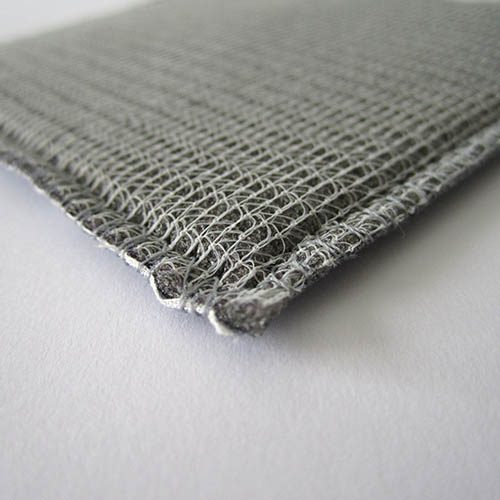
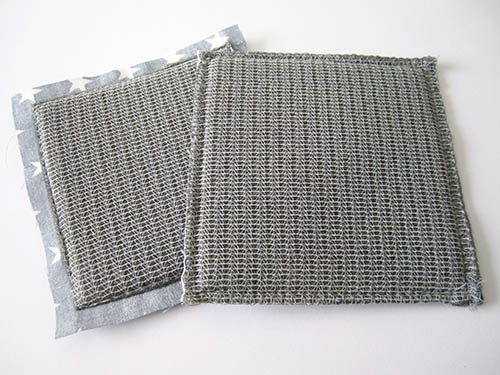
The flexible foam is covered by a net like fabric on both sides. On the Style-Vil the net is fine on both sides. For the generic foam, the net is finer on one side than the other.
Foam prices (in France)
- The Style-Vil costs around 13€ per meter for a 70 cm width.
- The generic flexible foam costs around 6€ per meter for a 140 cm width.
When taking the width into account, the Style-Vil is thus 4 times more expensive than the generic foam. Even if the Style-Vil is a little more pleasant to work with, it does not justify, in my opinion, to pay that much more.
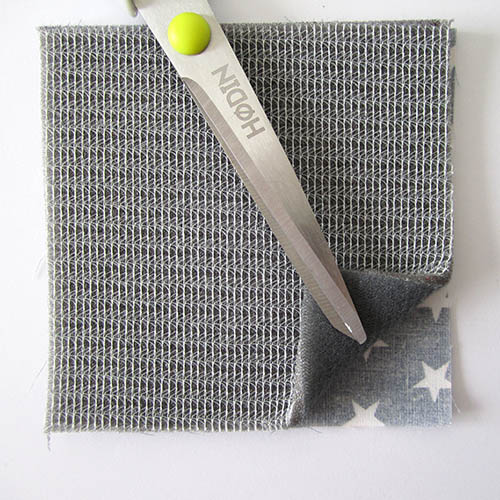
Cutting flexible foam or Style-Vil
Simply cut the flexible foam with your usual sewing scissors or a rotary cutter.
Cut in the foam all the pieces that make up the structure of the bag (bag body, sides, bottom and possibly flap).
Tracing the outline of the pattern pieces is easier on the Style-Vil because of its light color, so an erasable pen does the trick.
To draw on the generic flexible foam (which is dark gray) I usually use a black pen or chalk, and I then cut inside the line.
Sewing flexible foam or Style-Vil
Do not worry, these foams are easy to sew.
They get compressed easily under the foot of the sewing machine and a stichline will keep it compressed.
Which needle to use when sewing flexible foam?
To sew the foam, I use, as always when sewing bags, denim needles size 100.
How to position the foam?
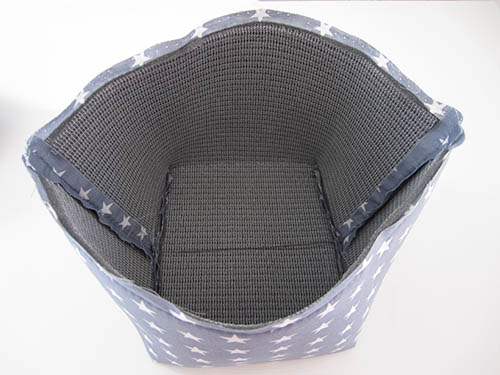
The foam is positioned on the wrong side of the fabric.
You can choose to baste the foam to the outer fabric or to the lining. If the outer fabric is thick or faux-leather, then sew the foam to the lining pieces to limit the thickness of the outer fabric seams.
Basting flexible foam
There are 2 ways to baste the foam to your fabric pieces: with a straight stitch or with a zigzag stitch.
I prefer basting with the fabric towards me and the foam against the feed dogs to better see and control the seam allowance.
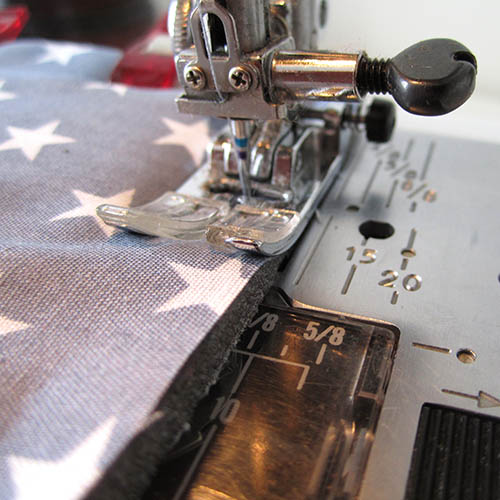
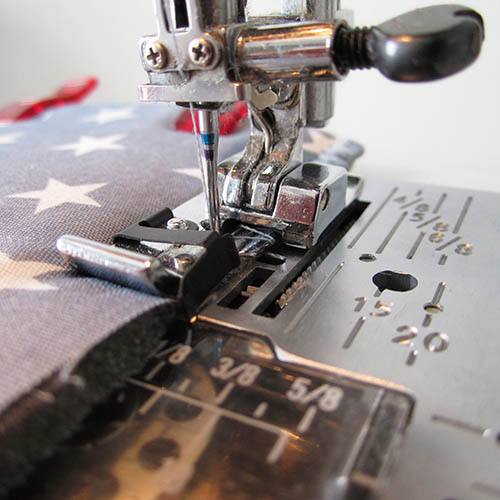
Basting with a straight stitch
- Set the stitch length to 4.5 – 5 mm.
- Stitch with a seam allowance a hair smaller than the seam allowance used for the project (example: baste at 0.8 cm if the seam allowance is 1 cm).
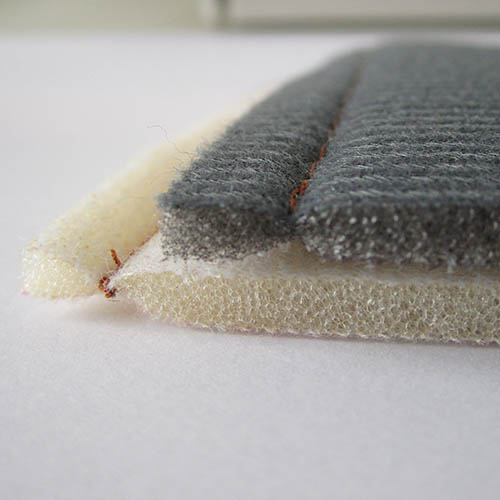
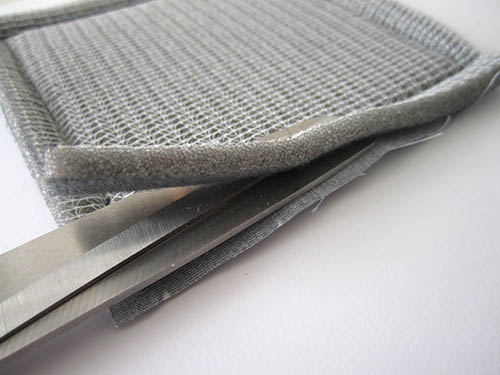
- To reduce the thickness of the seam allowance, trim the foam close to the basting stitch. Be careful not to cut the fabric!

Basting with a zigzag stitch
- You can baste with a sewing machine or a serger.
- Set the zigzag stitch to a large width and a small length. A large width of the zigzag stitch will flatten the foam in the seam allowance. But beware: the stitch width must be less than the seam allowance of the project (example: if the seam allowance is 1 cm set the stitch width to 7 mm).
Test the 2 methods and choose the one you prefer!
Personally I prefer basting the foam with a straight stitch and trimming its seam allowances because I find the look of the end project better this way.
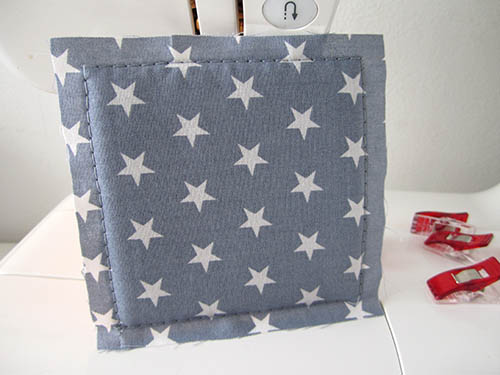
Once the foam is basted to the necessary pieces, you can sew them together to make your bag, cover, …
To press seams open, always use a pressing cloth between the foam and the iron sole plate.
Tip: keep the foam scraps, they can be used to strengthen your fabric when installing magnetic snaps, tuck catch closures,…
That’s how to use flexible foam or Styl-Vil to give body to sewing your projects.
Bonne couture!

Very helpful, thank you! : )
Very helpful – thank you for the information and tips.
I also use headliner, (from EBay), the other is way too expensive.
I don’t bother to cut out pattern pieces in the headliner. I find it’s quicker to just roughly cut a piece of headliner a bit larger all round than the pattern piece, pin the fabric piece, right side up, to the headliner, and baste as shown here, using the fabric edge as a guide. It’s then very easy to cut away the excess headliner close to the basting stitches, again, as shown.
Thanks for a very clear and helpful blog.
Thanks for these tips Viv !
Thank you for the great info!!! I have no experience with sewing foam and have been struggling with how to proceed. You answered many of my questions and your pics showing what to do are excellent!