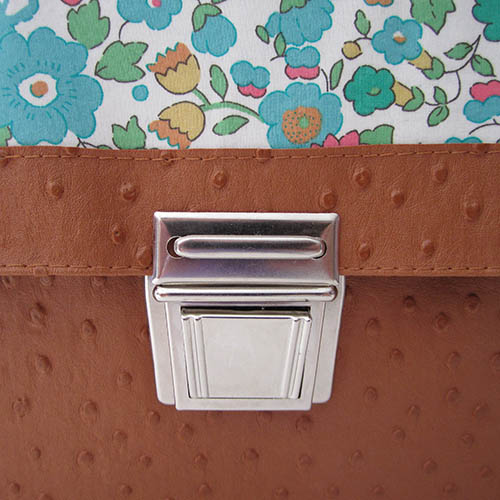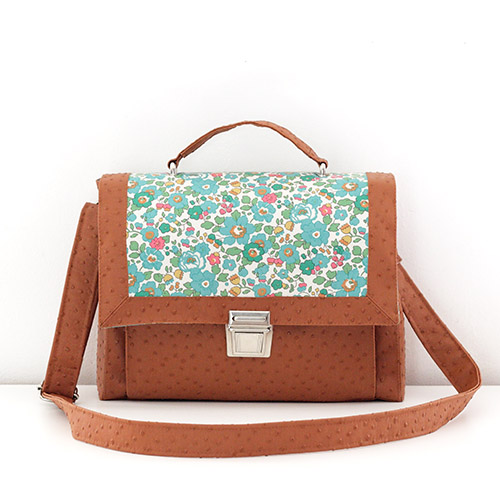
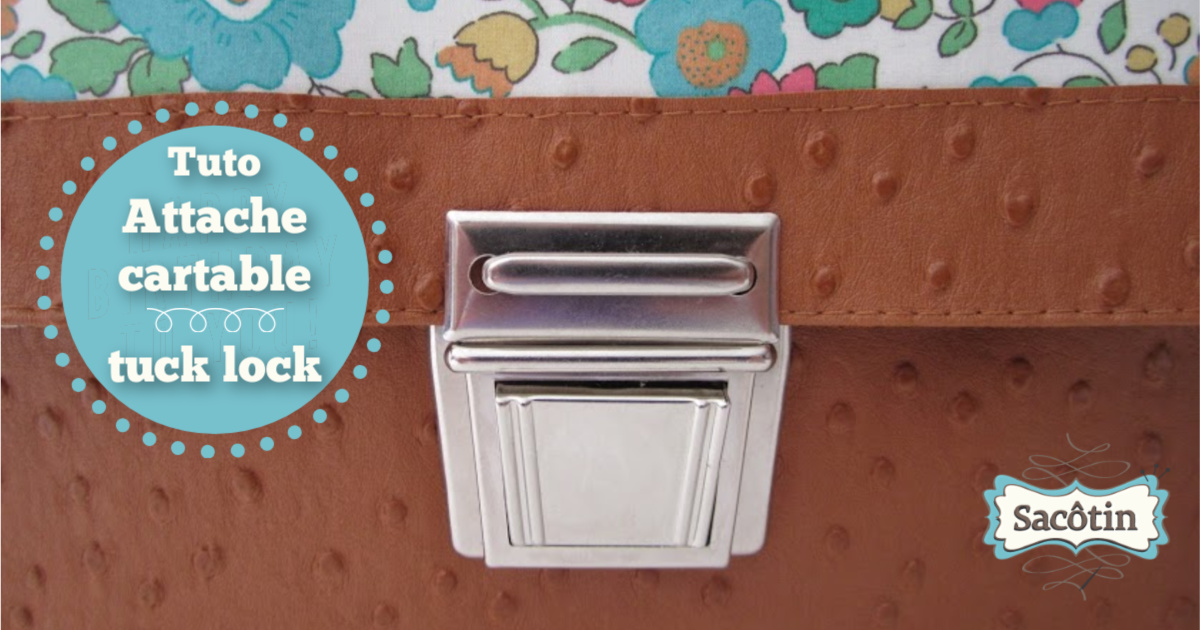
Here is a tutorial to learn how to install a tuck lock. The tutorial shows the installation of the tuck lock closure on the Quadrille bag.
{Tutorial} How to install a tuck lock
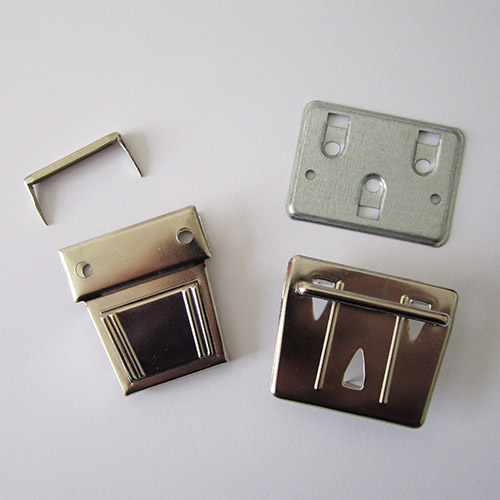
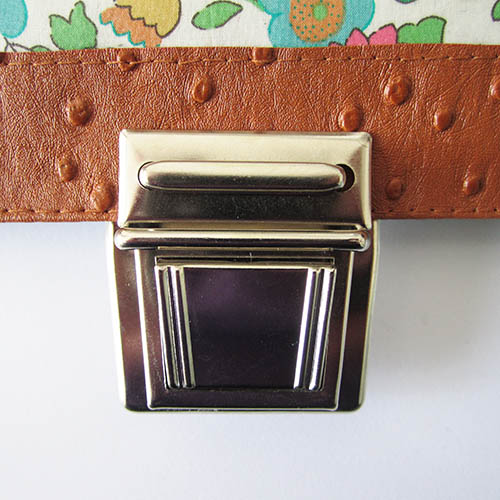
The tuck lock is composed of 4 pieces:
- The male part with button.
- The staple (which will secure the male part).
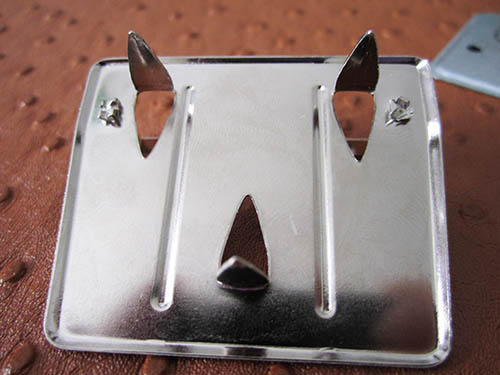
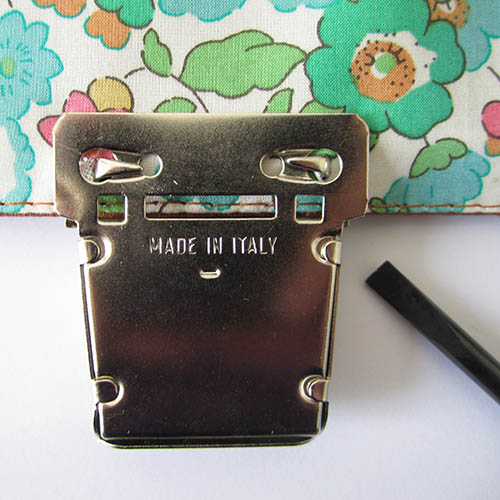
- The female part (part that receives the button).
- The washer (which helps securing the female part).
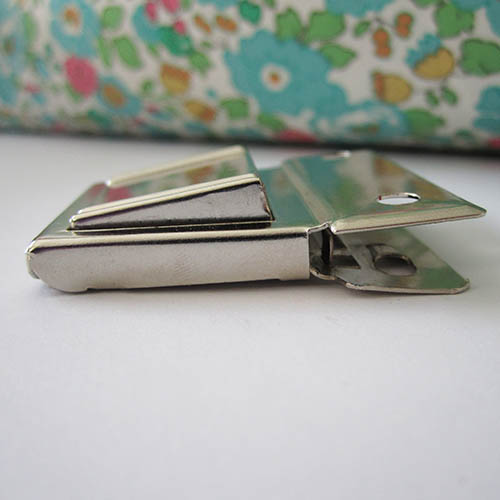
The button/male part is usually attached to a flap (already lined) and the female part (which receives the button) is attached to the body of the bag or to a pocket.
Personally I like the washer (= the back of the female part once attached) to be hidden, so I install the tuck lock while assembling the bag, before sewing the lining to the bag (or pocket).
If you don’t mind seeing the washer, you can install the tuck lock once your bag is done.
I – Installing the male part of the tuck lock
Mark
Slide the male part of the tuck lock into position at the bottom edge of the flap, placing it at the desired location (here it’s the middle of the flap).
Draw 2 markings on the flap, through the 2 holes of the male part.
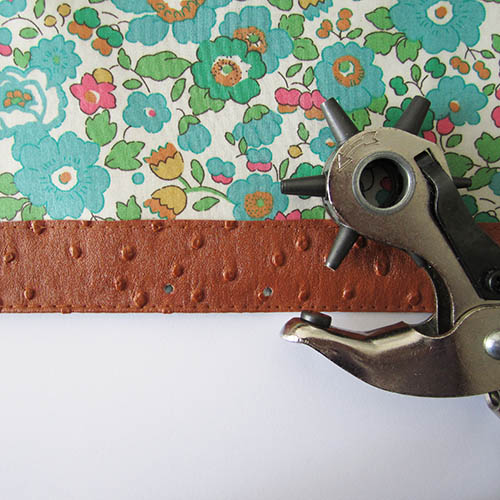
Pierce
Remove the lock and pierce the flap through the 2 markings.
I use a leather punch, but you can also use the tip of embroidery scissors.
Install
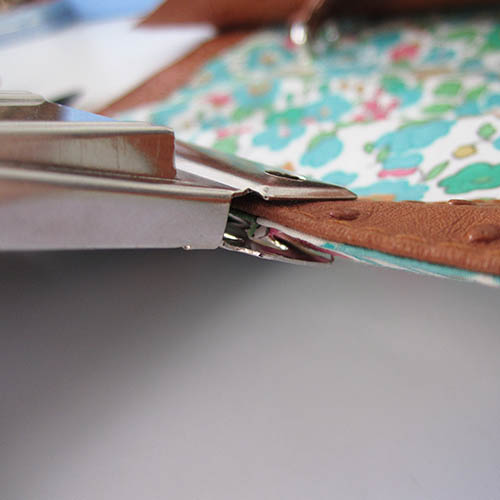
Put the button back into position on the lower edge of the flap.
Slide the staple through the button and flap holes.
Flip the flap to the wrong side and fold the prongs of the staple inward to hold the button in place.
I use the tip of a flat-head screwdriver to bend the prongs.
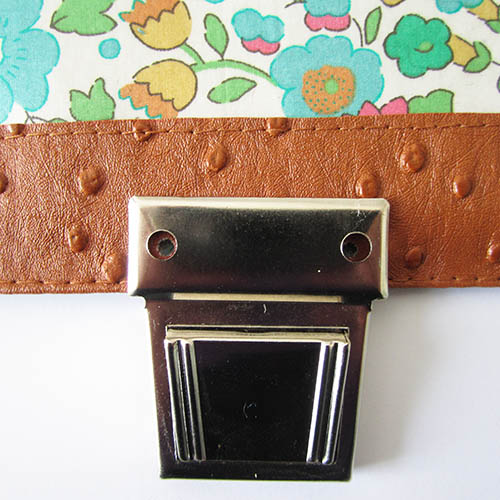
II – Installing the female part of the tuck lock
Markings
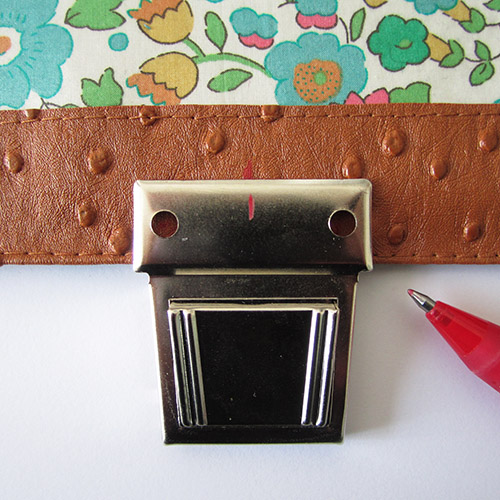
Slide the button into the female part.
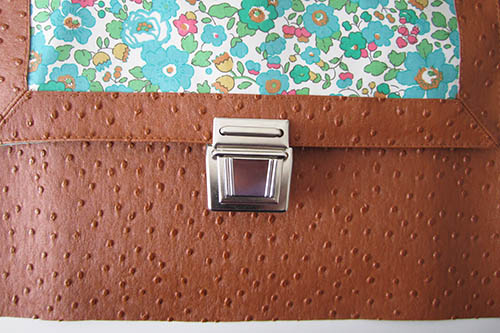
Put the flap on the right side of bag body or pocket, where the female half of the lock will be attached. In this tutorial it’s a pocket.
Center the flap on the pocket.
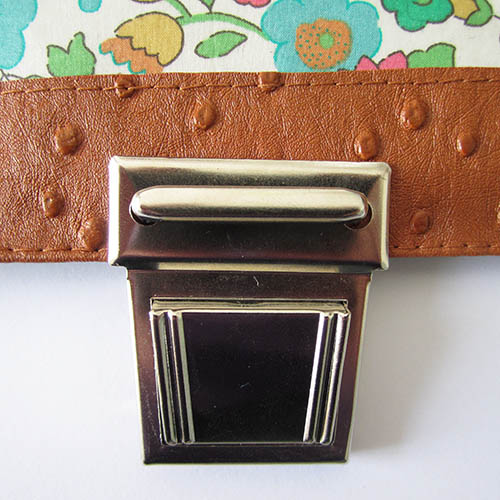
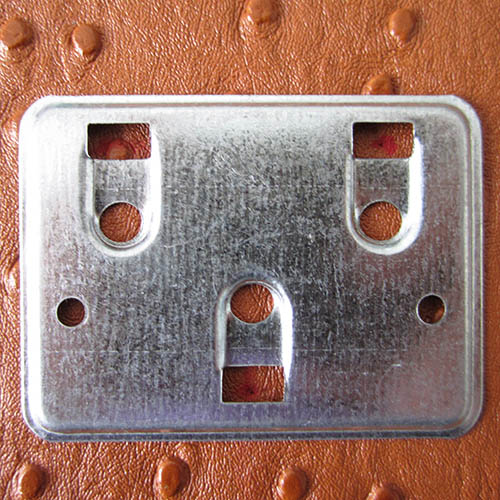
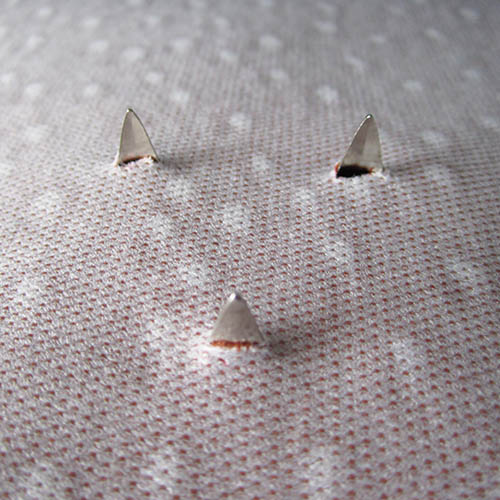
Press firmly on the lock to make imprints of the prongs on the pocket (or bag body).
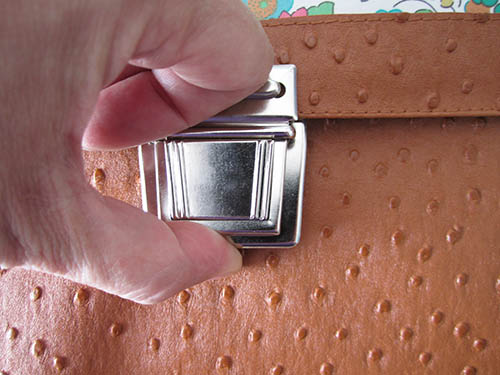
With a pen draw the imprints of the prongs before they disappear.
Check the placement of the markings by placing the washer over them. If needed, readjust and draw precisely.
Pierce
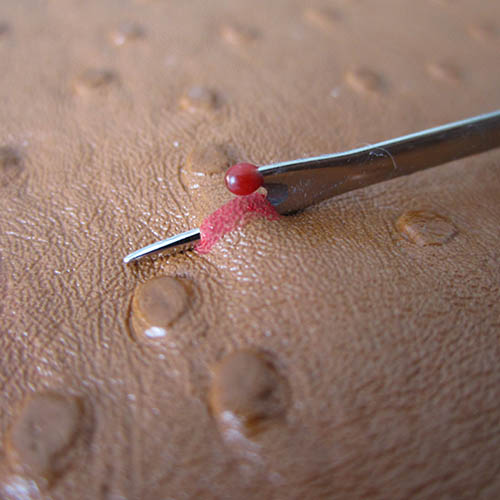
Carefully nick the fabric through the markings.
I use a seam ripper to make these cuts precisely.
Install
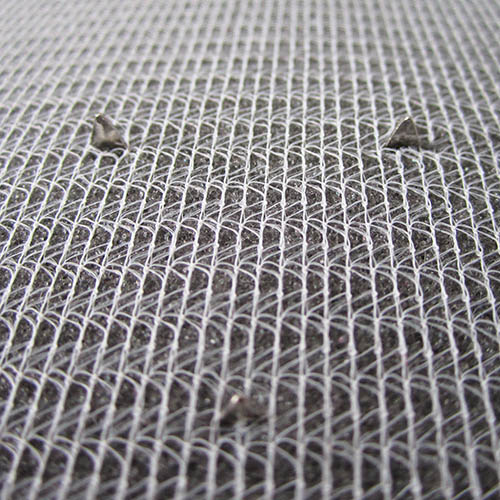
Install the female half of the lock on the pocket (or bag body), sliding its prongs through the holes.
Reinforce
It is important to strengthen the area where the tuck lock is attached.
To reinforce the back of the fabric, you can use flexible foam (flexible foam tutorial), fleece, ultra firm stabilizer, …
In this tutorial I used a large piece of flexible foam because I want to give structure to the pocket. Depending on your project, a square covering the area of the tuck lock will suffice.
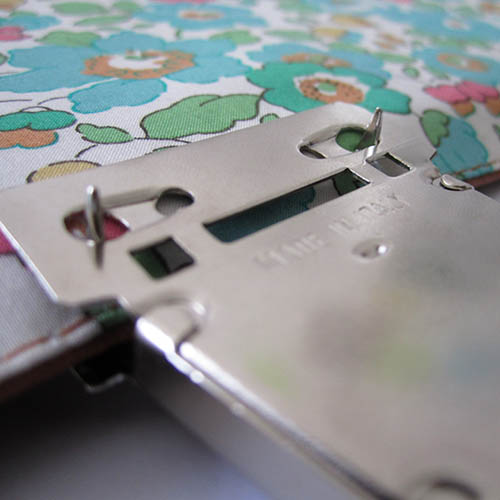
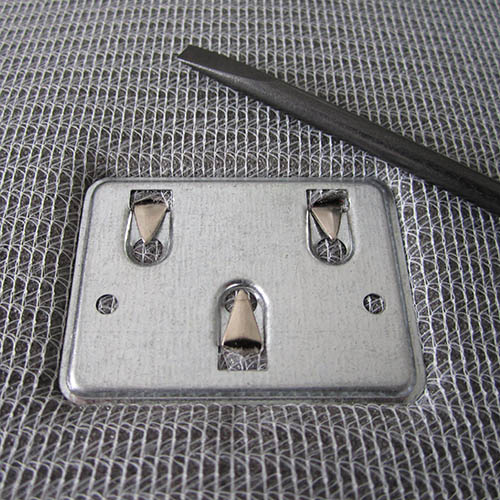
On the wrong side, place the washer over the reinforcement and slide the prongs through it.
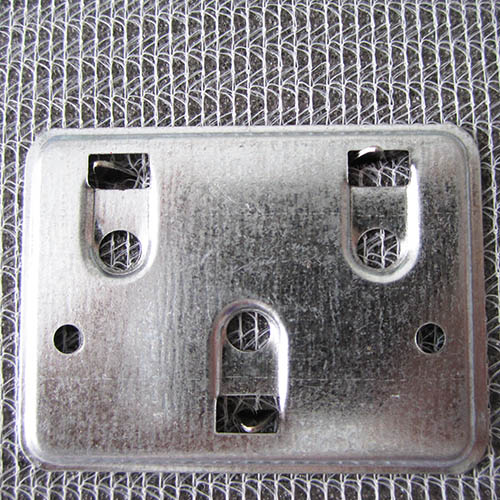
Fold the prongs, inwards, over the washer.
I use the tip of a flat-head screwdriver to bend the prongs.
Tuck lock installed !