
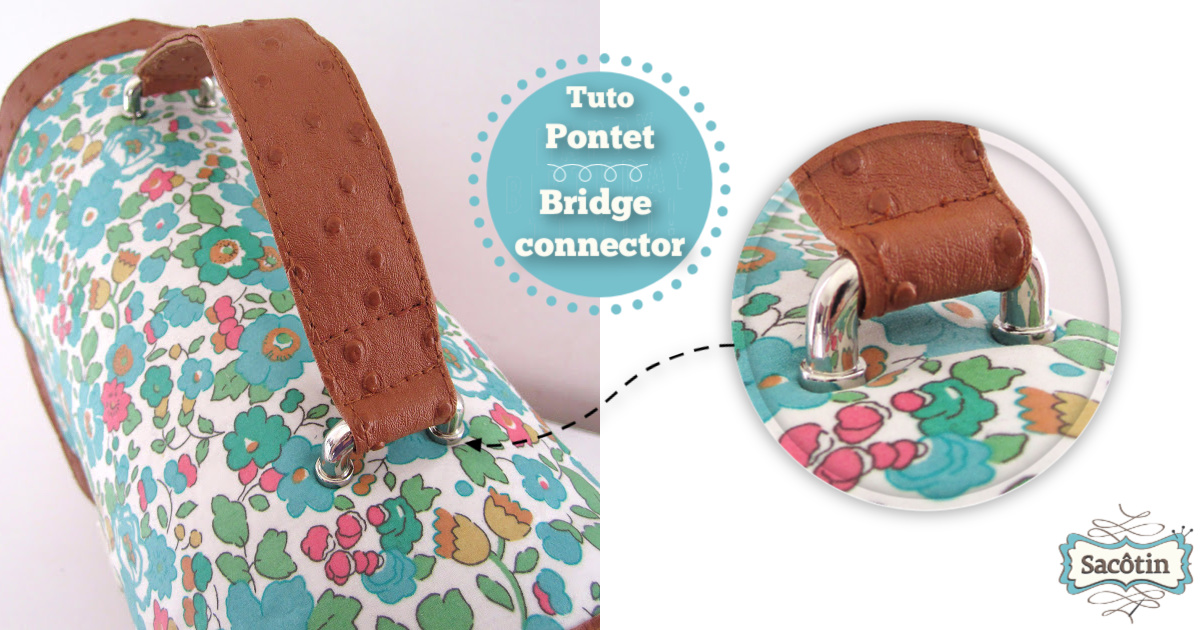
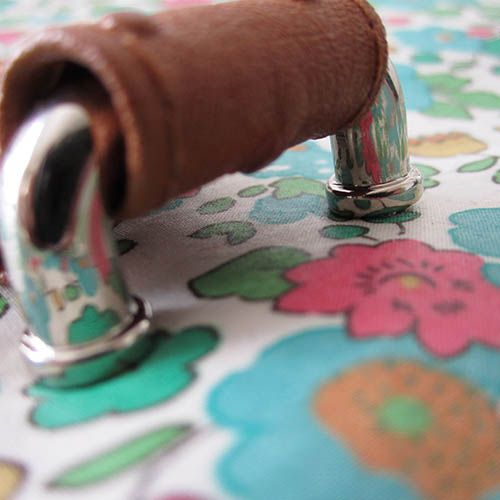
A bridge connector is an accessory that is installed on a bag and allows to attach a handle, the lobster clasps of a strap, etc …
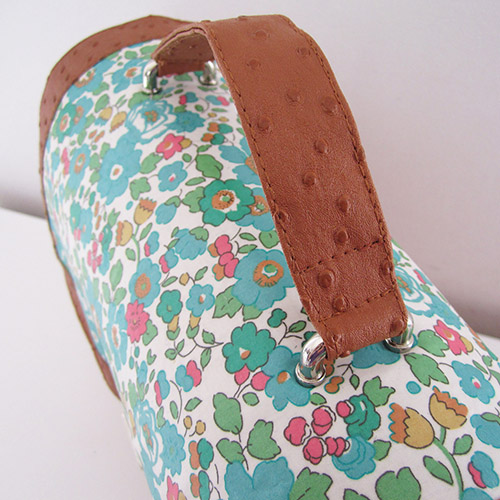
For example, 2 bridge connectors are used to attach the handle of the Quadrille bag.
As you will see in this tutorial, the installation of a bridge connector is much simpler than the professional result may suggest.
{Tutorial} Installing a bridge connector
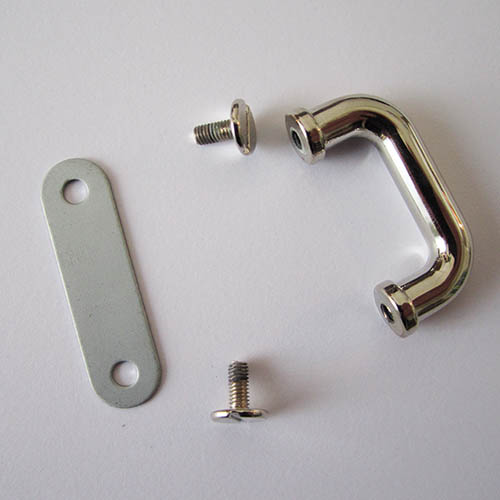
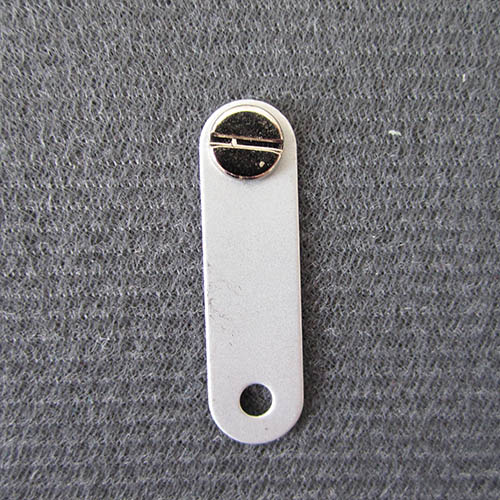
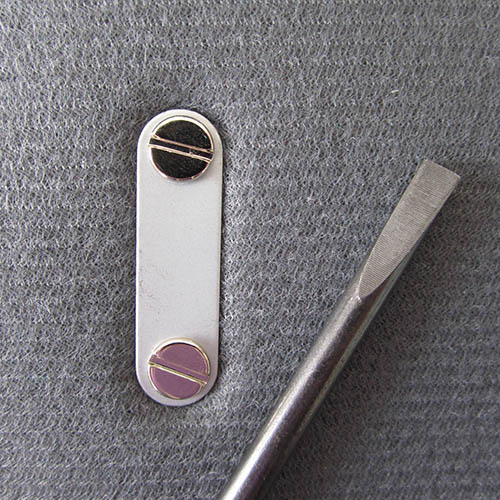
The bridge connectors I use consist of 4 pieces:
- the bridge
- the washer
- 2 screws
Tools / material required for installation:
- Leather punch or embroidery scissors or seam ripper to make the holes
- Screwdriver
- Reinforcement, for example: flexible foam (flexible foam tutorial), fleece, ultra firm stabilizer, high-density cardboard, …
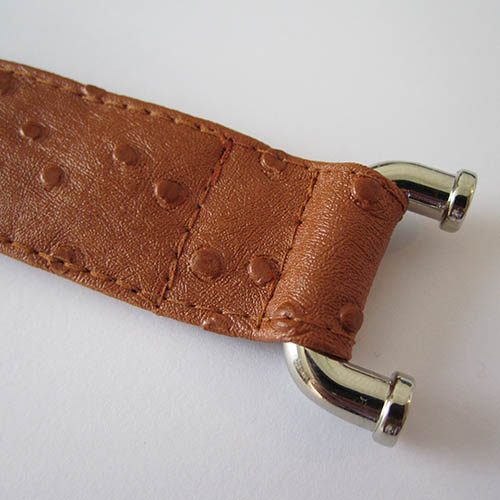
For this tutorial, I first sewed the handle of the Quadrille bag and slid the bridges in position in the handle (without screw or washer).
If the bridge connector is intended to attach a lobster clasp, it will be installed on its own.
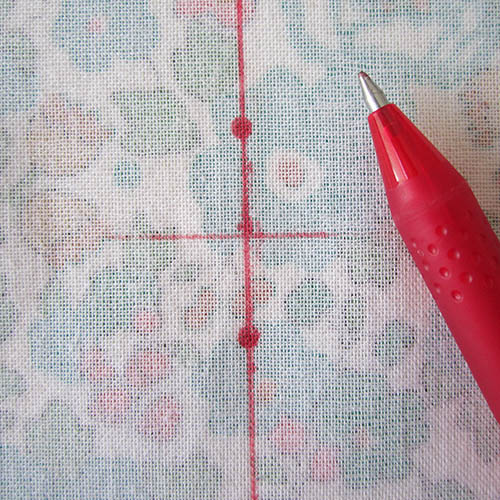
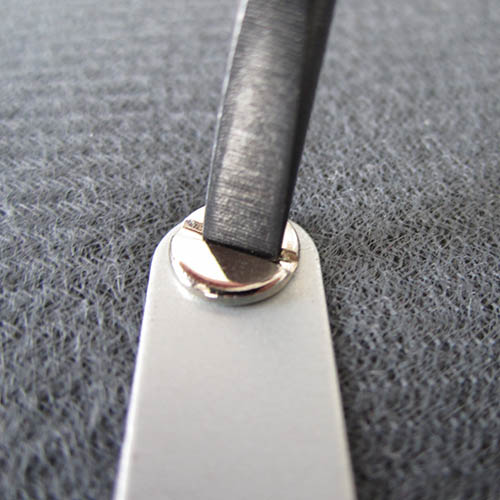
Mark
On the wrong side of the piece of fabric where the bridge connector should be installed (here the flap of the Quadrille bag), center the washer on the placement marking (or where you want to attach the bridge connector on your project).
Make markings on the fabric, through the 2 holes of the washer.
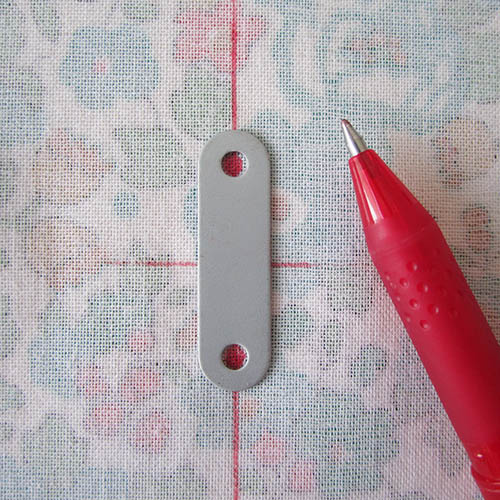
2 bridge connectors must be fixed on the flap of the Quadrille bag, so I repeat the process to mark the 2 holes of the 2nd bridge connector.
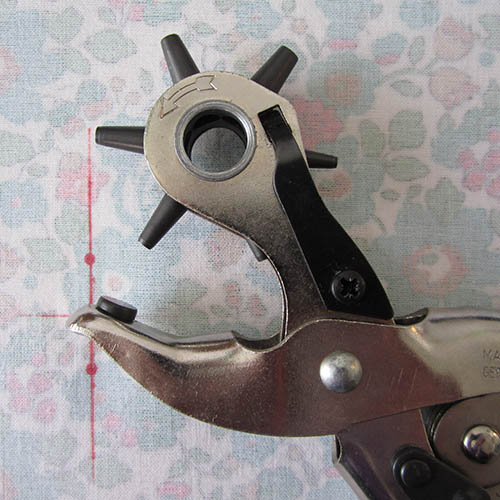
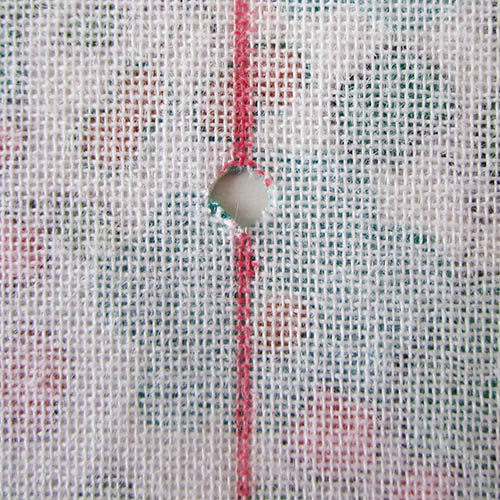
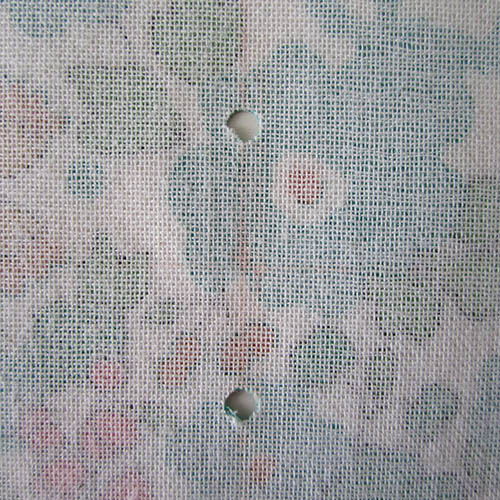
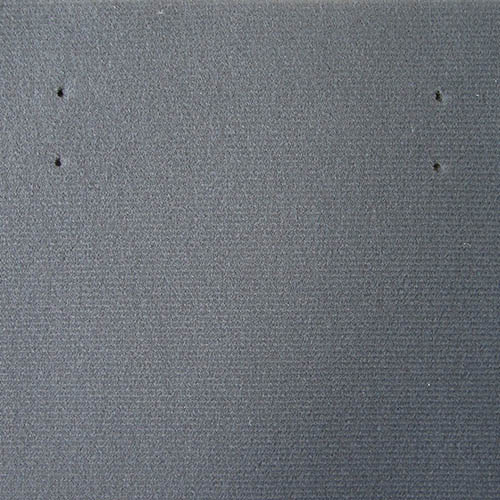
Pierce
Pierce the holes in the fabric.
A leather punch is great for making these holes, but you can also use the tip of embroidery scissors.
If your fabric is fraying and is not interfaced, use some fabric glue on the edges of the holes to prevent further fraying.
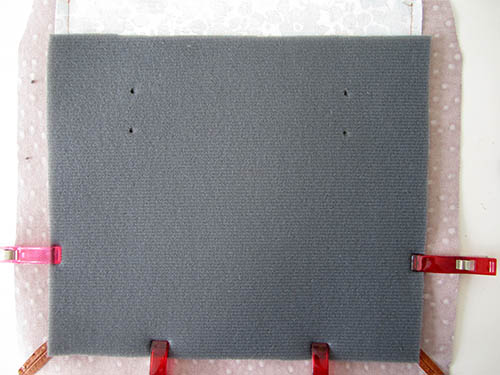
Reinforce
It is important to strengthen the area where the bridge connector is attached.
In this tutorial I used a large piece of flexible foam (flexible foam tutorial) because I want to give structure to the all flap. Depending on your project, a square covering the area of the bridge connector will suffice.
Instead of flexible foam you can use fleece, ultra firm stabilizer, high density cardboard, etc … You can also combine several !
Mark and pierce the holes in the foam.

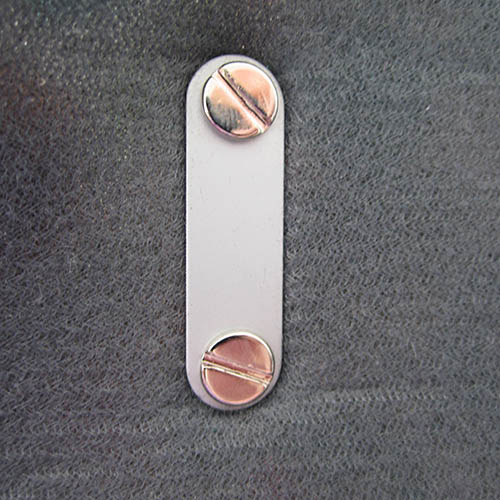
Install
On the wrong side of the flap, stack the flexible foam and the washer.
Align holes.
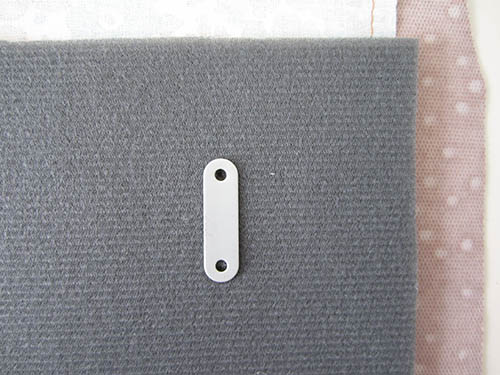
Still on the wrong side, slide a screw through a hole in the washer, foam, and fabric.
On the right side, insert the screw into a leg of the bridge.
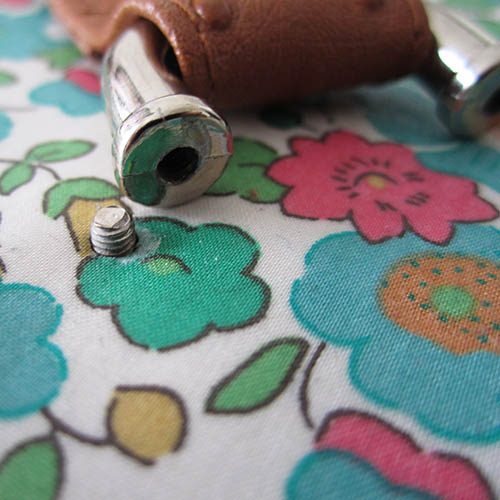
On the wrong side, screw a few turns (not tight).
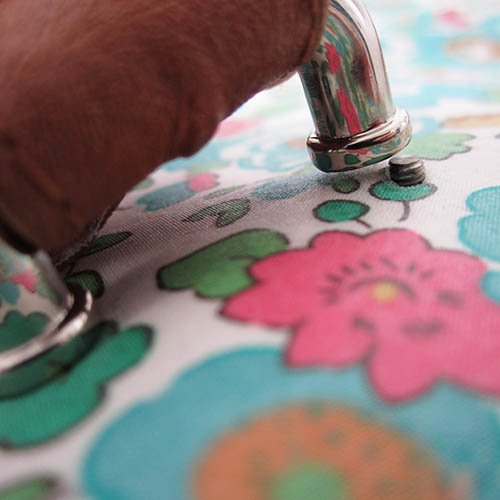
On the wrong side, slide the second screw through the second hole of the washer, foam and fabric.
On the right side, insert the screw into the second leg and screw a few turns.
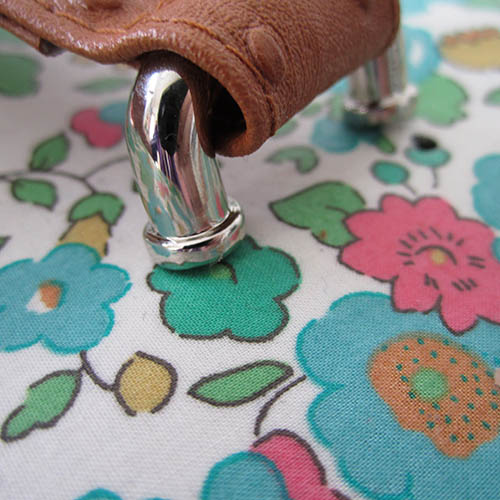
If everything is OK, tighten the two screws.
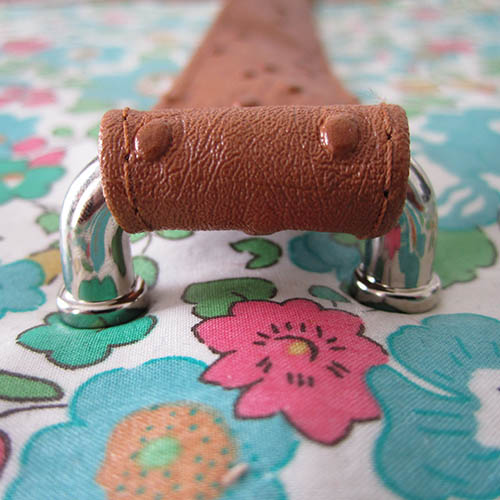
For the Quadrille bag, repeat the steps to attach the second bridge connector.
You see, it’s not rocket science to install a bridge connector 🙂