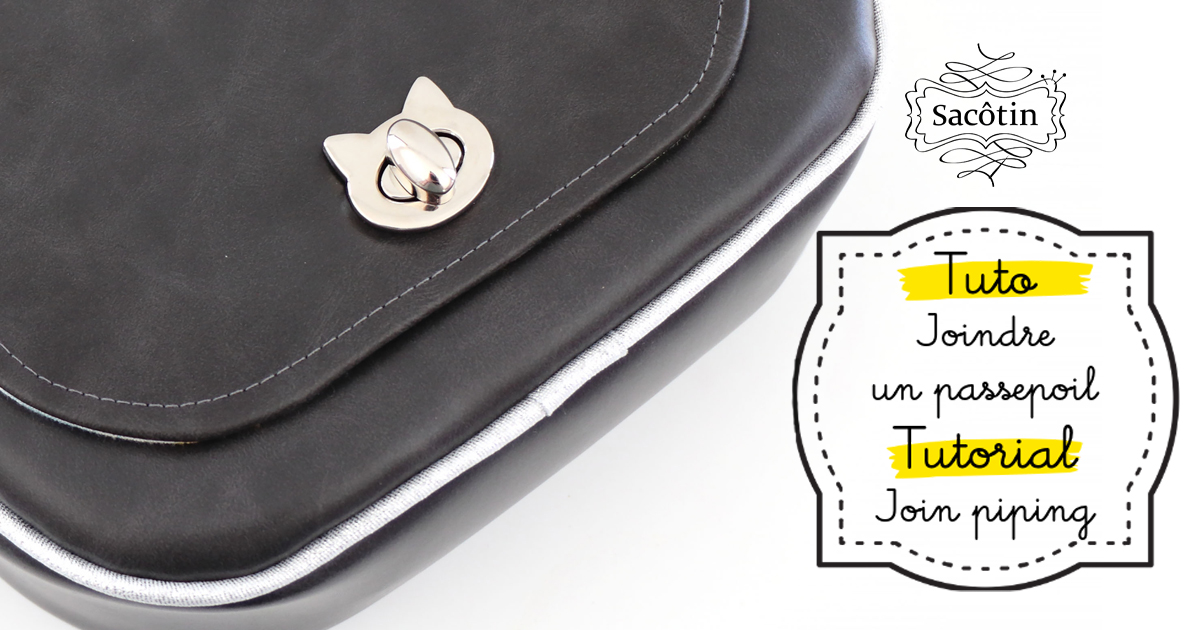
Here I show you my favorite easy and clean technique for joining piping.
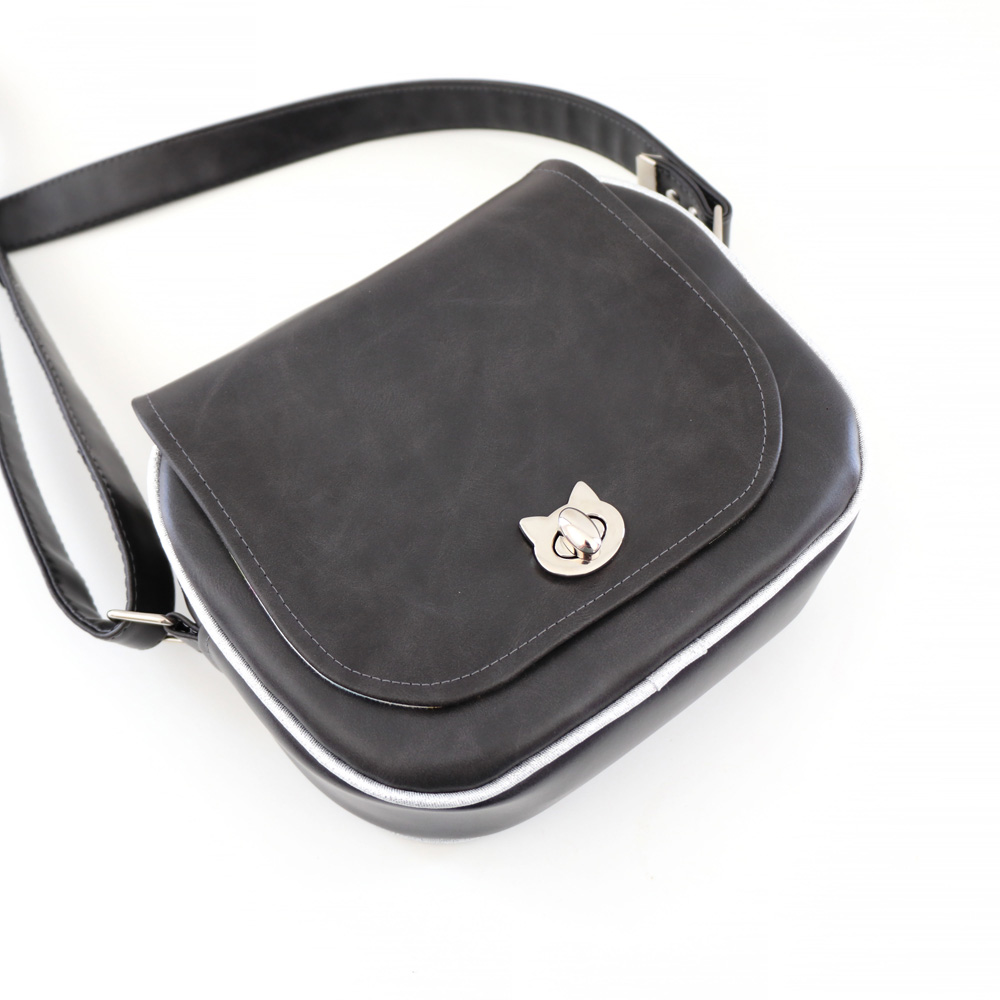
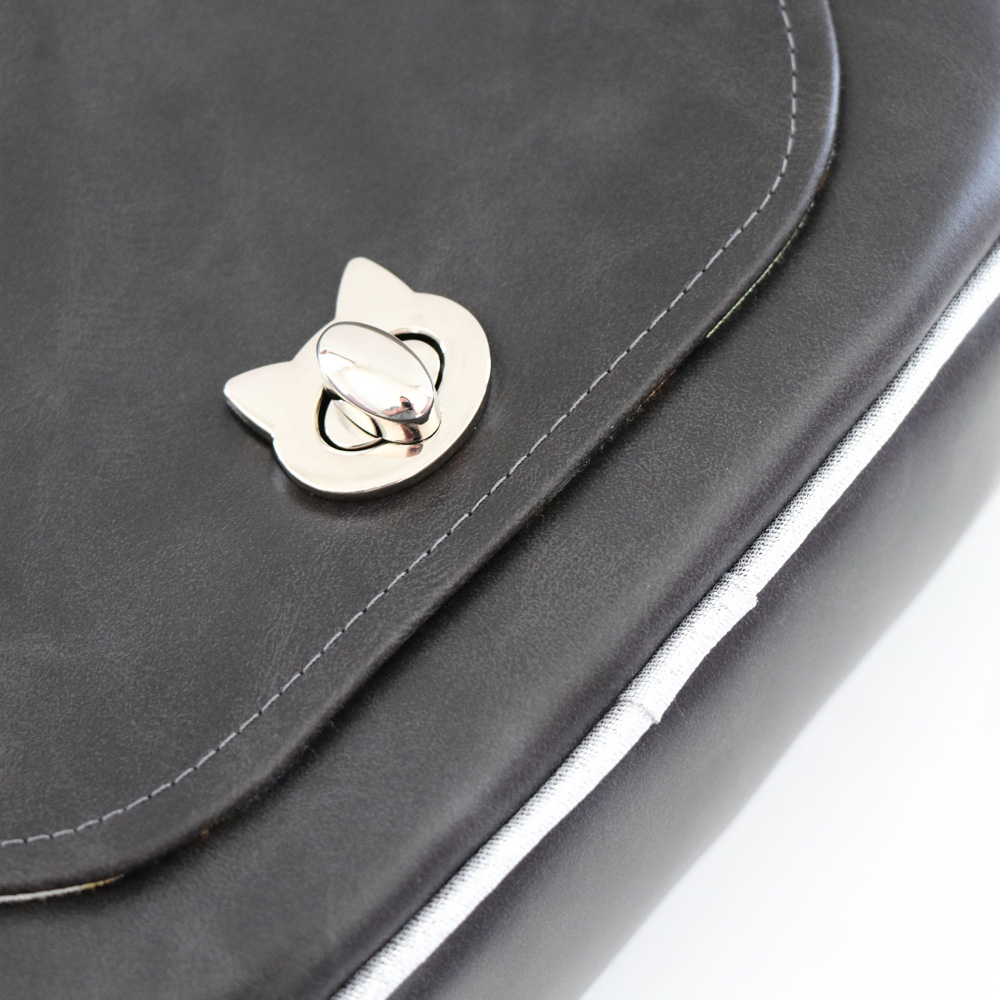
This is the technique used for example on the Disco bag.
Sewing piping can be intimidating and it’s an extra step, but it’s not that difficult to sew and it beneficially
hides small flaws in rounded seams while helping to define curves. Getting beautiful curves without piping
requires more technique.
1 – Prepare the piping connection
The joining will be less visible if the piping can be unpicked, but the technique can also be used for piping that can’t be unpicked (see below).
The piping can be unpicked

The piping can usually be unpicked if its flat part can be separable into 2 parts and the stitchline is clearly visible on the piping.
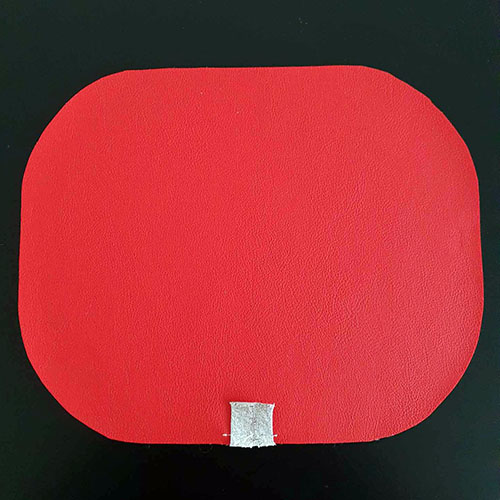
1 – In this case to create the connection cut a piece of piping:
- Vinyl piping : 2 cm (3/4″) long.
- Cotton or fraying piping : 4 cm (1 1/2″) long.
2 – Unpick and open the small piece flat, remove cord and thread.
If it’s a fraying fabric, fold the sides towards the center, wrong sides together and press. The piece is now 2 cm (3/4″) wide.
The piping can NOT be unpicked

The piping can’t be unpicked if its flat part is not separable and no stitchline is visible along the cord.
In this case to create the connection, cut from a coordinating fabric:
- If vinyl or cork: 2 cm W x 3 cm H (3/4″ x 1 1/4″) piece.
- If the fabric frays : 4 cm W x 3 cm H (1 1/2″ x 1 1/4″) piece. Then fold the sides towards the center, wrong sides together and press so that the piece is 2 cm W x 3 cm H (3/4″ x 1 1/4″).
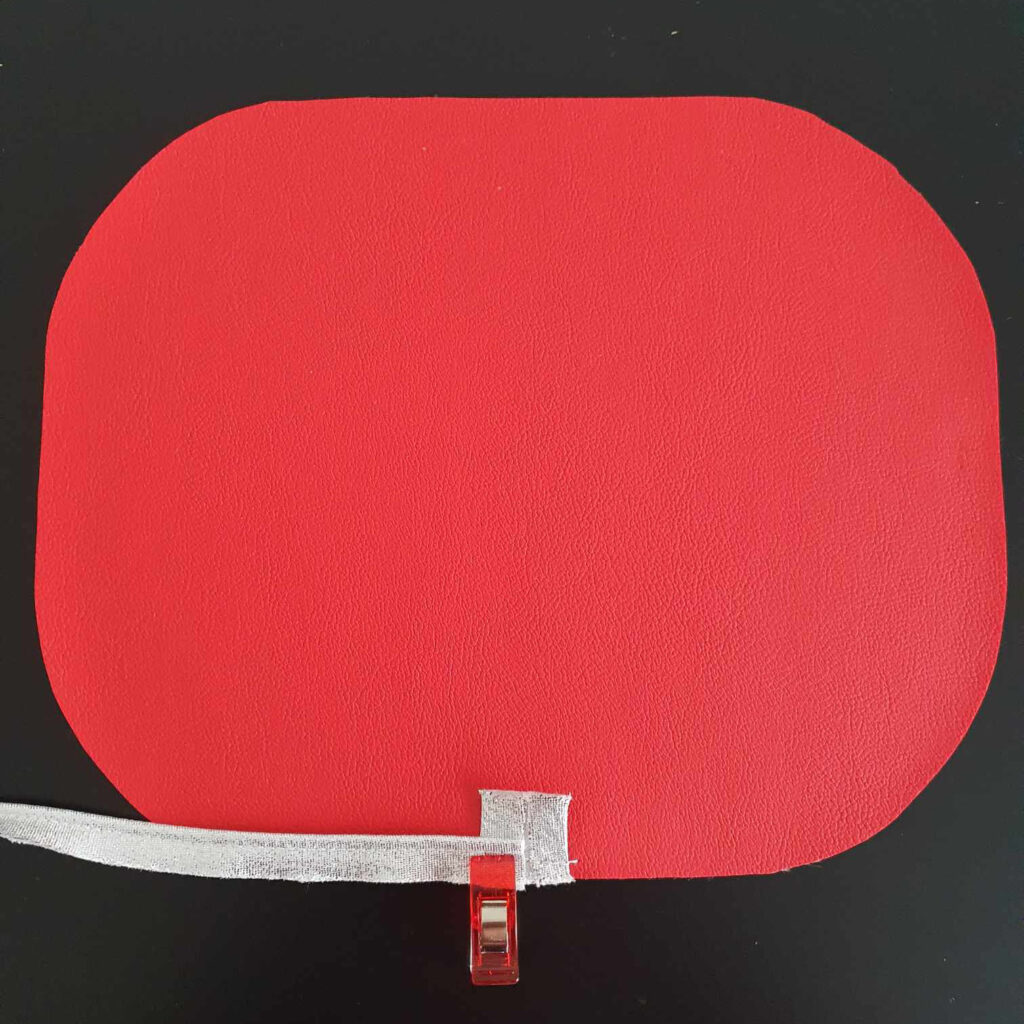
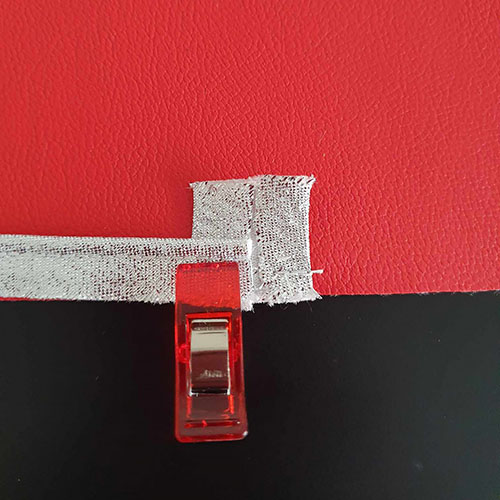
2 – Baste the tab on the fabric piece
Baste the connecting tab to the bottom edge of the fabric piece, right sides together.
3 – Sew the piping to the fabric piece
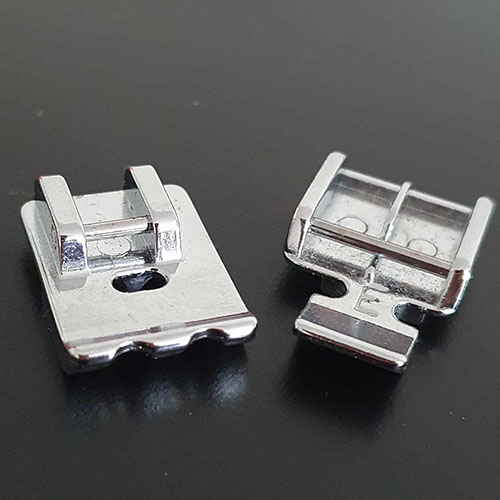
1 – Settings
- Install a zipper foot, a piping foot, or any foot that will allow you to stitch flush with the cord, on the existing stitching of the piping.
- Install a thread the color of the piping for the spool and a thread of a color that will be clearly visible on the fabric piece wrong side for the bobbin. For the bobbin, using a thread that will be clearly visible on the fabric wrong side, is making life easier for the future assembly steps, because this stitchline will be the guide on which to stitch !
- Set the stitch length to 3.
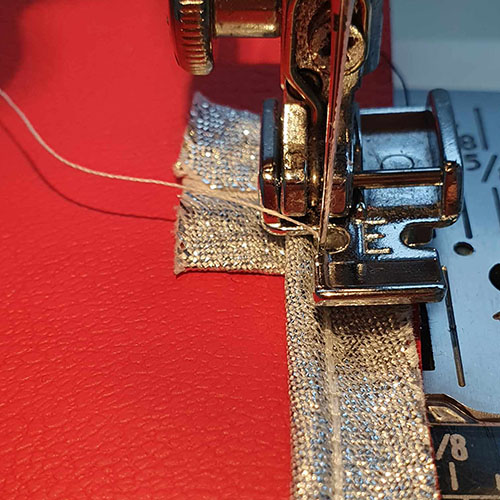
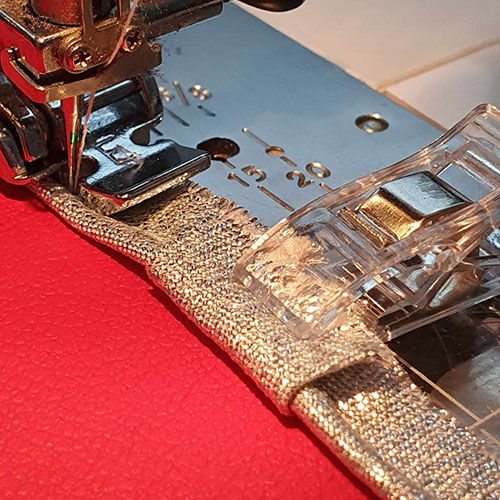
2 – Sew the piping
- Put one end of the piping on a fabric piece right side, centering it over the connecting tab.
- Stitch flush with the cord, on the existing stitching of the piping. If necessary, clip the piping to adapt it to the curves of the piece.
- Stop sewing 2-3 cm (1″) from the starting point, leaving the needle sunk into the fabric.
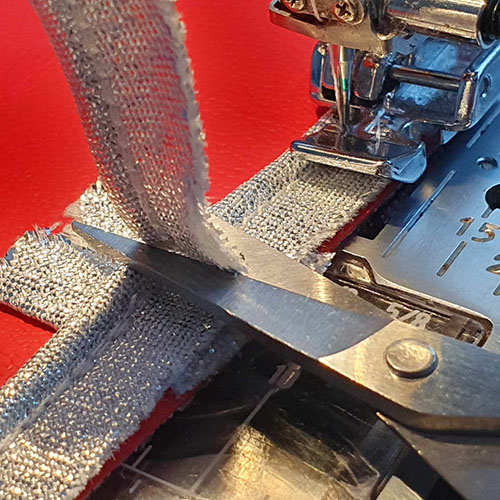
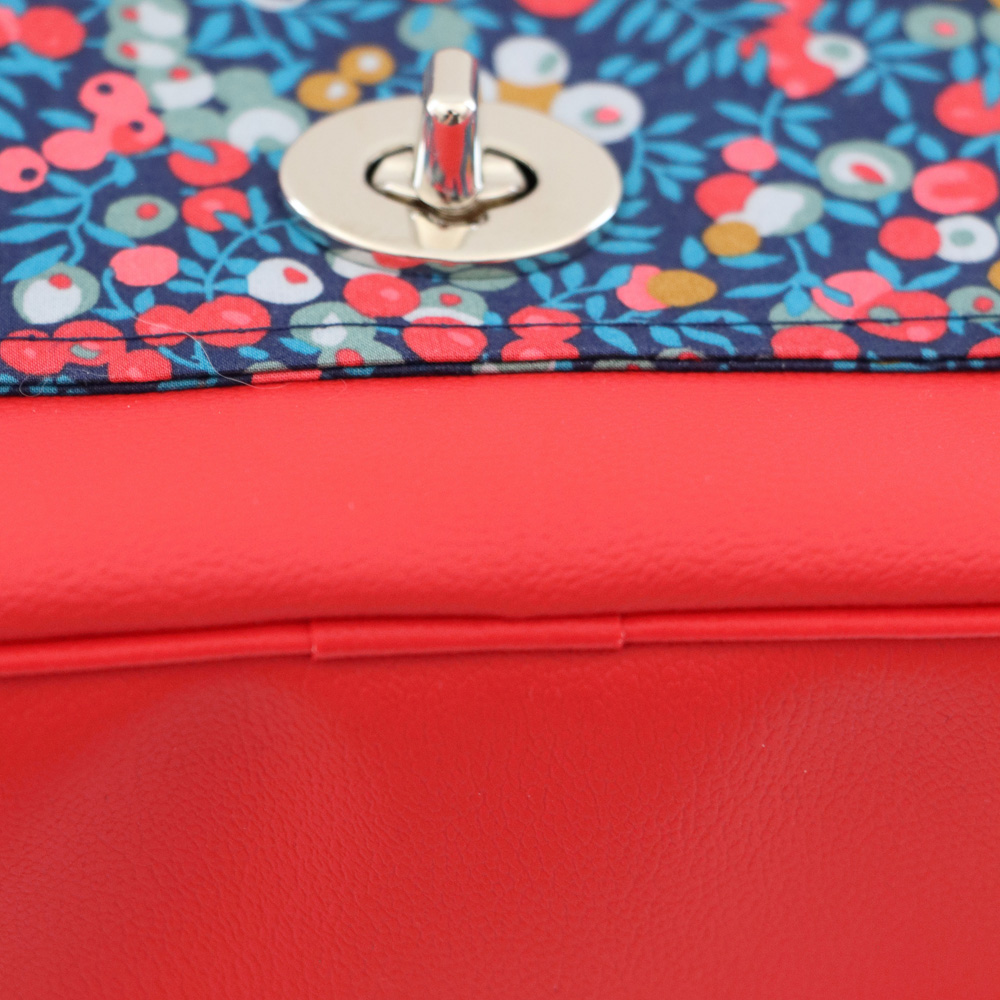
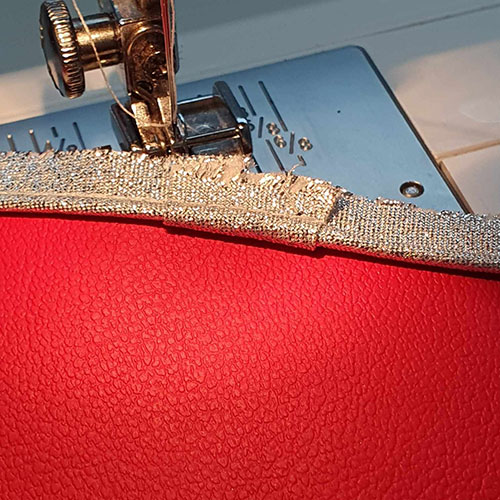
2 – Join the piping
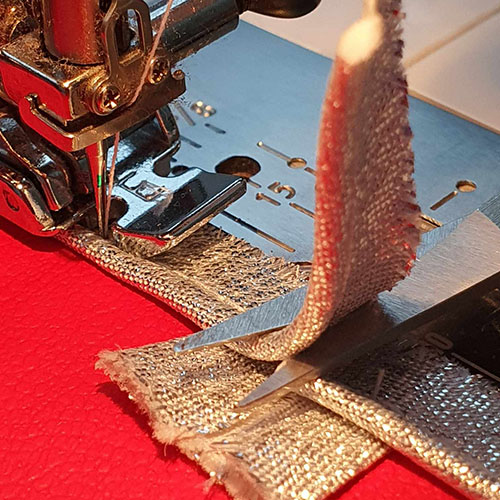
- Cut the free end of the piping so that the two ends touch each other.
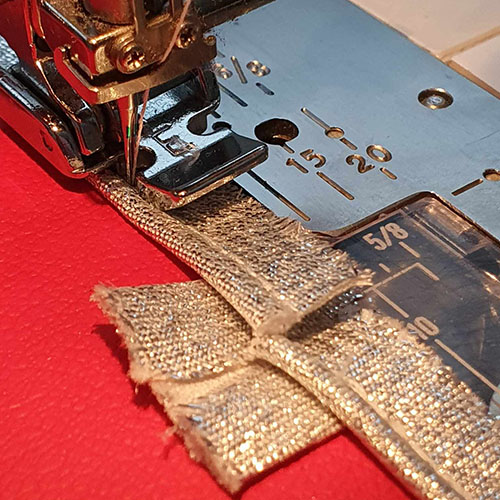
- Fold the tab down over the ends of the piping and continue stitching to complete the round. Backstitch.
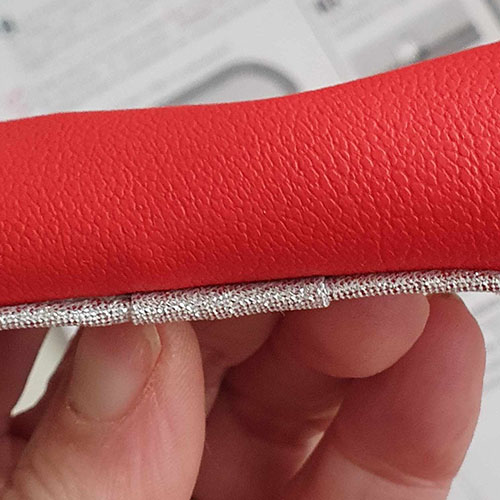
Here is the result of this technique on some Disco bags