
A very simple way to add a closure to your purse is to use a magnetic snap. So here is a “magnetic snap tutorial” to guide you step by step on how to install this type of closure.
This is a tutorial you might need to sew the next Sacôtin pattern… I’m just saying…
Magnetic snap tutorial
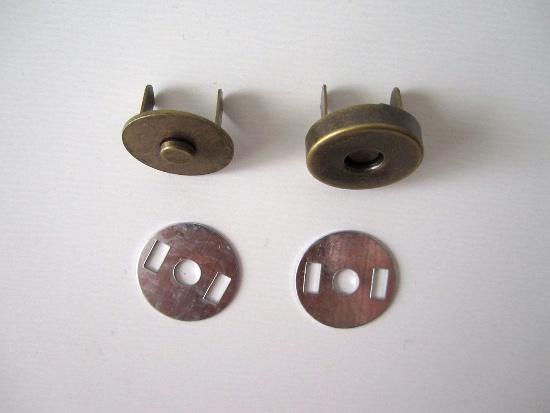
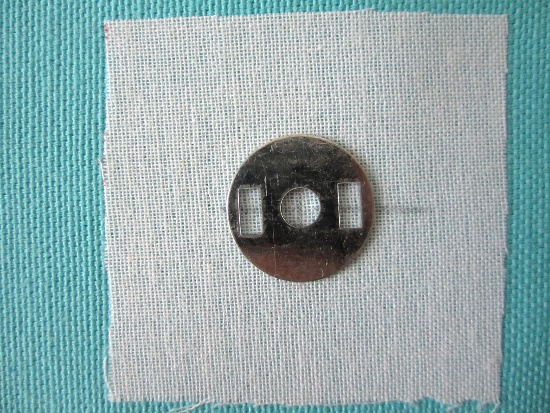
The snap comes in four pieces: a male part, a female part and two washers. Magnetic snaps come in various sizes and finishes.
The 2 parts of the snap should be installed before sewing any assembly seam.
Prep
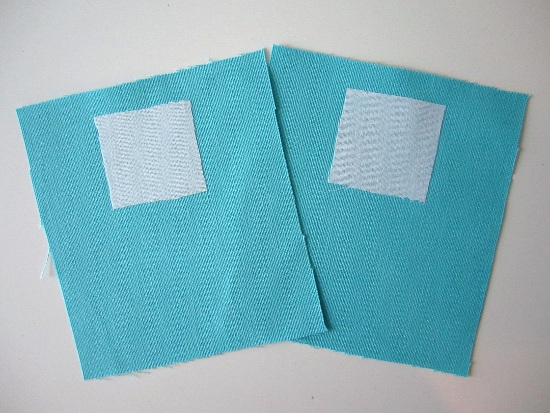
To make your fabric more resistant to the pulling it will be submitted to when opening the magnetic button, fuse a small square of stabilizer (5 cm x 5 cm / 2″ x 2″) over the two areas where you’ll install the 2 halves of the magnetic closure. You’ll fuse your interfacing on the wrong side of your fabric.
Mark
Using your pattern, transfer the snap placement marking to the wrong side of your fabric.
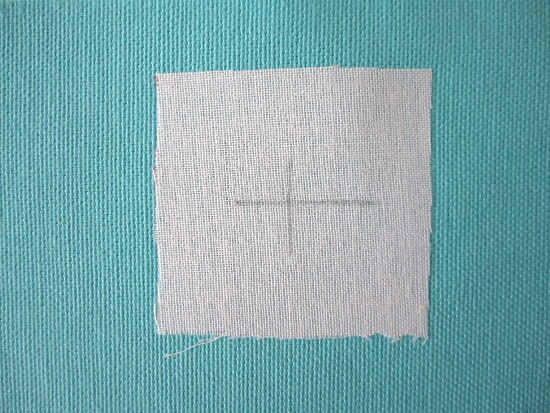
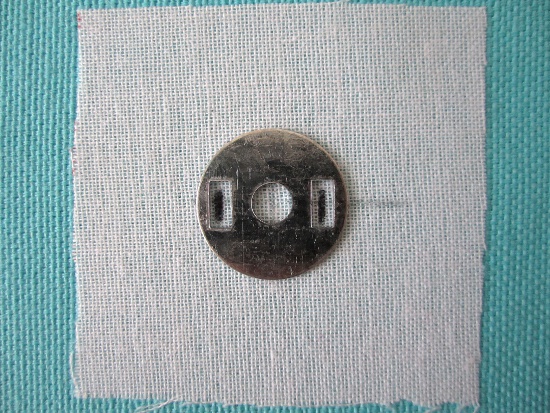
Place a washer over your marking, centering the hole on the intersection of the cross.
Mark the two notches.
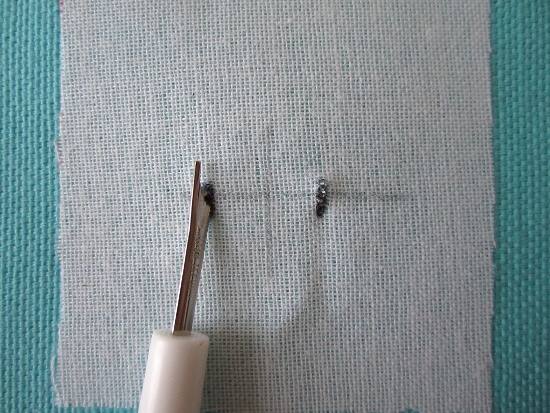
Cut
Using your seam ripper, carefully and gently nick through the two notches.
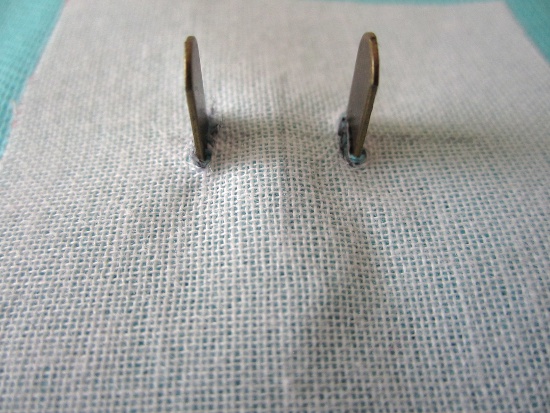
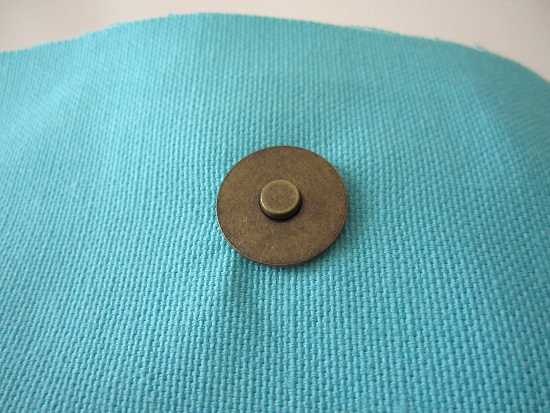
Insert
Take the male part of the snap and slide its prongs through the notches, toward the wrong side of your fabric.
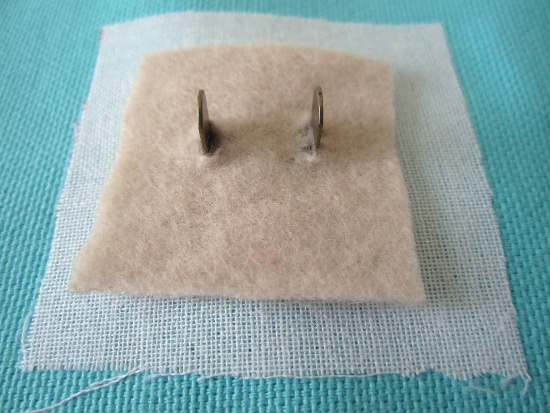
Reinforce
To further reinforce the area and protect your fabric from the metallic friction, add a little piece of fleece (or batting), sliding it through the prongs.
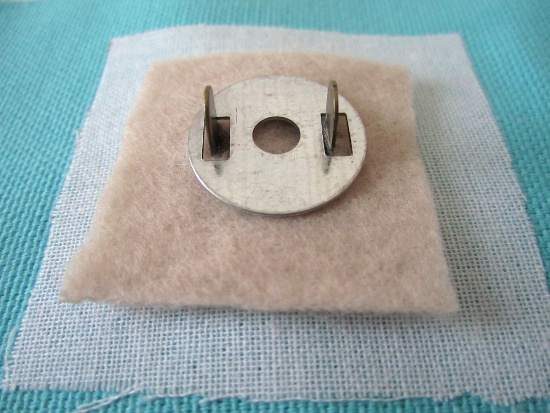
Secure
Slide the washer through the prongs, over the fleece.
Fold the prongs toward the center.
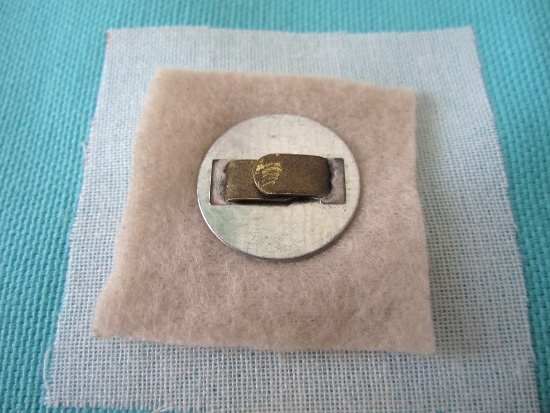
Repeat the process with the other piece of fabric, the female part of the snap and the remaining washer.

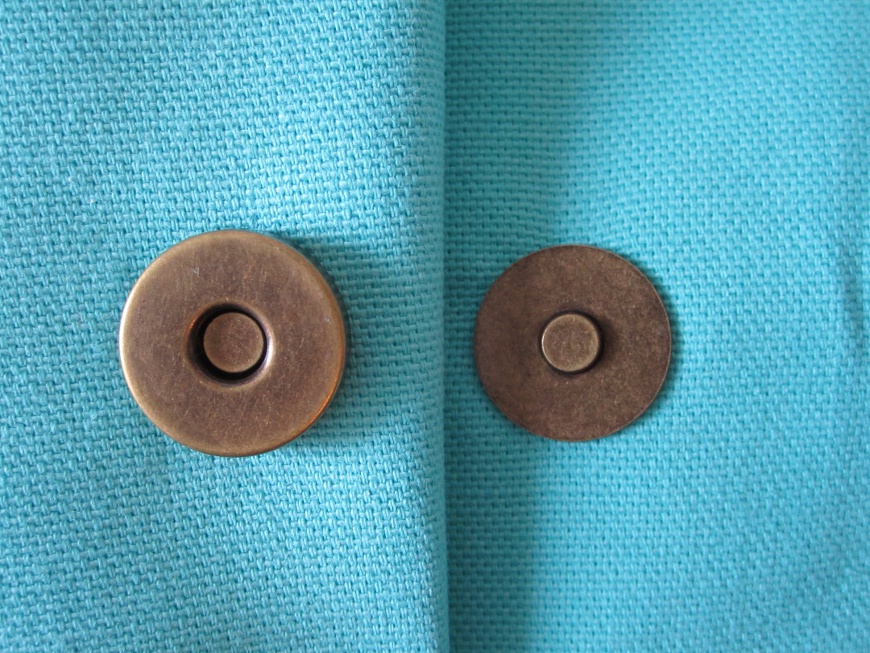
Voilà you’ve just installed a magnetic snap ! Easy, n’est-ce pas ?

Apnaerptly this is what the esteemed Willis was talkin’ ’bout.
What a lovely clear tutorial, thank you.
This tutorial was perfect for a new project I was working on. The picture were very helpful and instructions were very clear.