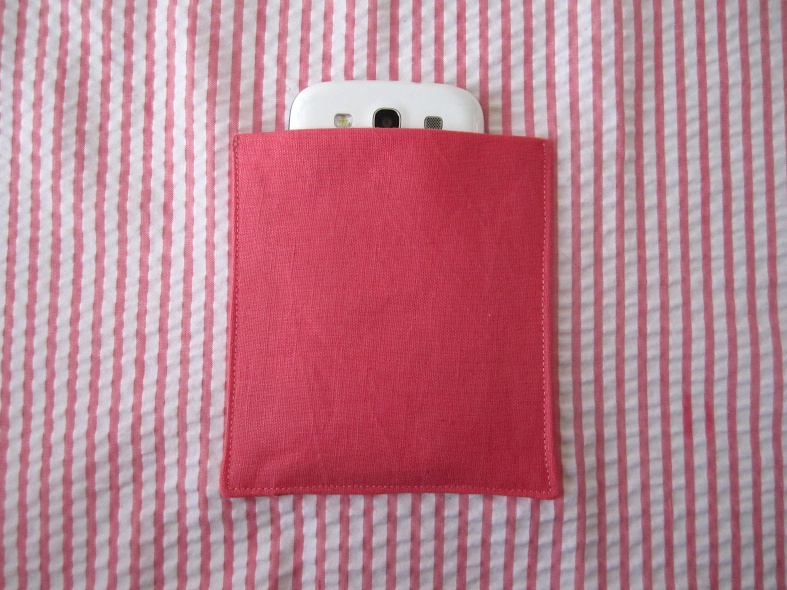
Here is an easy tutorial to add a mobile phone pocket to your bag lining specificaly to your Candy bag pattern or your Alex bag pattern.
This step must be done before assembling the lining.
Cut the pocket
Cut a 28 cm (11″) high par 14 cm (5 1/2″) wide rectangle.*
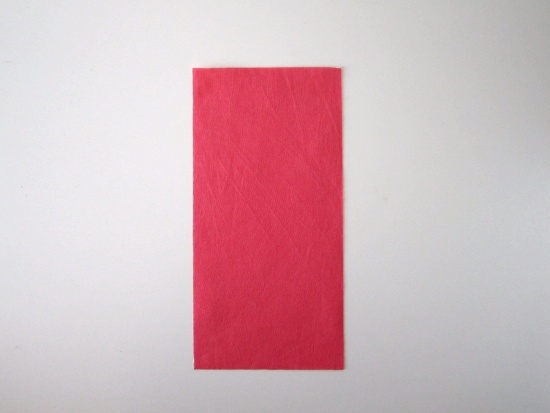
You can interface your rectangle of fabric if you feel it doesn’t have enough body. That’s what I did for my fabric which is a little too limp.
You can use the same fabric as the lining or a coordinating fabric, it is up to you. For this tutorial I chose a different fabric for the photos to be more “readable”.
* These dimensions should accommodate most phones. But don’t hesitate to change them to best suit your needs.
Sew the pocket
1 cm (3/8″) seam allowance is included.
1. Fold your rectangle in half height-wise, right sides together. Press lightly.
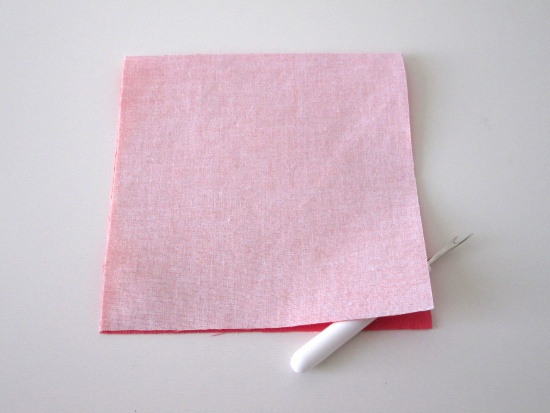
2. Sew the sides and the lower edges closed, leaving a 7 cm (2 3/4″) opening in the middle of the lower edge.
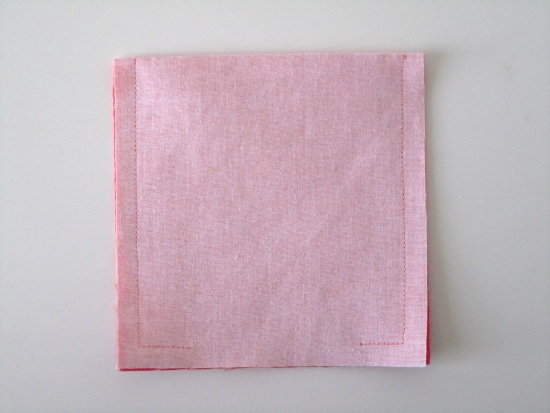
3. Trim corners.
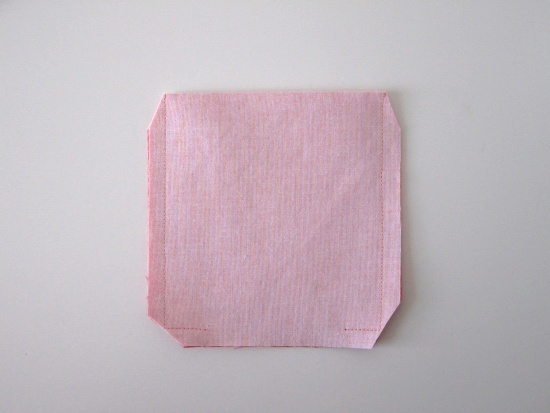
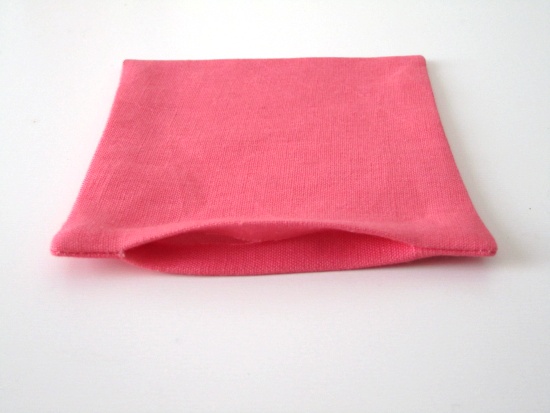
4. Turn the pocket right side out through the opening.
5. Poke out corners and fold in the seam allowances of the opening. Press.
Assemble the pocket to the lining
1. Pin the pocket to the right side of a lining piece 7 cm (2 3/4″) from the top edge and centering it width-wise.
The opening left at the previous step must be positioned downward.
Alex bag : pin the pocket on the lining piece that won’t have the zippered pocket.
Candy bag : pin the pocket on any of the 2 lining pieces but remember that this lining piece will have to be against the front of the bag during the “Assemble the bag to its lining” step of the instructions.
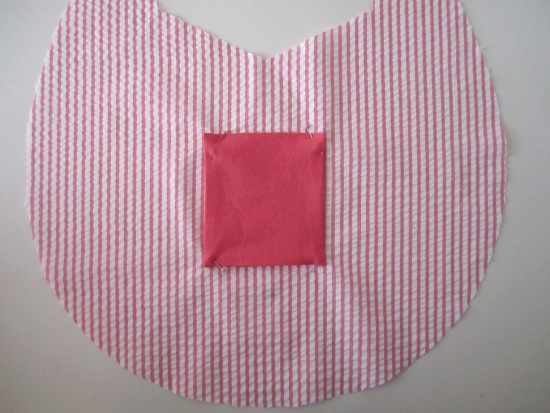
2. Topstitch the pocket using a very small seam allowance (0,2 cm) along the sides and lower edge.
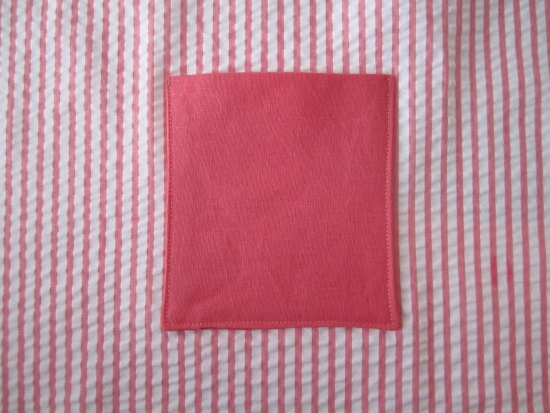
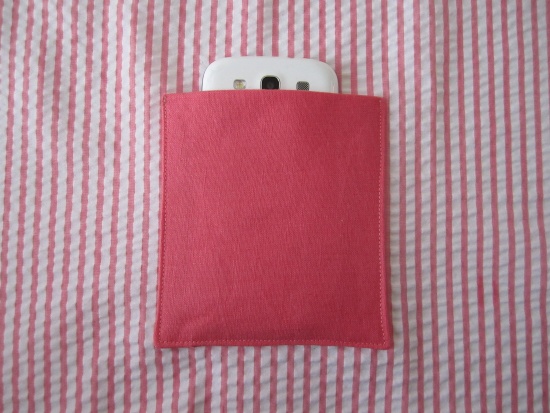
Voilà, you’ve just added a mobile phone pocket to your bag !
Easy, isn’t it?
Tomorrow I’ll share a tutorial on how to add a zippered pocket to your Candy bag lining.


Very good clear instructions.thanks