A zipper pull-tab is simply a tab attached to the zipper pull that allows for an easier opening of the bag.
Really, I assure you, this little detail makes opening bags 10 times easier. I systematically add it, including to retail bags (yes, I also sometimes buy bags;)).
Very practical, easy as pie to make, it is an extra personal touch to add to your bag. You can add pull-tabs to the main bag zipper as well as interior and exterior zippered pockets.
You can create different variations with rivets etc …, the version presented in this tutorial is an ultra easy base and done in no time.
{Tutorial} Zipper pull-tab
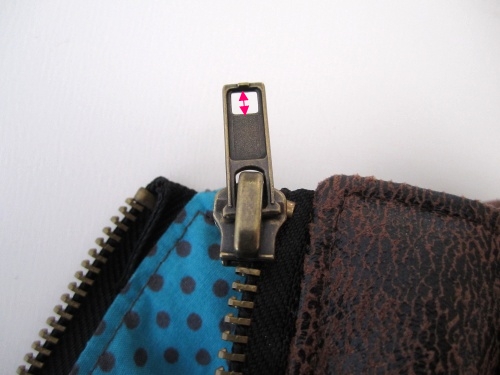
1- Measure the height of the zipper pull hole.
For me here, 4 mm.
Measure the height of the hole.
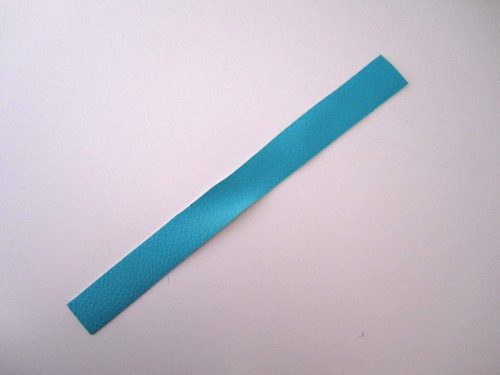
2- Cut a strip of 20 cm by 2 cm in the faux-leather or other non-fraying fabric.The length of your strip should not be abble to stretch!
Cut a strip of 20 cm by 2 cm in faux-leather.
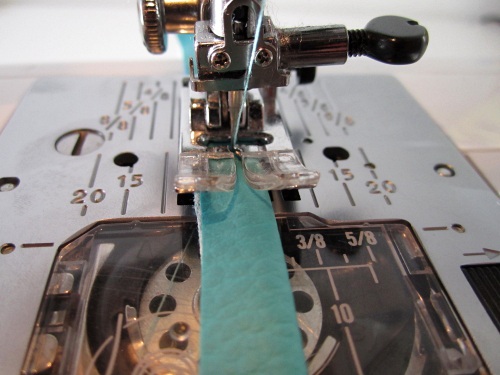
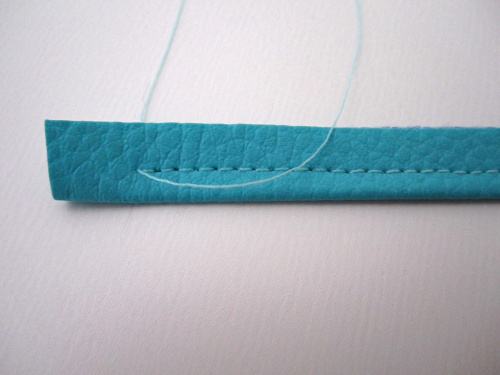
3- Fold the strip into 2 lengthwise, wrong sides together.Stitch with a seam allowance equal to the height of the zipper pull hole minus 1 mm.Example: For me here the seam allowance is equal to 4-1 = 3 mm. So I stitch 3 mm from the folded edge.
Backstitch at beginning and end of stitchline.
I stitch 3 mm from the folded edge
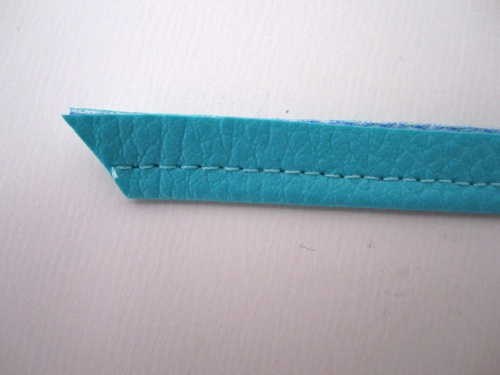
As you can see below, I start and end my stitching 1 cm from the ends. This is simply because I like to cut the ends diagonally, but you can start and end right at the edges.
Start and end the stitchline away from the edges to be able to cut the ends diagonally.Ends cut diagonally.
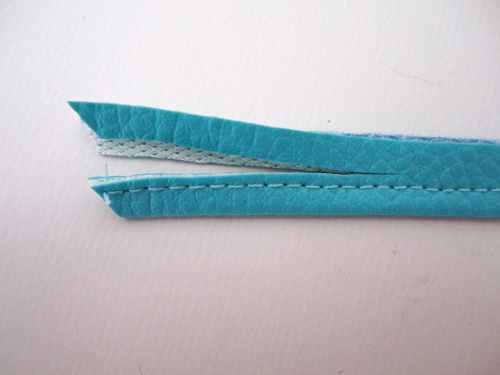
4- Trim the excess close to the stitchine along the entire strip.
Trim the excess as close to the stitchline as possible.
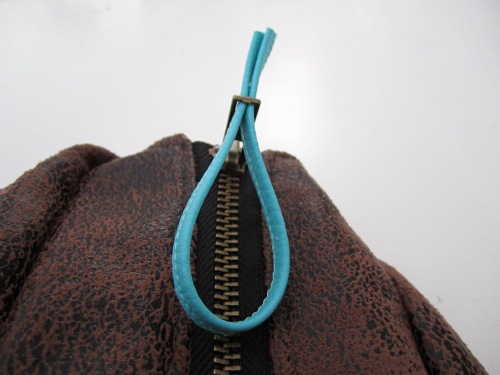
5- Fold the strip in two and slide the ends through the hole in the zipper pull.
Slide the ends through the hole.
6- Thread the ends through the loop and pull to tighten the loop.
Thread ends through the loop.
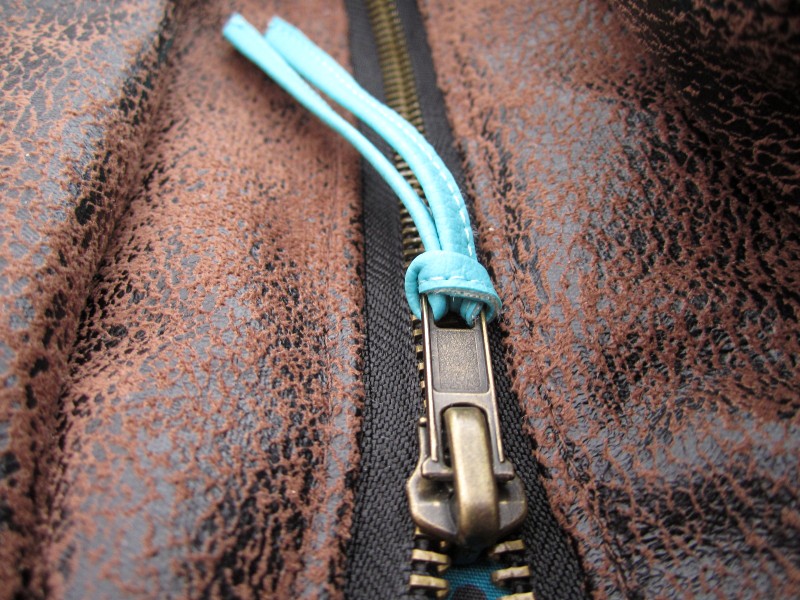
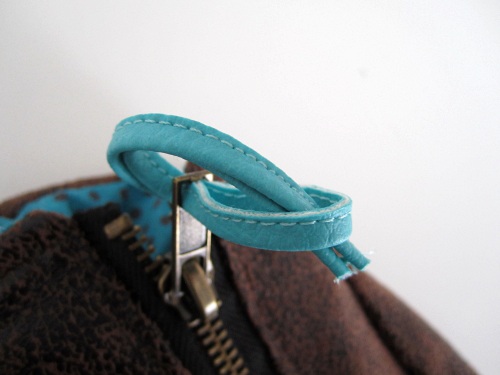
Voilà, the zipper pull-tab is done and you will no longer struggle to open your bag!
Zipper pull-tab
[box type=”note”]For an ultra fast, no-sew version :
You can use a ribbon that you’ll attach directly to the zipper as described in steps 5-6, but personally I like zipper pull-tabs to have “body” and I find a simple ribbon to be too limp. A better option than a ribbon, in my opinion, is to use a half-round or flat leather lace.[/box]
4 thoughts on “Zipper pull-tab {Tutorial}”
Diane
Thank you for this wonderful tutorial. I’ve been looking for zipper pull ideas for pouches I make. This is a simple, easy pattern. And it looks great too!


Thank you for this wonderful tutorial. I’ve been looking for zipper pull ideas for pouches I make. This is a simple, easy pattern. And it looks great too!
Thank you again
Diane
The leather pull falls out a lot. Any ideas on how to keep it put?
Hi 🙂 You could set it with a small rivet.
Hi