Posted on Leave a comment

{Tutorial} Key holder in a bag

0 Flares Facebook 0 Twitter 0 0 Flares ×

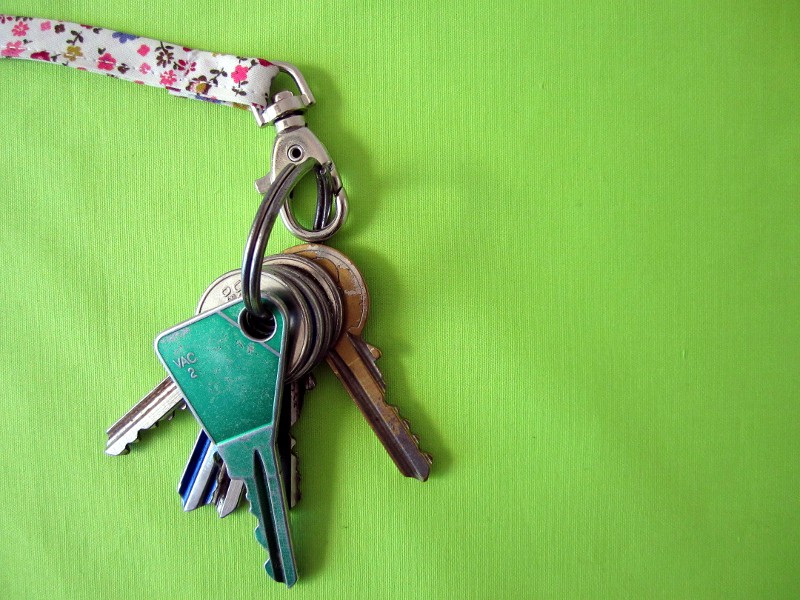
A key holder is an handy accessory that allows you to quickly find your keys in your purse.
The key holder is also very easy to make and can be added to almost all bag patterns. It will fit perfectly with the Alex or Flo patterns for example.
Here is the key holder in a bag tutorial ! 

Key holder in a bag tutorial

Supplies

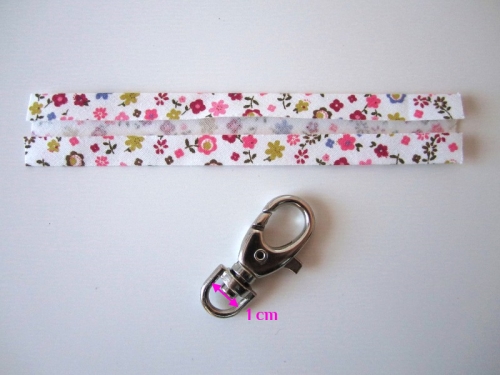
  • Small lobster clasp : 1 cm (3/8″), 2 cm (6/8″) at most. Measurement is the width of the clasp base (see pic).
  • Bias binding at least 10 cm (4″) long and 2 cm (6/8″) wide or a 10 cm (4″) by 4 cm (1 1/2″) rectangle of fabric.
Tuto attache-clefs
Supplies needed for the key holder
If you use a fabric rectangle and not a ready made bias tape, fold it in 4 just like a bias binding:
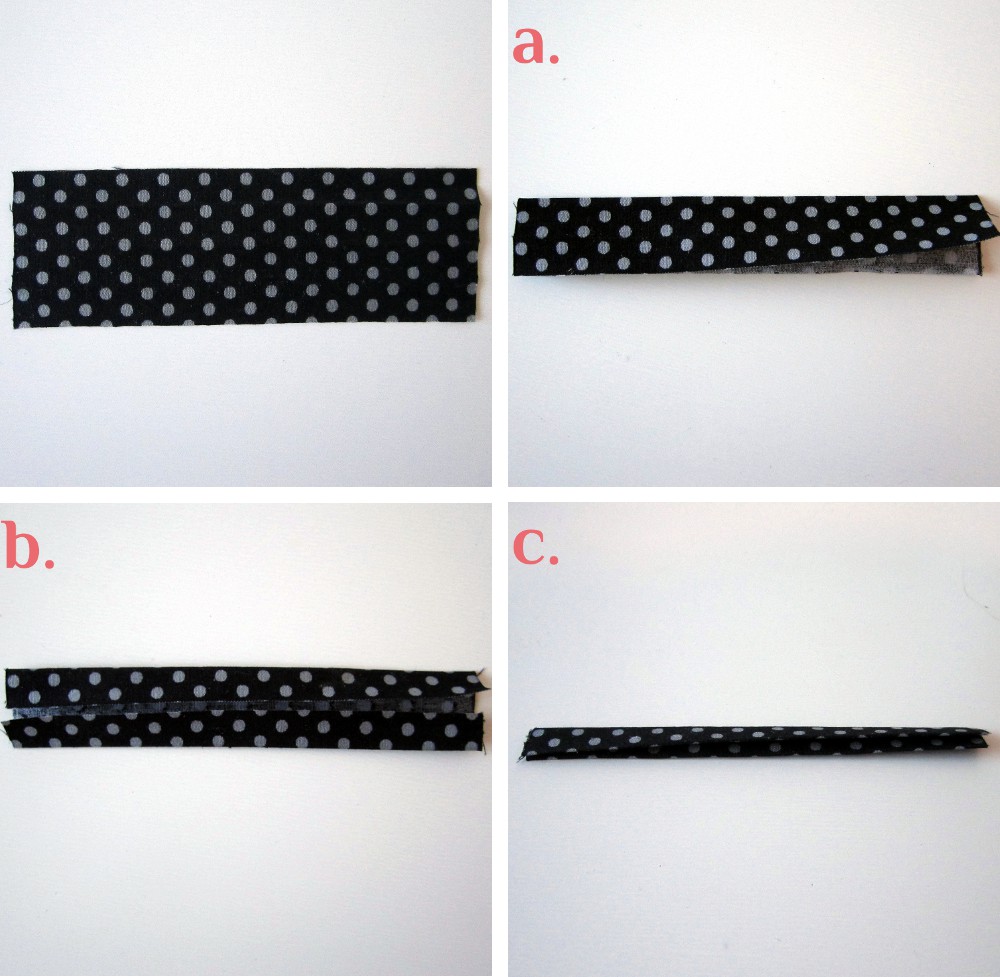
a. Start by folding it into 2 lengthwise, wrong sides together and press.
b. Open the strip and fold each long edge to the center: to the fold formed at the previous step.
c. Fold in half again, press.
Plier la bande pour former un biais
Fold the strip in 4

Sewing the key holder

The key holder is sewn in the lining.

The easiest way is to install it at the very beginning before sewing anything else. However if you need to create pockets in the lining of your bag, it may be more practical to sew the key holder once the pockets are done.
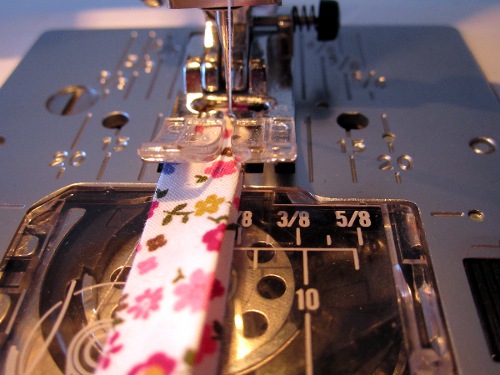
1. Create the strap

Open the bias, fold 1 cm (3/8″) of one end to the wrong side. Press.
Plier une extrémité du biais et presser au fer
Fold one end and press
Fold the bias completely and stitch the long open side closed.
Fermer le biais
Stitch the bias closed

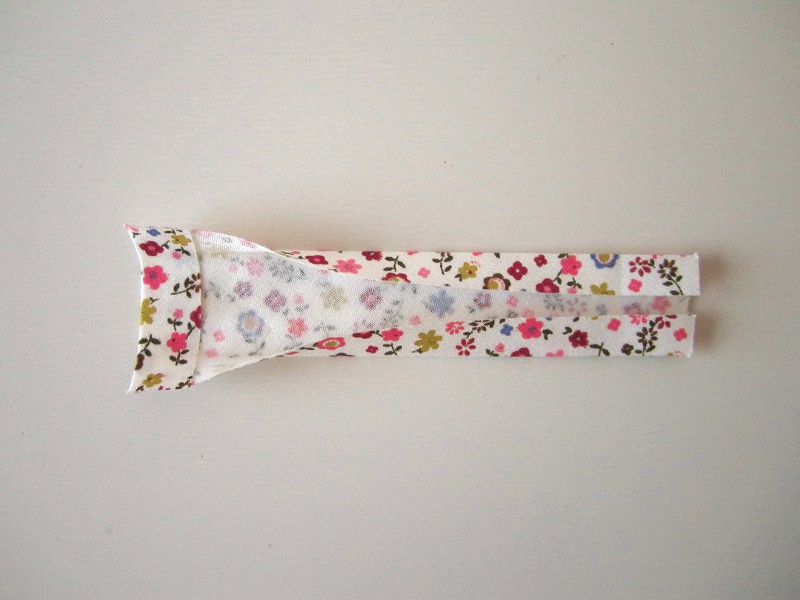
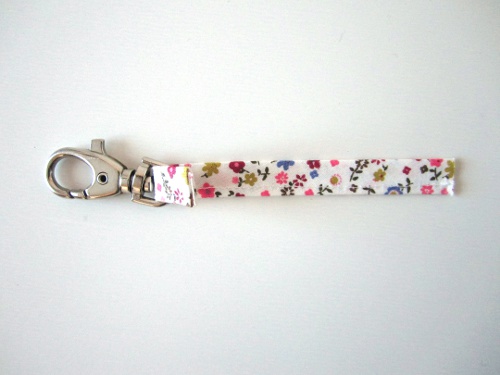
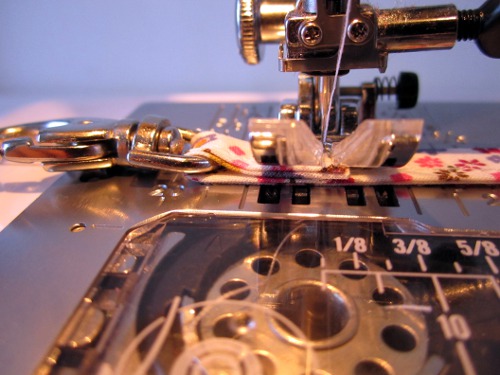
2. Attach the bias to the lobster clasp

Slide 2 cm (6/8″) of the bias finished end through the base of the lobster clasp.

Glisser le biais dans l'anneau du mousqueton
Slide the bias through the lobster clasp
Fold and stitch the end down.
Piquer l'extrémité en place
Stitch the end down

3. Baste the key holder to the lining

Align the other end of the bias tape to one side of a lining piece.
Position the key holder on the lining right side and lobster clasp inward.
Baste within the seam allowance.
Bâtir le biais sur l'endroit de la doublure
Baste the bias tape to the lining right side, within the seam allowance.

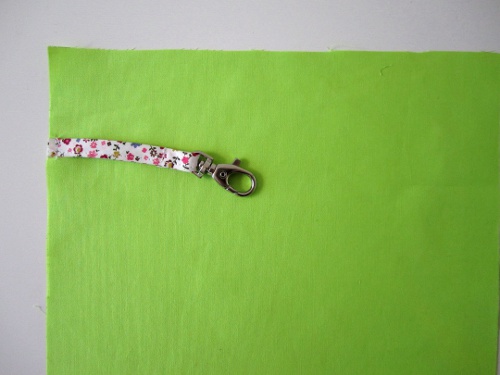
Be careful not to position the key holder too low inside your lining, so that its use remains easy. Also remember to leave sufficient space from the upper edge to be able to sew your lining later on.

Generally I position my key holder 5 cm (2″) down from the upper edge.

You can resume sewing your bag.

Once the bag is finished, attach your keys to the clasp!

[box]Little note : It is possible to baste the key holder to the upper edge of the lining but I rarely do so: for some bag patterns it can interfere with the construction of the bag closure and most of the time the weight of the keys will create a deformation of the bag opening.
[/box]
tuto attache-clefs
Key holder in a bag done !
0 Flares Facebook 0 Twitter 0 0 Flares ×
Leave a Reply

Your email address will not be published. Required fields are marked *