
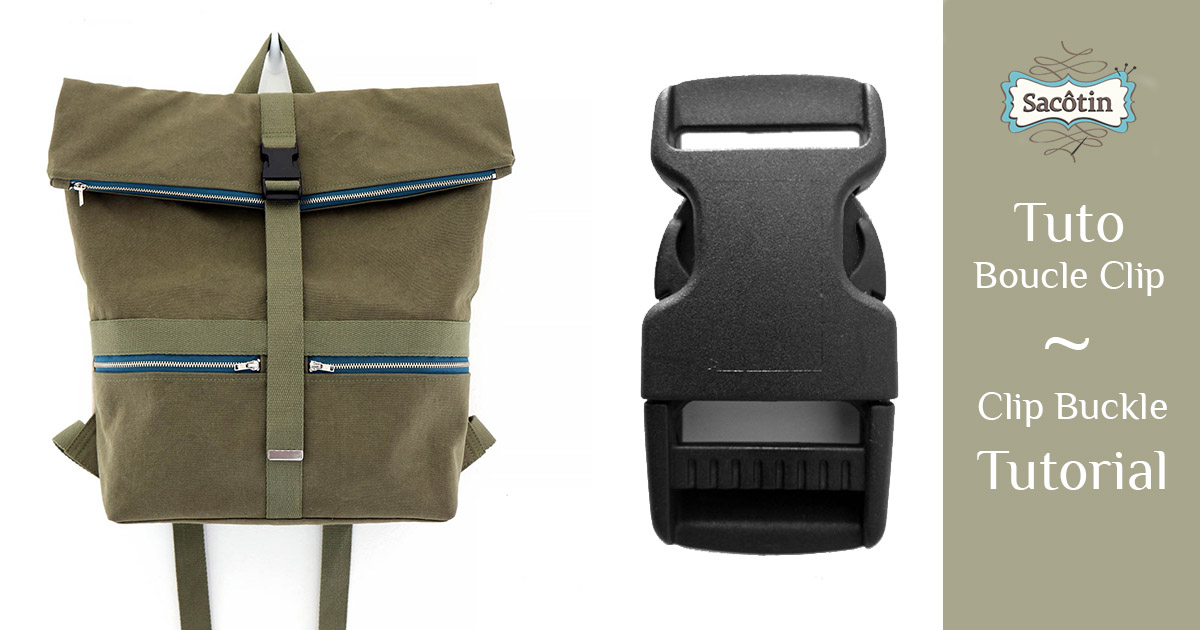
Here is a tutorial to show you how to thread an adjustable clip buckle.
It will be useful for fastening your Toïka backpack.
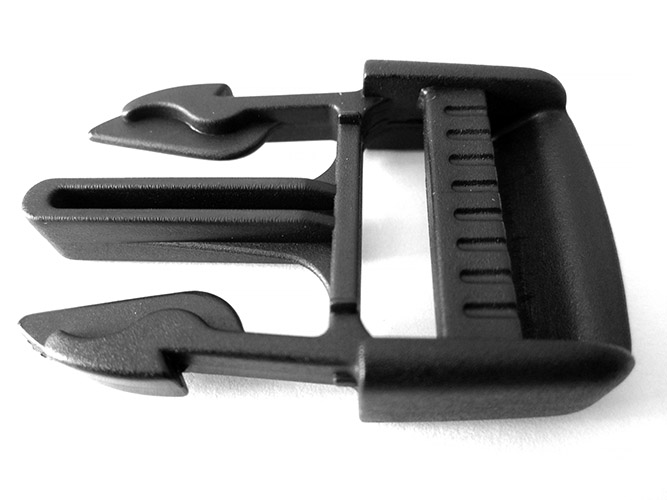
The adjustable clip buckle
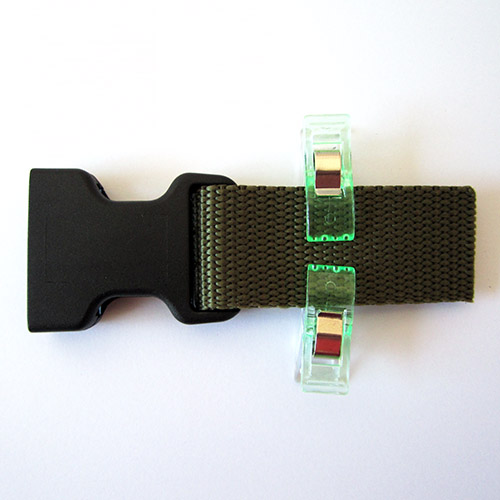
The clip buckle has a female half and a male half.
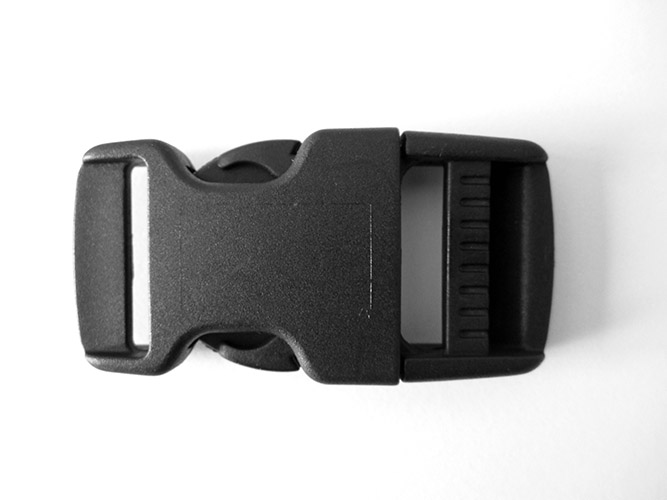
Closed clip buckle 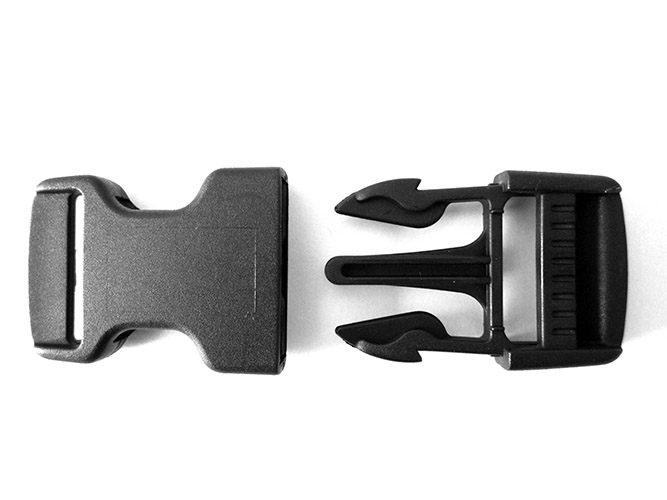
Left : female half – Right : male half
The male half has a fork end and 2 spaces to thread the webbing. Be careful : if there aren’t 2 spaces on the male half, the clip buckle is not adjustable, and you will not be able to adjust the length of the strap!
Right side and wrong side
Determining the right and wrong side of the buckle is important in order to thread the webbing correctly and for the strap to lock once the desired length has been set.
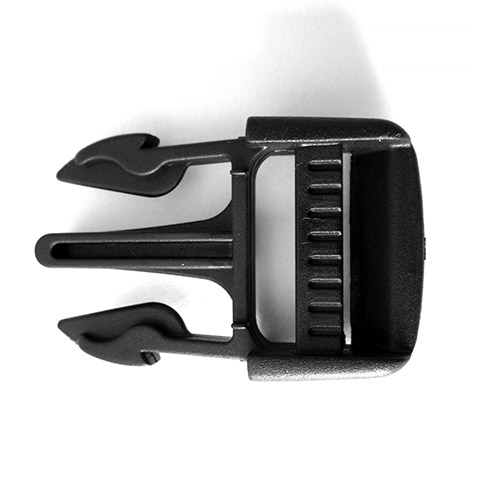
Right side of the male half
It’s the side on which the center bar is on the surface (it’s at the bottom on the wrong side). This bar is also often ribbed on the right side.
Right side – center bar on the surface and ribbed 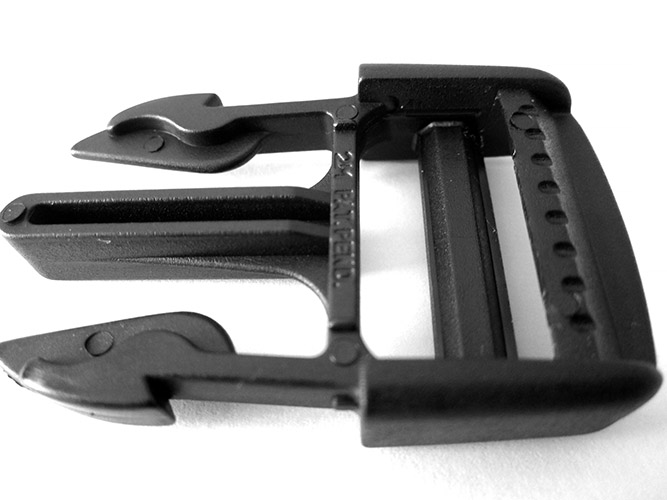
Wrong side – center bar at the bottom
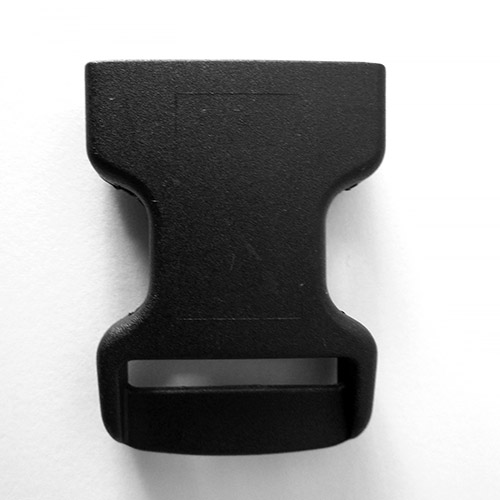
Right side of the female half
The female half is often reversible, without a right and wrong side, but we consider the side with the manufacturer’s stamp as being the wrong side.
Of course, check that this is so for your buckle, in case the 2 sides of the female half are not reversible. So, test the fastening of the 2 halves and mark the right side with a piece of tape for example.
Female half right side 
Female half wrong side with the manufacturer’s stamp
Threading the male half of the clip buckle
This is the half that will let you adjust the length of the strap.
For the Troika backpack, when installing the buckle, one end of the strap is already sewn onto the bag.
Thread the free end of the webbing through the top space of the male half, i.e. through the hole closest to the fork.
Beware : thread the webbing from the wrong side of the buckle to the right side of the buckle.
Tip: remember to finish the ends of your webbing to prevent it from fraying. Either by a zigzag stitch, or by burning the ends (only if the webbing is made out of polypropylene, do not burn a cotton webbing), or, as I did here, by applying glue to the ends.
Right side of the male half 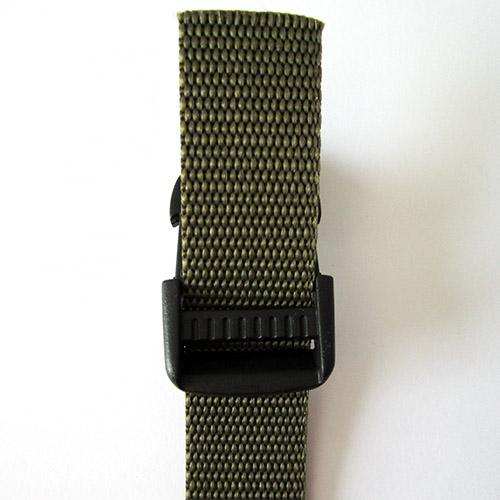
Right side of the male half – Thread the webbing through the top hole, from the wrong side to the right side.
Then thread the end of the webbing over the ribbed center bar and into the bottom hole.
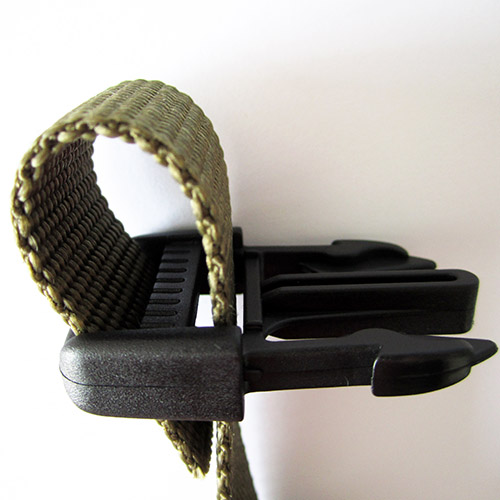
Thread the webbing into the bottom hole – Side view 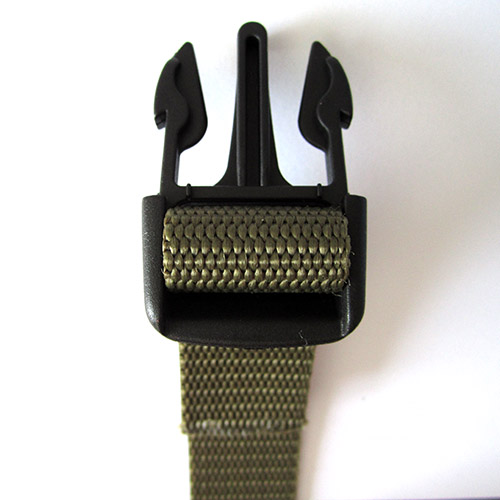
Thread the webbing into the bottom hole – Top view
Adjust to desired length.
Check the threading of the male half
Check that the webbing is properly threaded, by holding the end of the strap which is at the back, and pulling on the clip buckle:
- If the webbing locks, everything is fine.
- If the webbing doesn’t lock, it’s because it was threaded the wrong way. It must then be removed from the buckle, and threaded again the correct way (= from the wrong side to the right side of the clip buckle).
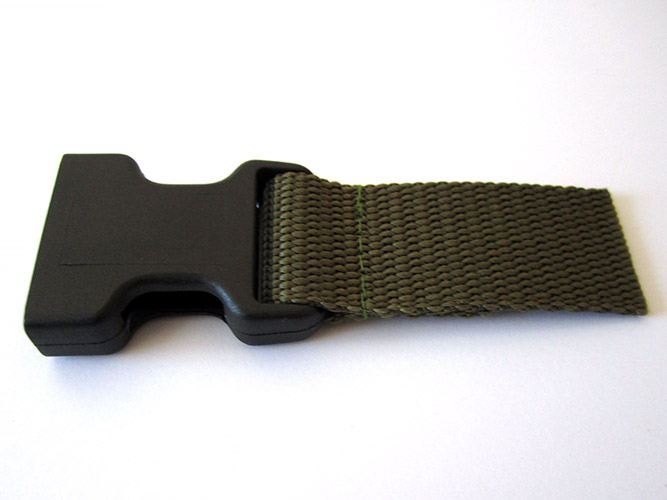
Threading the female half of the clip buckle
This half won’t be adjustable.
Thread a piece of webbing through the female half at the clip buckle.
Fold the webbing over on the back of the female half.
Thread the webbing through the female half – Top view 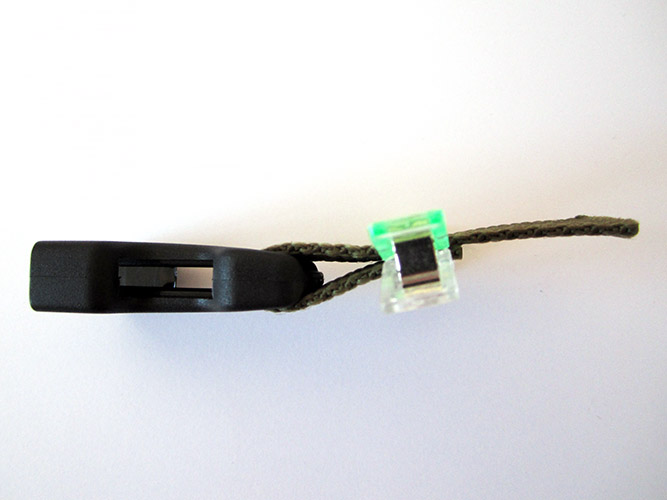
Thread the webbing through the female half – Side view
Sitch close to the buckle. You’ll then have to sew this tab buckle on the bag.
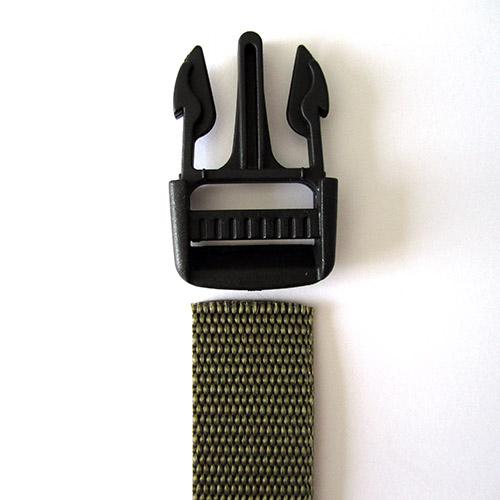
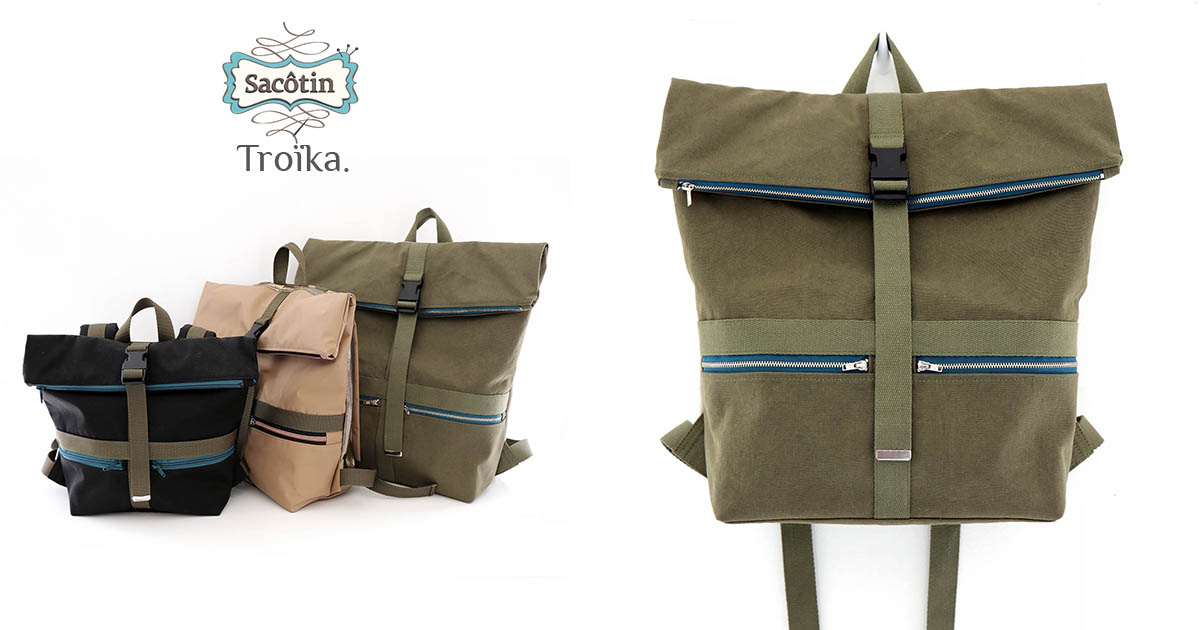
End result of threading the clip buckle
Here is the result on the finished Troika backpack:
Another tutorial for the Troika backpack: Ladder lock buckle tutorial


Perfect! Thank you.