
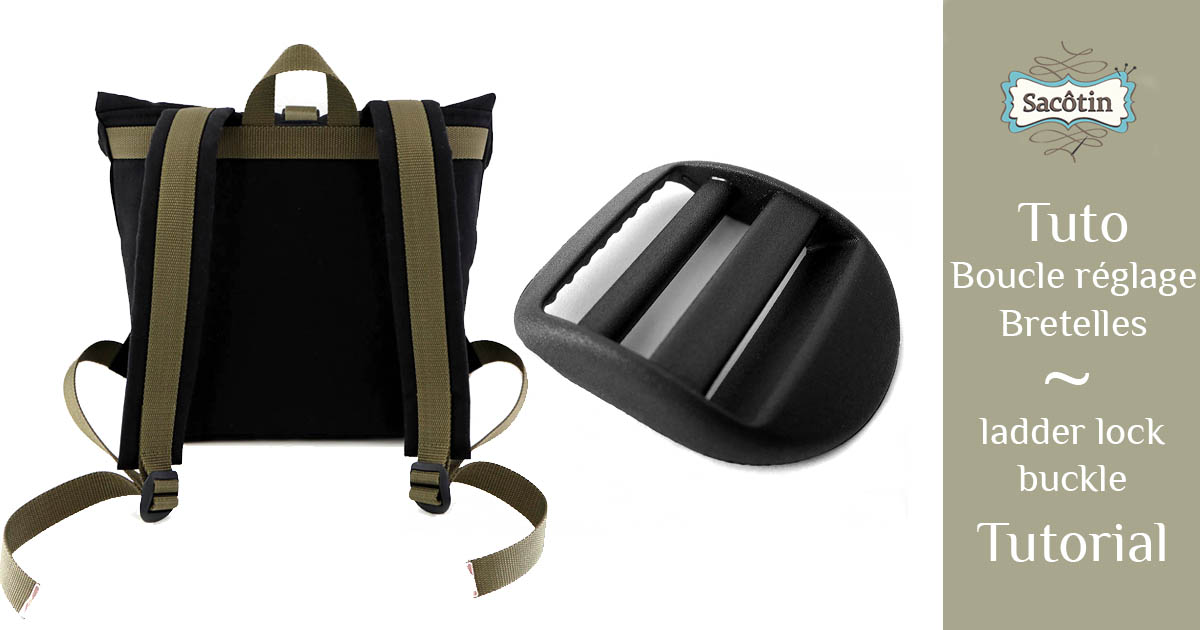
Here is a tutorial that shows how to properly thread a ladder lock buckle.
The ladder lock buckle allows you to adjust the length of a strap when desired, and to automatically lock it to the chosen length. It is used to adjust the shoulder straps on the Troika foldtop backpack pattern.
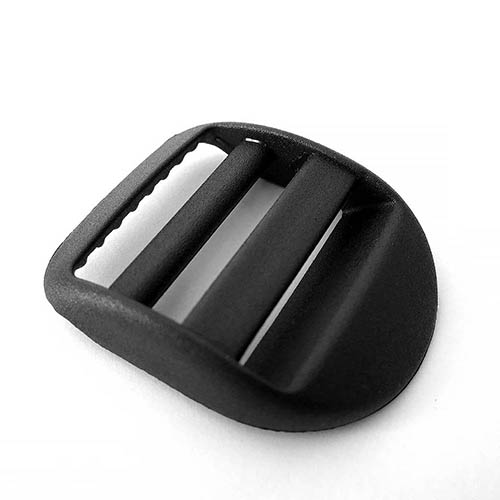
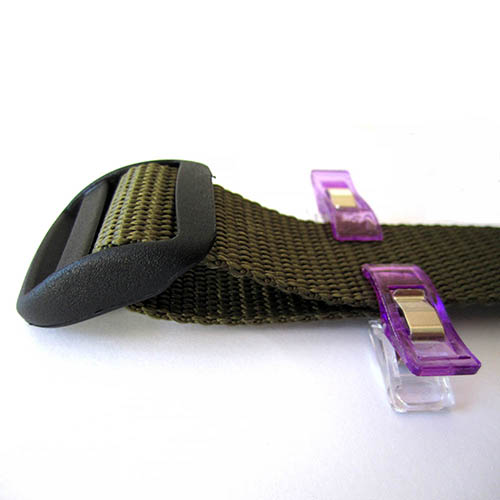
The ladder lock buckle
The ladder lock buckle has 3 threading holes and 2 bars.
Right and wrong side of the buckle
Determining the right and wrong side of the buckle is important so that the threading is done correctly and the length of the strap can remain adjustable when desired, while locking automatically.
At first glance, you can usually tell the right side from the wrong side of the buckle.
To be absolutely sure, just look at the bottom bar : the bar closest to the tongue.
The right side of the buckle is the side on which the lower bar (near the tongue) is raised when compared to the top bar. This bar might sometimes also be ribbed on the right side (this is not the case for the one in the photo).
Right side – Lower bar is raised when compared to the top bar 
Wrong side – Lower bar is sinked when compared to the top bar
Threading the fixed webbing
Tip: remember to finish the ends of your webbing to prevent it from fraying. Either by a zigzag stitch, or by burning the ends (only if the webbing is made out of polypropylene, do not burn a cotton webbing), or, as I did here, by applying glue to the ends.
You’ll need 2 pieces of webbing to thread the buckle. One piece won’t be adjustable (fixed) and the other piece will be adjustable.
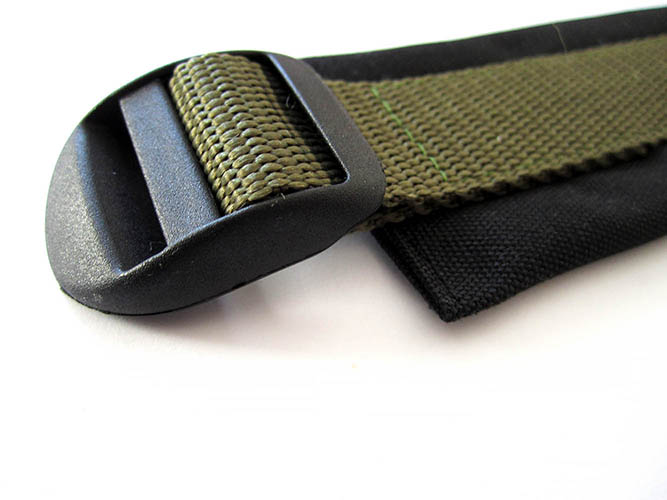
To thread the fixed webbing :
- Thread the webbing into the top hole, from the wrong side of the buckle to the right side of the buckle
- Then around the top bar, in the center hole and to the back of the buckle.
- Pull a few cm of strap on the back of the buckle.
1 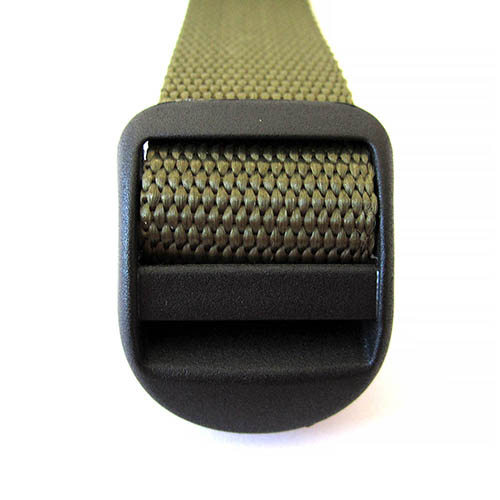
2. 
3
Then sew this webbing where you want it on the bag. Don’t forget to topstitch along the buckle so that it doesn’t have too much room to move. Here, the webbing is sewn on a shoulder strap of the Troika backpack.
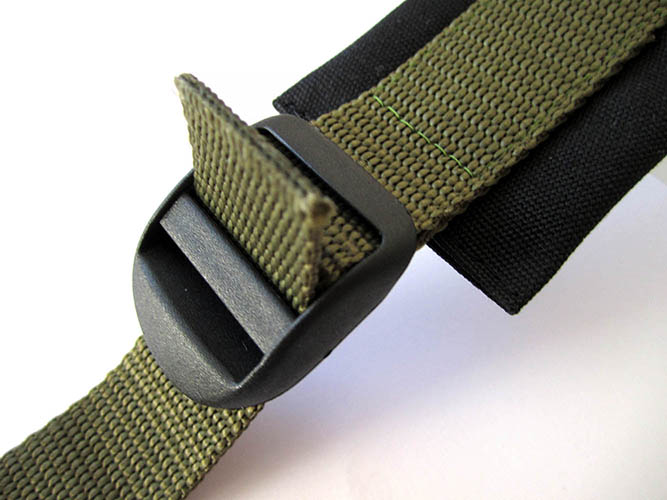
Threading the adjustable webbing
Take the second piece of strap, the one that will be adjustable.
For the Troika backpack, one end of this webbing is already sewn onto the bag.
- Thread the free end of the webbing through the center hole, from the wrong side of the buckle to the right side of the buckle.
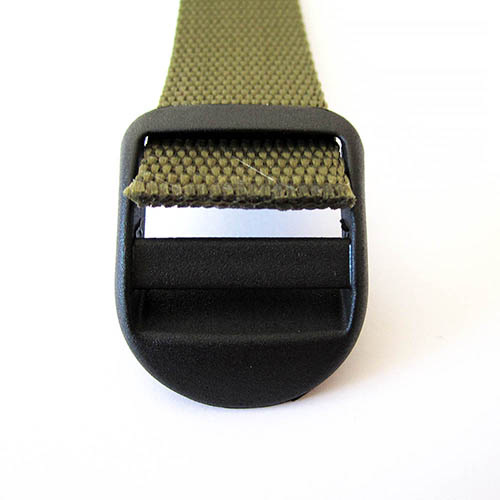
- Then thread the webbing around the lower bar, into the lower hole,
- and under the tongue.
1 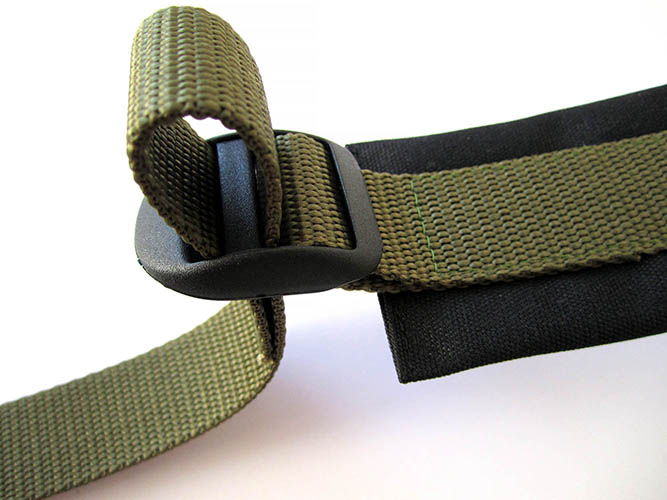
2 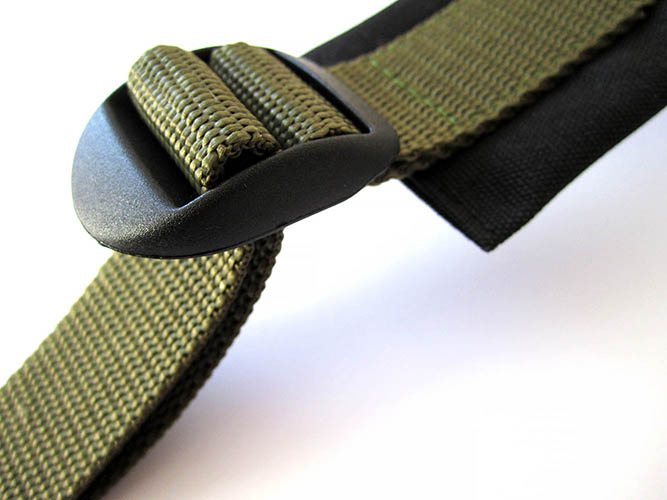
3
Be careful not to twist the webbing.
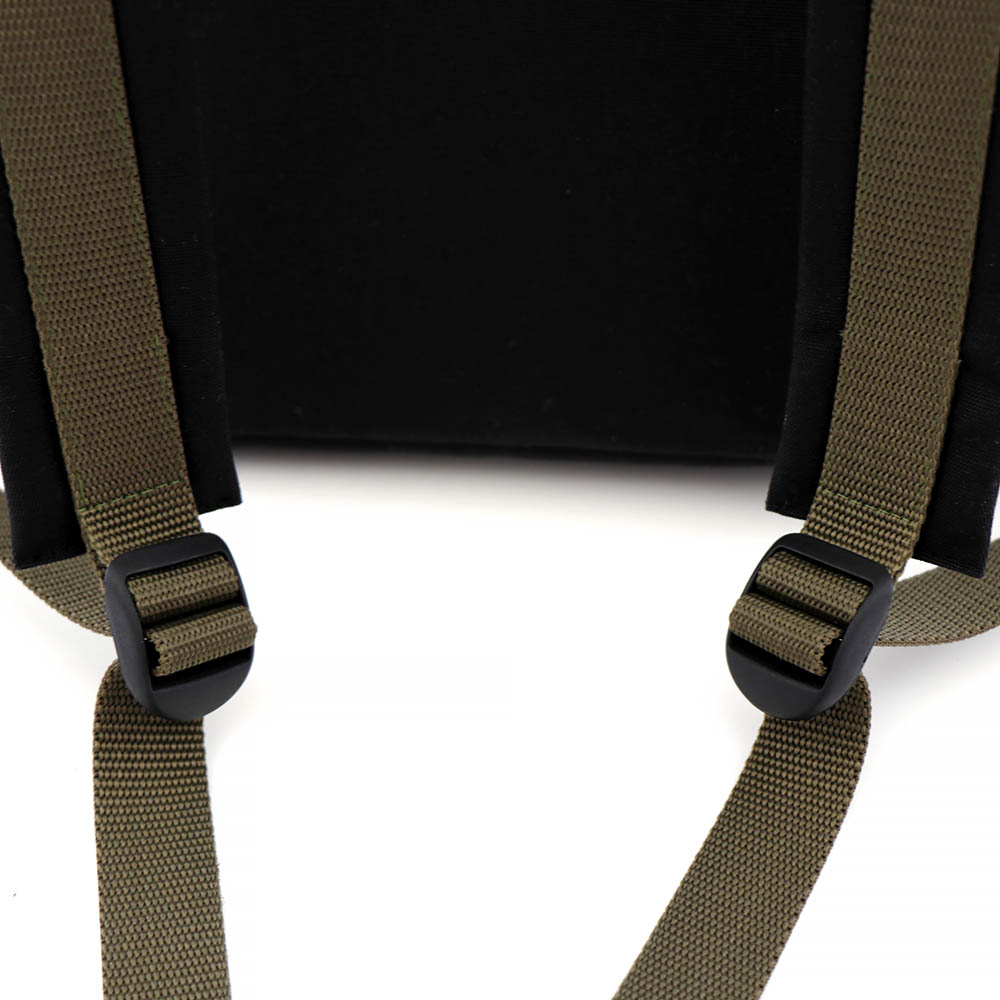
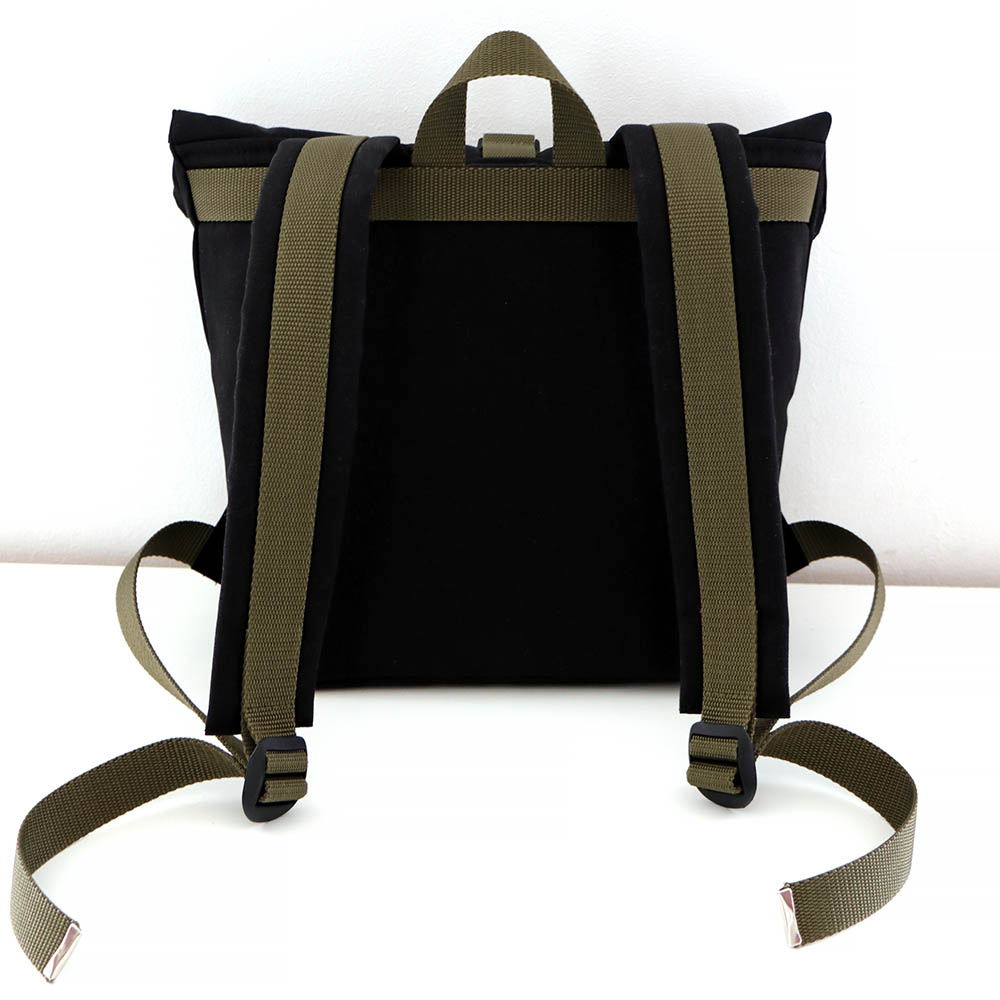
End result of threading the ladder lock buckle
Here is the result on the shoulder straps of the Troika backpack:
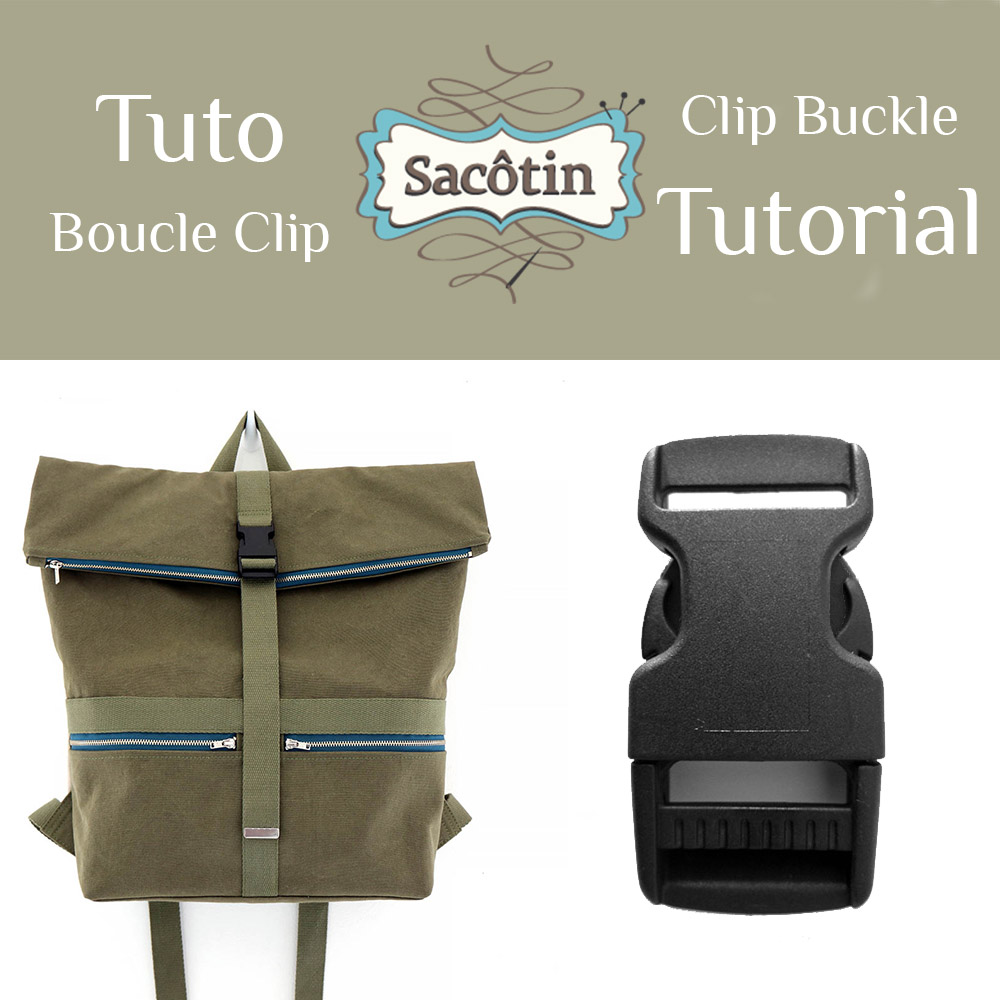
Another tutorial for the Troika backpack: Threading a clip buckle

Very easy for a young man like me. Good!