
Two-tone or double-sided strap tutorial
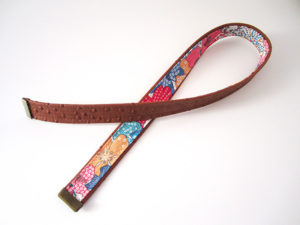
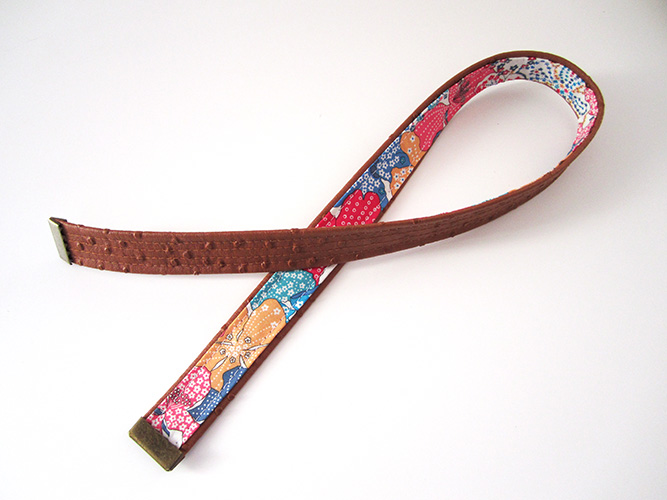
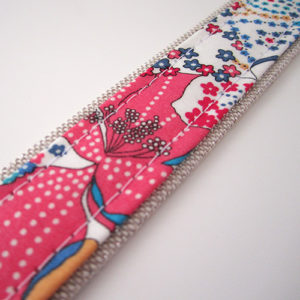
There are several ways to make a double-sided strap, this is my favorite, which reveals a small border on the right side (like the handles of the Cabotin bag).
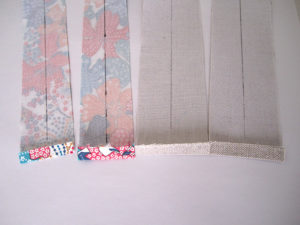
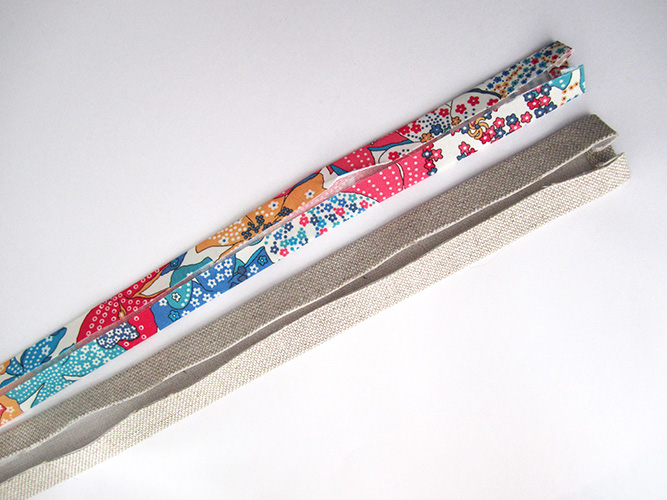
Cut
Cut 2 strips, one in each fabric.
Bottom fabric / Wrong side of the strap :
- Width = 2 x desired width of the shoulder strap. Example: for a finished 2.5 cm (1″) shoulder strap cut a 2.5 cm x 2 = 5 cm (1″ x 2 = 2″) wide strip.
- Length = 140 cm (55″) minimum for an adjustable shoulder strap (adjustable shoulder strap tutorial) – or 60 cm to 70 cm (24″ to 28″) for handles.
Top fabric / Right side of the strap :
- Width = width of the bottom strip – 1 cm. Example: for the example above where the bottom strip is 5 cm (2″) wide : 5 cm – 1 cm = 4 cm (2″- 3/8″ = 1 5/8″).
- Length = same as the bottom strip.
For a vinyl + cotton strap, cut the bottom (widest) strip in vinyl and the top strip in cotton.
**Tip: you can substitute bias binding for the top strip and webbing for the bottom strip !**

Interfacing
- If you make a strap entirely in cotton, interface the two strips.
- For a vinyl + cotton shoulder strap, the interfacing is only necessary if your vinyl and / or your cotton is light weight, in this case interface the cotton strip.
Finishing the ends
On the other hand, if the ends will be visible once the bag is done and the fabric frays, it will be necessary to finish them either:
- By using metal strap ends : in this case, the ends of the strap will simply be hidden, once the shoulder strap is finished, in the metal ends.
- By folding 1 cm (3/8″) to the wrong side at each end of the 2 strips.
Sewing
You will find below 2 different techniques for sewing a two-tone shoulder strap:
- Technique 1 for a vinyl + cotton strap.
- Technique 2 when the 2 strips of fabric can be iron pressed – Example: 2 cotton strips.
Technique 1 – Vinyl + cotton
1- Draw a line in the center of each strip (I use a Frixion erasable pen). These lines will serve as a guide for folding.
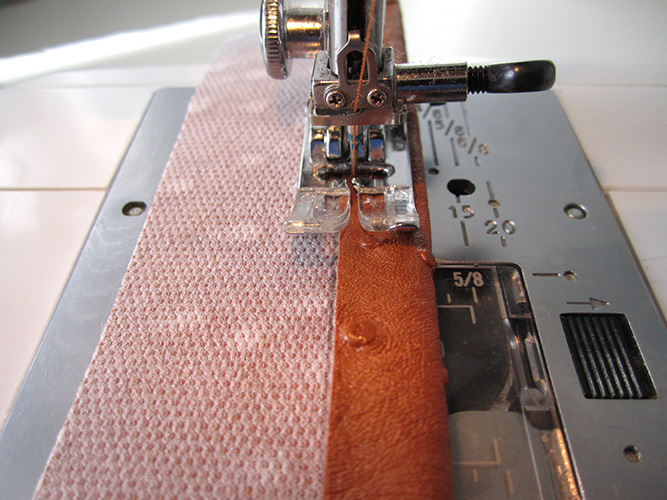
2- Take the vinyl strip (widest) and fold one of the long edges, wrong sides together, to align it with the center line. Hold with clips or Wonder Tape.
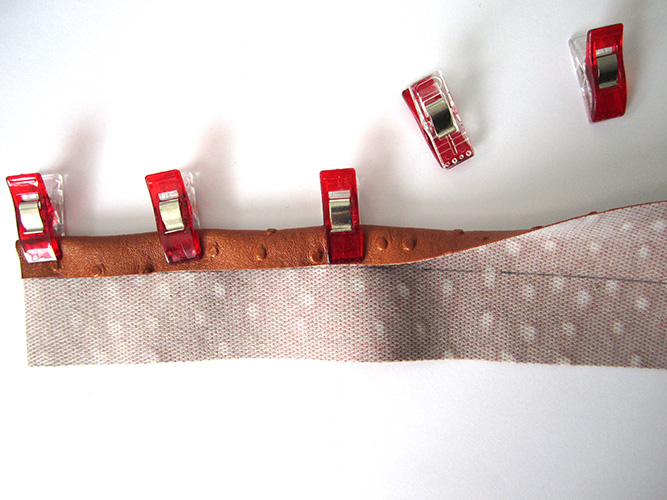
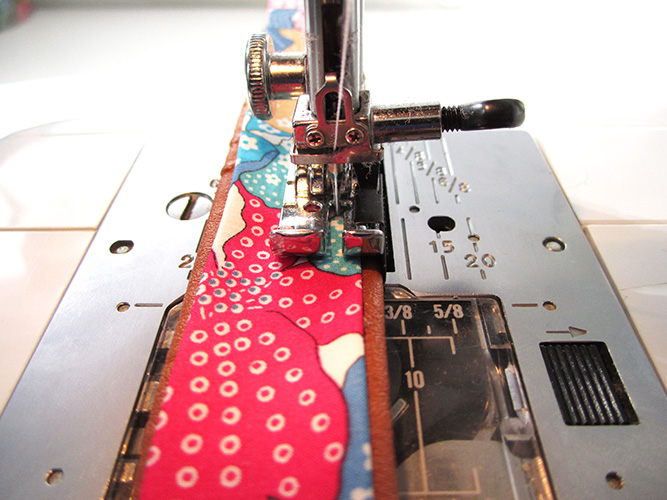
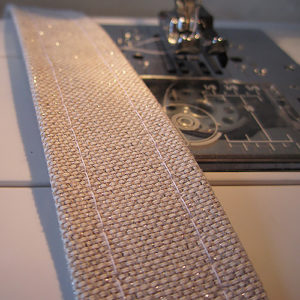
3- Topstitch the folded edge with a 1 cm (3/8″) seam allowance (stitch length 3.5 to 4 mm).
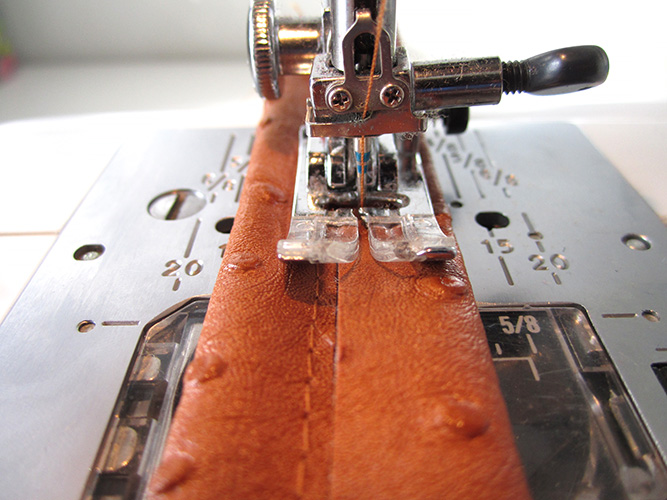
4- In the same way, fold the other long edge, wrong sides together, to align it with the center line and topstitch with a 1 cm (3/8″) seam allowance.
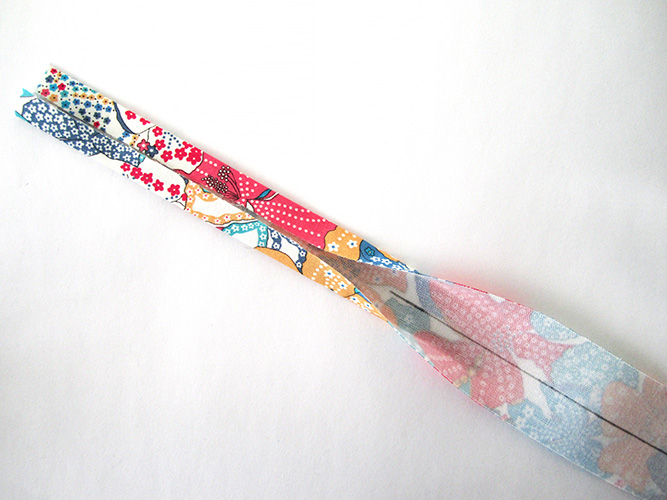
5- Fold the long edges of the cotton strip, wrong sides together, toward the center line and press.
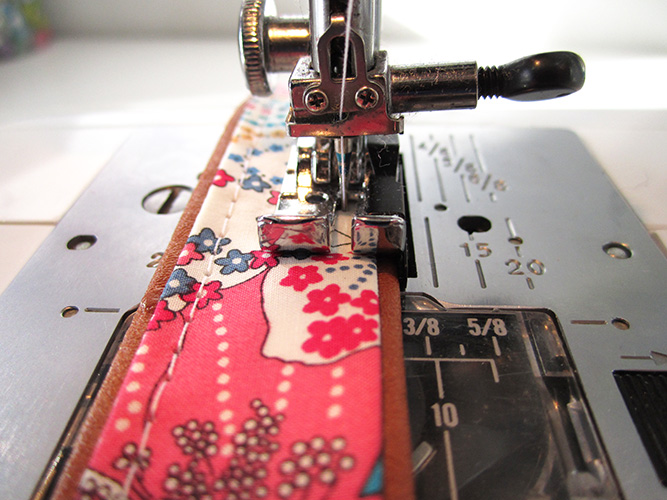
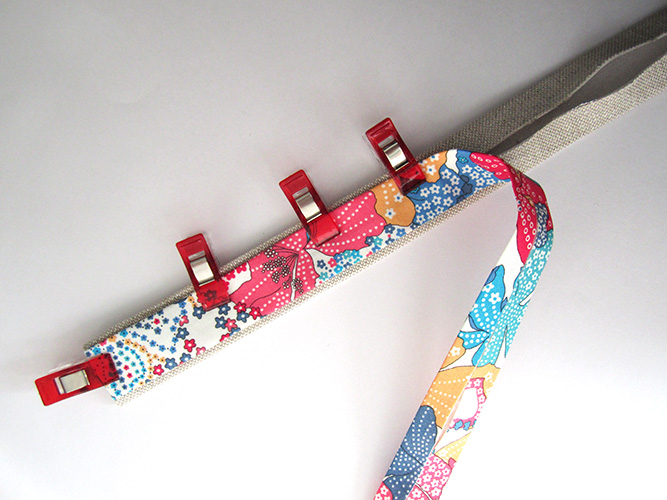
6- Center the cotton strip over the vinyl strip, wrong sides together. Hold with clips or Wonder Tape.
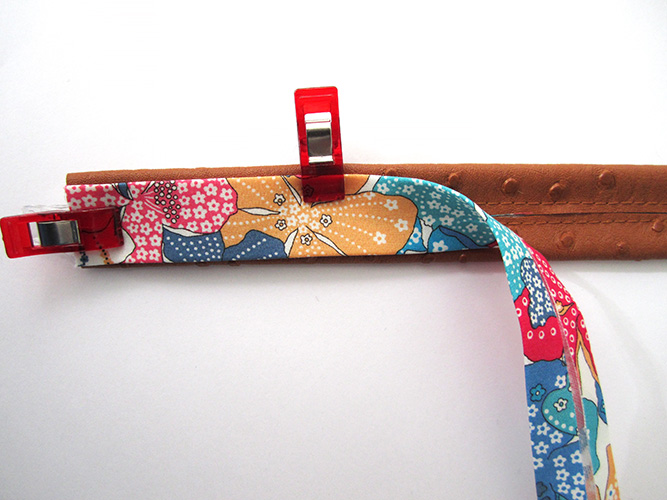
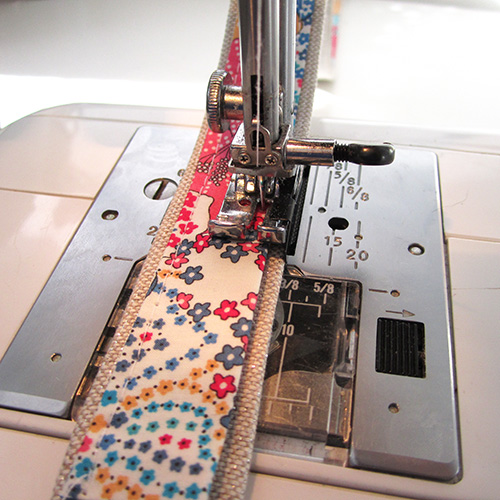
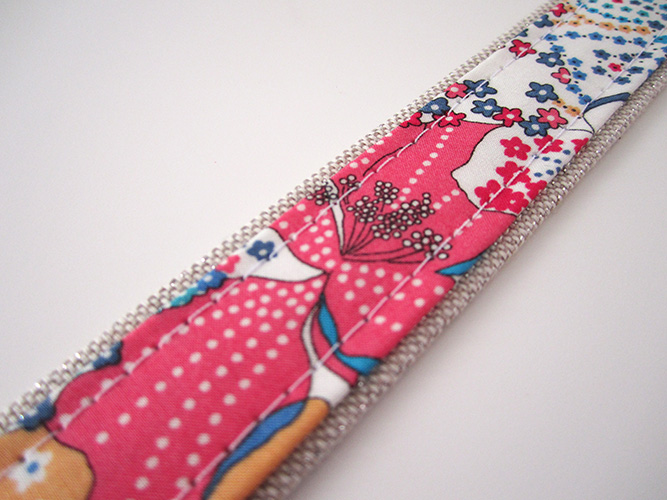
7- Topstitch on the cotton strip and through all layers with a 0.5 cm (1/4″) seam allowance. Be careful the 0.5 cm (1/4″) seam allowance is measured from the edge of the shoulder strap, not from the edge of the narrowest strip. Same stitch length as the previous topstitching: 3.5 to 4 mm.
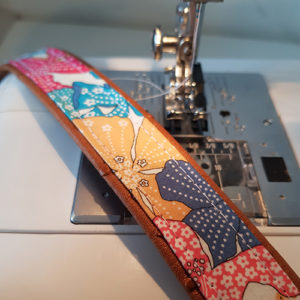
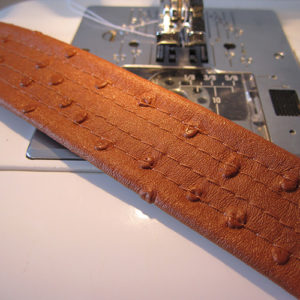
Voilà ! The vinyl-cotton strap is done : the contrasting strip is on the right side and 4 lines of parallel stitching appear on the vinyl side.
Technique 2 – the 2 strips of fabric can be iron pressed
1 –Draw a line in the center of each strip (I use a Frixion erasable pen). These lines will serve as a guide for folding.
2- Fold the long edges of the 2 strips, wrong sides together, toward the center line and press.
3- Center the strips widthwise, wrong sides together.
4- Topstitch on the top strip and through all layers with a 0.5 cm (1/4″) seam allowance. Be careful the 0.5 cm (1/4″) seam allowance is measured from the edge of the shoulder strap, not from the edge of the narrowest strip
It’s your turn 🙂

Thank you sew much for this tutorial. I have seen double-sided straps that others have done and I always think it looks sew nice but have never investigated the how-to but I am making a purse by a designer that I have not used before and she included instructions on making a double-sided strap; however, it calls for both sides to be the same size and when I was trying to make a sample, it was hard to get them exactly the same size and I wasn’t happy with the look. I searched for tutorials and found yours and the method where one side is slightly wider, giving it a piped or trimmed look really appealed to me. I had seen that also and figured it was too technical for me but it’s not! Sew, thank you again; I may never make a “plain” strap again! One thing I did do differently that I saw in a YouTube video was to use double sided tape to secure the folds instead of just ironing because I struggle to get the sides even and DST was the trick!
Hi Sonya,
I’m glad my tutorial was useful to you ! 🙂
This is my favourite method, I find the result prettier than with both sides having the same width.
I also use double sided-tape (1 cm – 3/8″ wide) for straps/handles, it is so useful : https://sacotin.com/fourniture-couture-le-scotch-double-face/ (sorry I didn”t translate this article to English !).
Happy Sewing !
Véro
Perfeito trabalho