
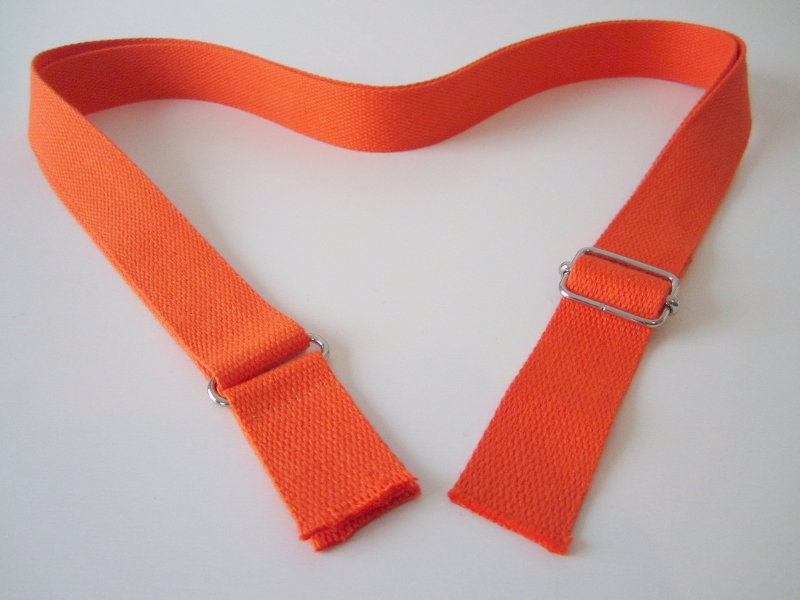
An adjustable strap is not hard to make and instantly gives your bag a more professional look and of course makes it more convenient! This type of strap will fit perfectly to your Alex messenger bag for example.
Voici the adjustable strap tutorial.
Adjustable strap {Tutorial}
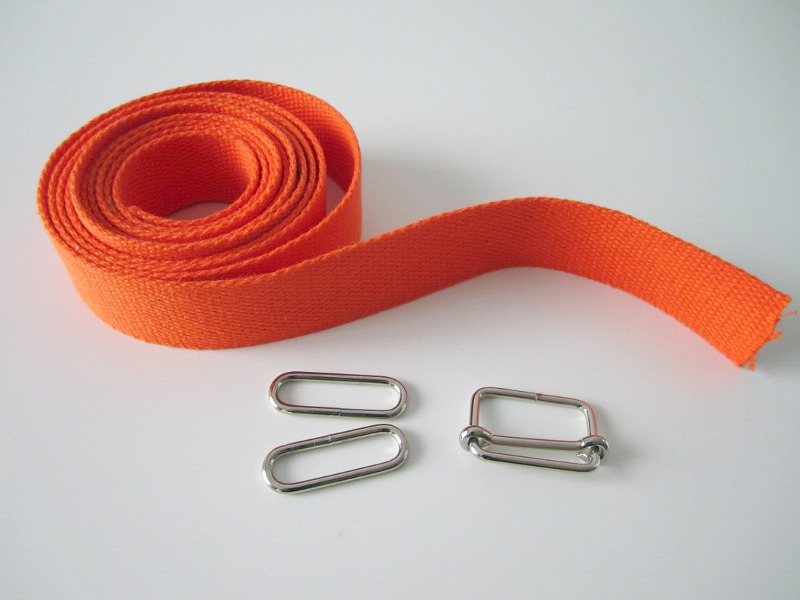
Supplies
- 1 to 2 meters (1.7 to 2.2 yards) of cotton or polypropylene webbing or a strap sewn by you.
- 1 ring slider its width should be equal to that of the strap.
- 1 or 2 rings their width should be equal to that of the strap.
Technically one ring is sufficient but if you prefer your adjustable strap to be symmetrical, you can use 2. I’ll show the two options below.

Create the strap tab
1. Cut a 10 cm (4″) piece of webbing.
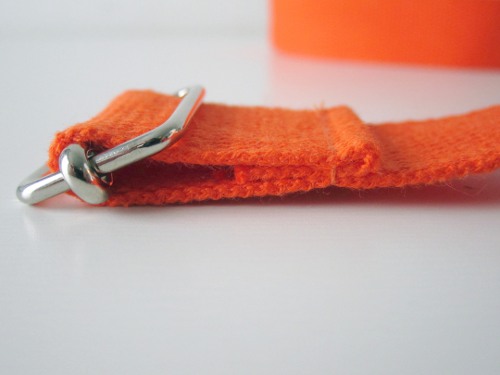
2. Slide the strap tab inside the ring.
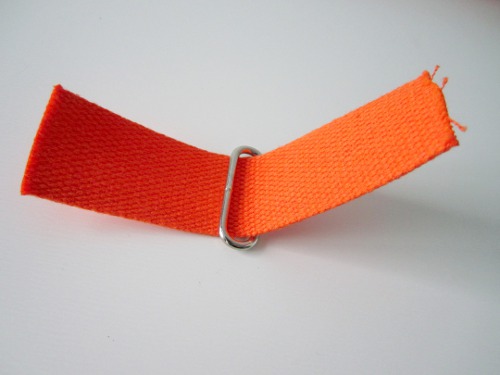
3. Fold the tab, wrong sides together, aligning edges.
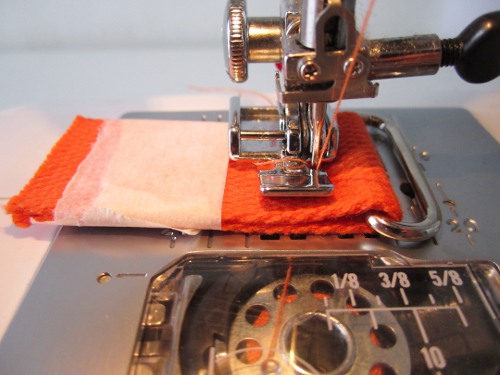
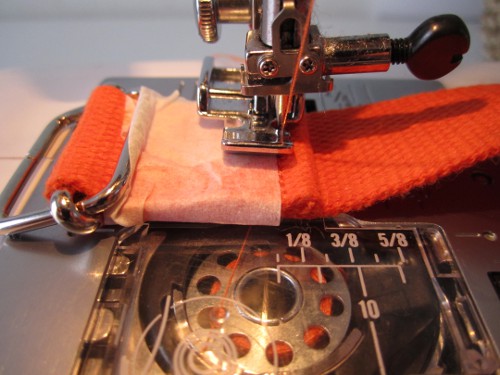
4. With a zipper foot, topstitch as close to the ring as possible.
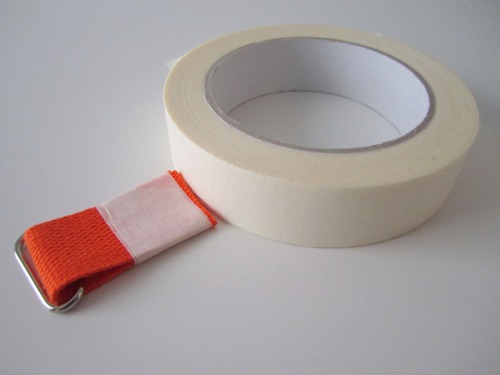
Tip : Because of the thickness, it is impossible to pin a strap. So to keep the strap edges properly aligned while stitching, I just used paper tape (you know the masking tape used to paint).
Put tab aside.
Repeat with a second ring if you want to use 2 tabs for symmetry.
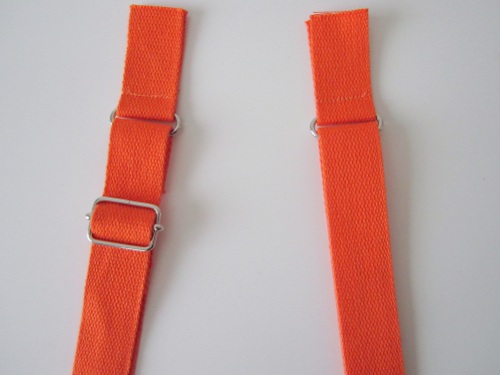
Attach the ring slider
1. On the remaining webbing, mark one side as being the strap wrong side. I use paper tape for this also.

2. Feed one end of the strap around the center bar of the slider, wrong side of the strap against the center bar. Feed the strap for 5 cm (2″).
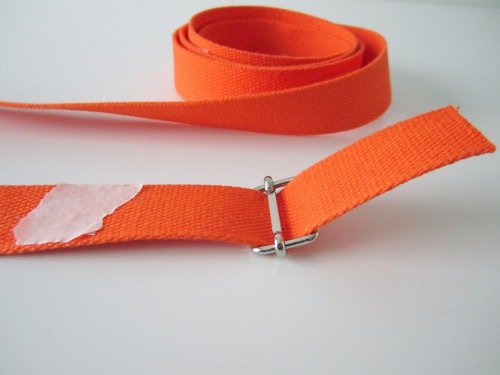
3. Fold the strap on itself, turning under 1.5 cm (1/2″). If the the end of your home-made strap is already finished, no need to turn under the edge !
4. Stitch the end to the strap down. I usually stitch 3 times over the same stitchline (forward, backward, forward) so that the seam is strong.
Create the adjustable strap
1. Feed the free strap end trough the ring attached to the tab, strap wrong side against ring.
Be careful not to twist the strap !
2. Now thread this free end around the slider center bar.
Be careful not to twist the strap !
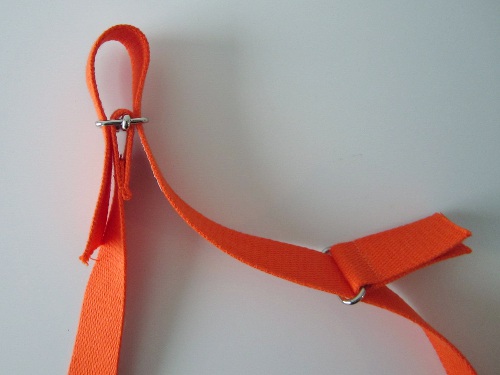
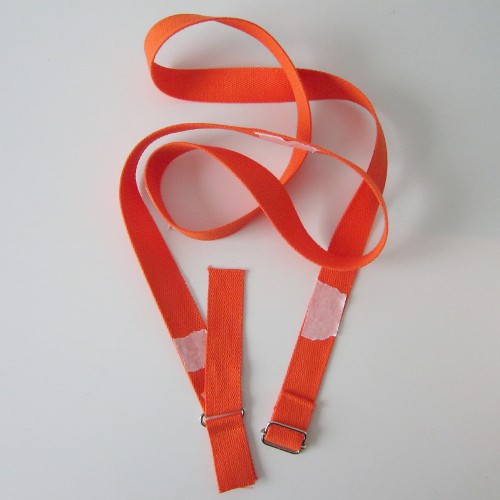
If you are using only one tab, your adjustable strap is done !
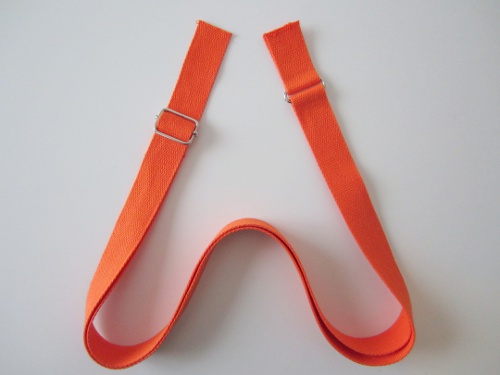
If you want to use 2 tabs for symmetry : feed the end of the strap through the second ring (strap wrong side against ring), fold the strap on itself, turning under 1.5 cm (1/2″) and stitch down.
You just have to attach the strap to your bag in the manner indicated in the instructions.

je recherche le tutu de poche zippée
Là en français : http://sacotin.com/tuto-ajouter-une-poche-zippee-a-votre-sac/
Là en anglais : http://sacotin.com/en/tutorial-add-a-zippered-pocket-to-your-bag/
This was so helpful! Thank you!!